•Forthe2.5-inchhot-swapharddiskdrivecage,installthesixscrewstosecurethebackplaneon
thecage.
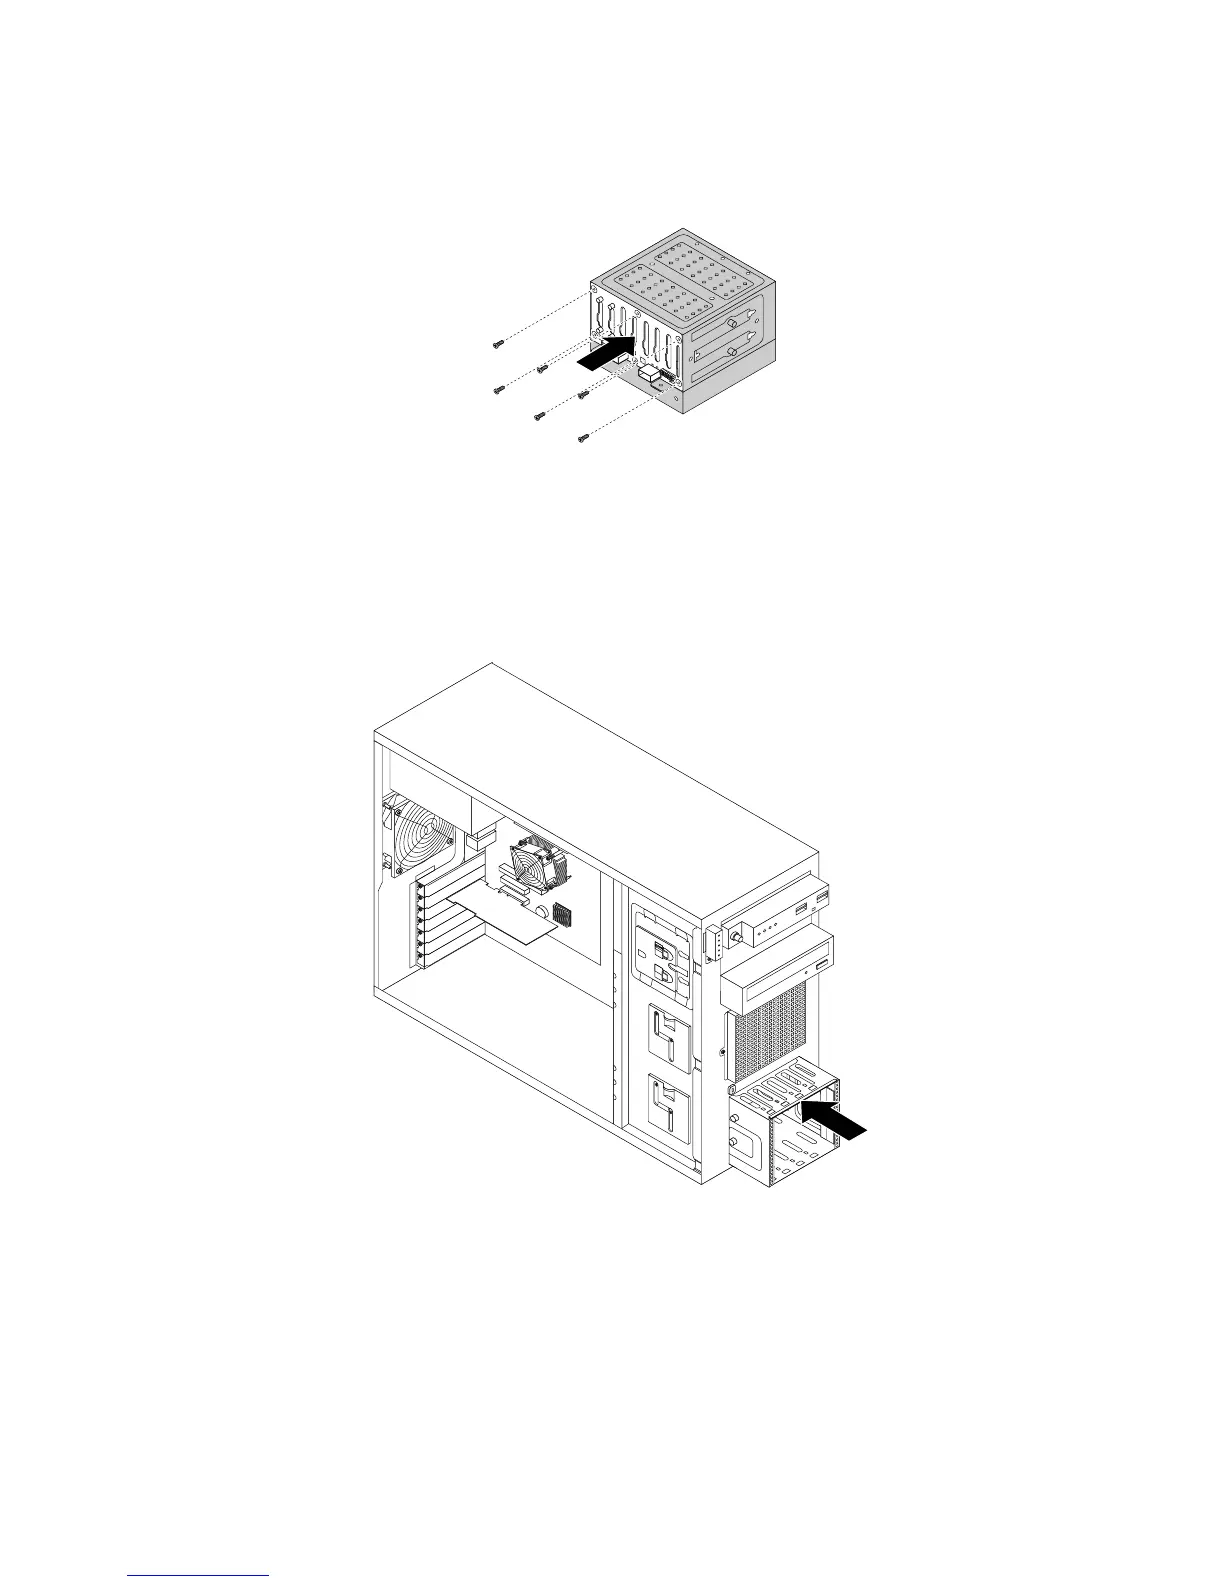
Figure75.Installingthe2.5-inchhot-swapharddiskdrivebackplane
12.Slidetheharddiskdrivecageintothechassisfromthefrontuntilitsnapsintoposition.
Note:Thefollowingillustrationshowsthe3.5-inchharddiskdrivecage.Forthe2.5-inchharddisk
drivecage,theinstallationprocedureisthesame.
Figure76.Installingtheharddiskdrivecage
13.Reinstallallthehot-swapharddiskdrivesanddummytrays(ifany)intheharddiskdrivecage.See
“Installingorreplacingahot-swapharddiskdrive”onpage119
.
14.Refertoyournoteandreconnectthecablestothebackplane.
15.Reinstallthefrontsystemfan.See“Replacingthefrontsystemfan”onpage149.
16.Reinstallthefrontbezel.See“Removingandreinstallingthefrontbezel”onpage87.
136ThinkServerUserGuide