Repair information 4-9
7013-XXX
ADF scanner assembly removal
1. Remove the rear door and cover. See “Rear door and cover removal” on page 4-69.
2. Remove the front scanner cover. See “Front scanner cover removal” on page 4-29.
3. Remove the right side scanner cover. See “Right side scanner cover removal” on page 4-75.
4. Remove the right side printer cover. See “Right side printer cover removal” on page 4-73.
5. Remove the left side scanner cover. See “Left side scanner cover removal” on page 4-35.
6. Remove the left side printer cover. See “Left side printer cover removal” on page 4-33.
7. Disconnect the operator panel cable at J14, the flatbed motor cable at JFBM1, the home sensor cable at
J1, the CCD ribbon cable at J2, and the USB cable at J20 from the controller board.
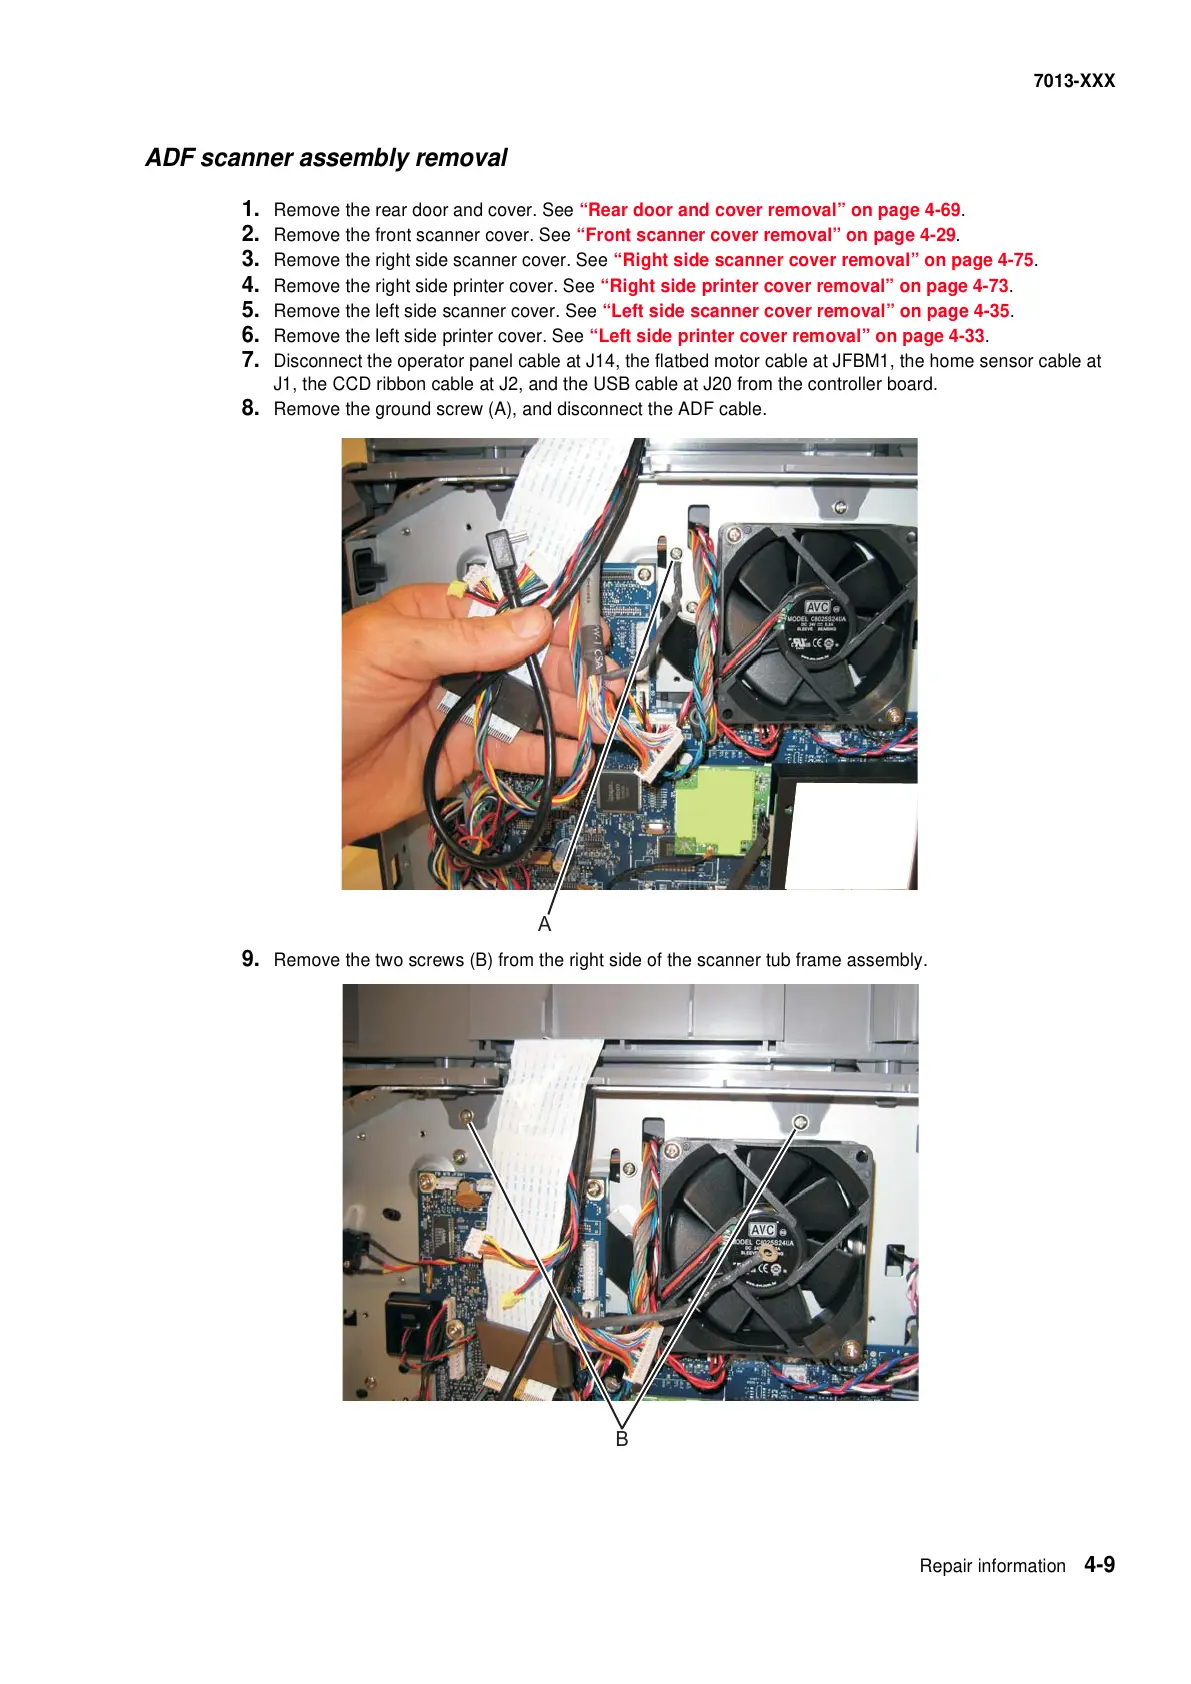
8. Remove the ground screw (A), and disconnect the ADF cable.
9. Remove the two screws (B) from the right side of the scanner tub frame assembly.