EasyManuals Logo

Lexmark 363dn User Manual

Lexmark 363dn
250 pages
To Next Page IconTo Next Page
To Previous Page IconTo Previous Page
Page #209 background imageLoading...
Page #209 background image
Repair information 4-71
7013-XXX
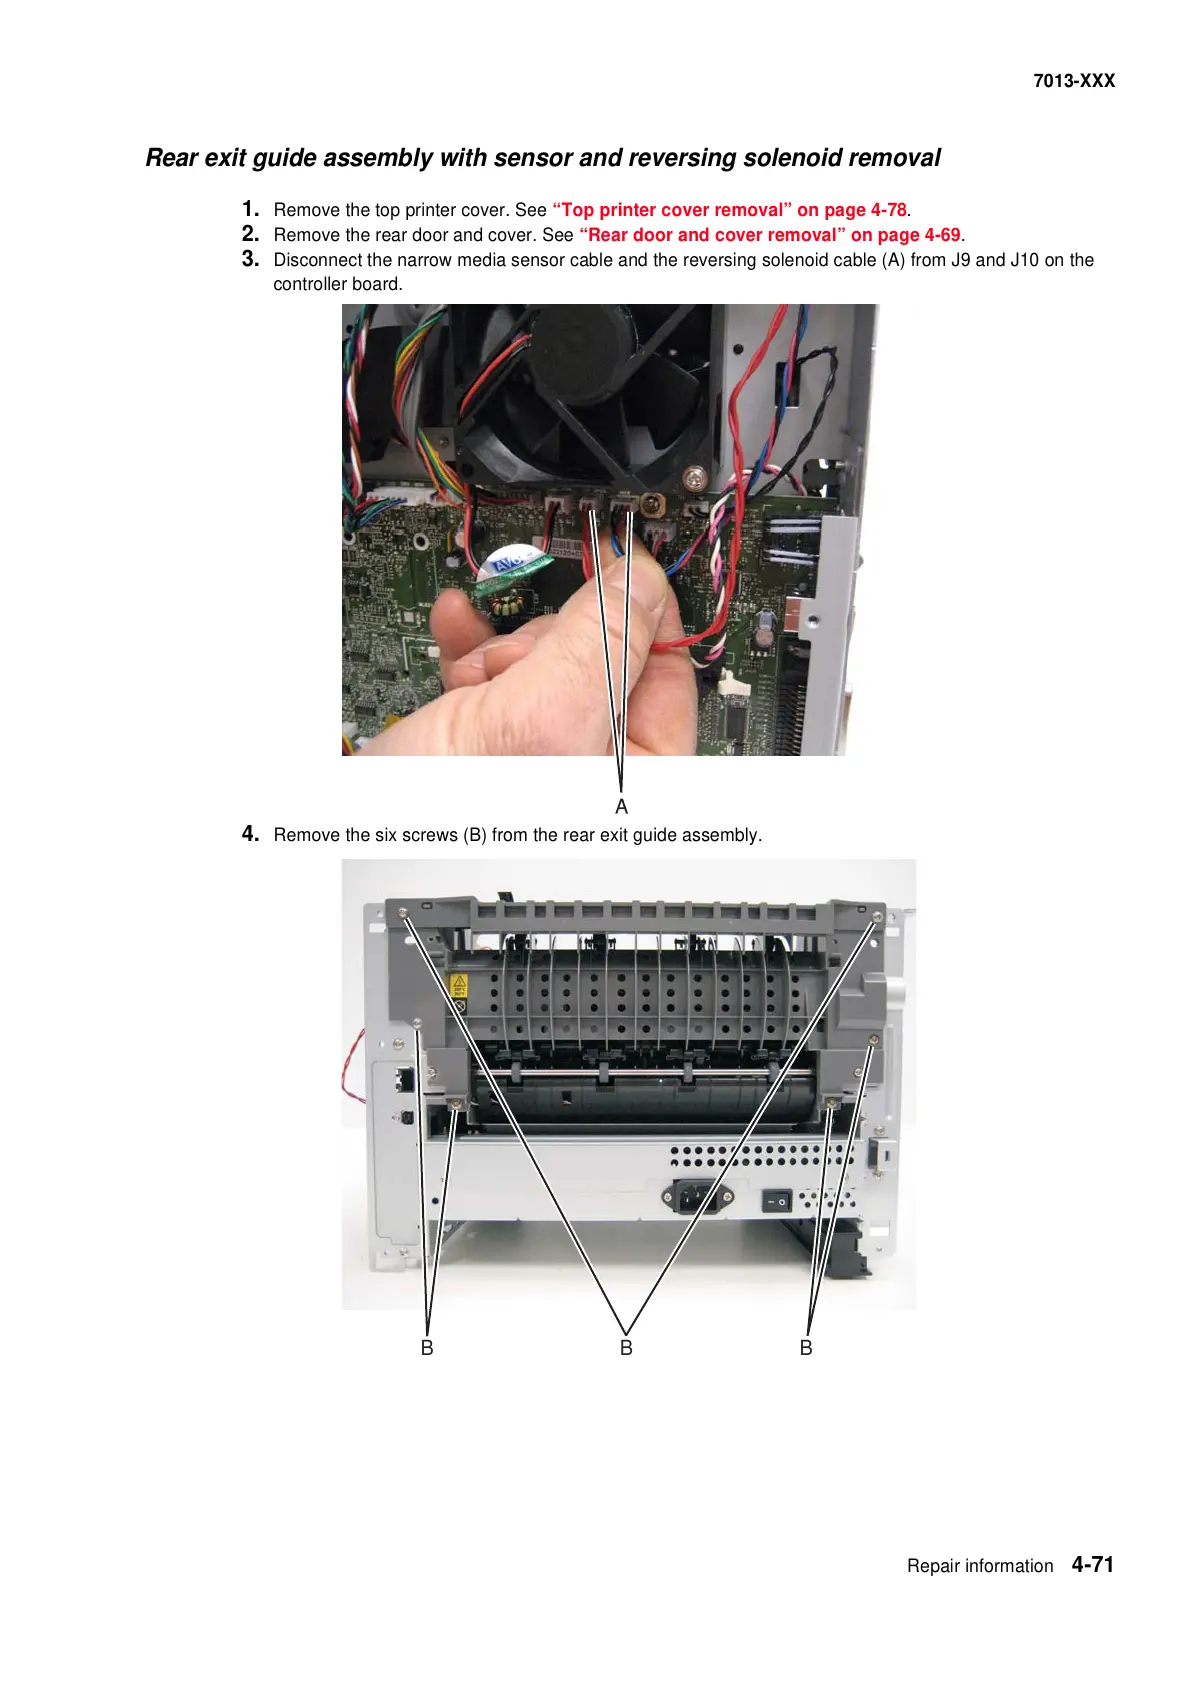
Rear exit guide assembly with sensor and reversing solenoid removal
1. Remove the top printer cover. See “Top printer cover removal” on page 4-78.
2. Remove the rear door and cover. See Rear door and cover removal on page 4-69.
3. Disconnect the narrow media sensor cable and the reversing solenoid cable (A) from J9 and J10 on the
controller board.
4. Remove the six screws (B) from the rear exit guide assembly.
BBB
All manuals and user guides at all-guides.com

Table of Contents

Questions and Answers:

Question and Answer IconNeed help?

Do you have a question about the Lexmark 363dn and is the answer not in the manual?

Lexmark 363dn Specifications

General IconGeneral
BrandLexmark
Model363dn
CategoryAll in One Printer
LanguageEnglish

Related product manuals