Using the Recorder’s On-Screen
Display
6
Use the system’s on-screen display to navigate menus and configure options and settings.
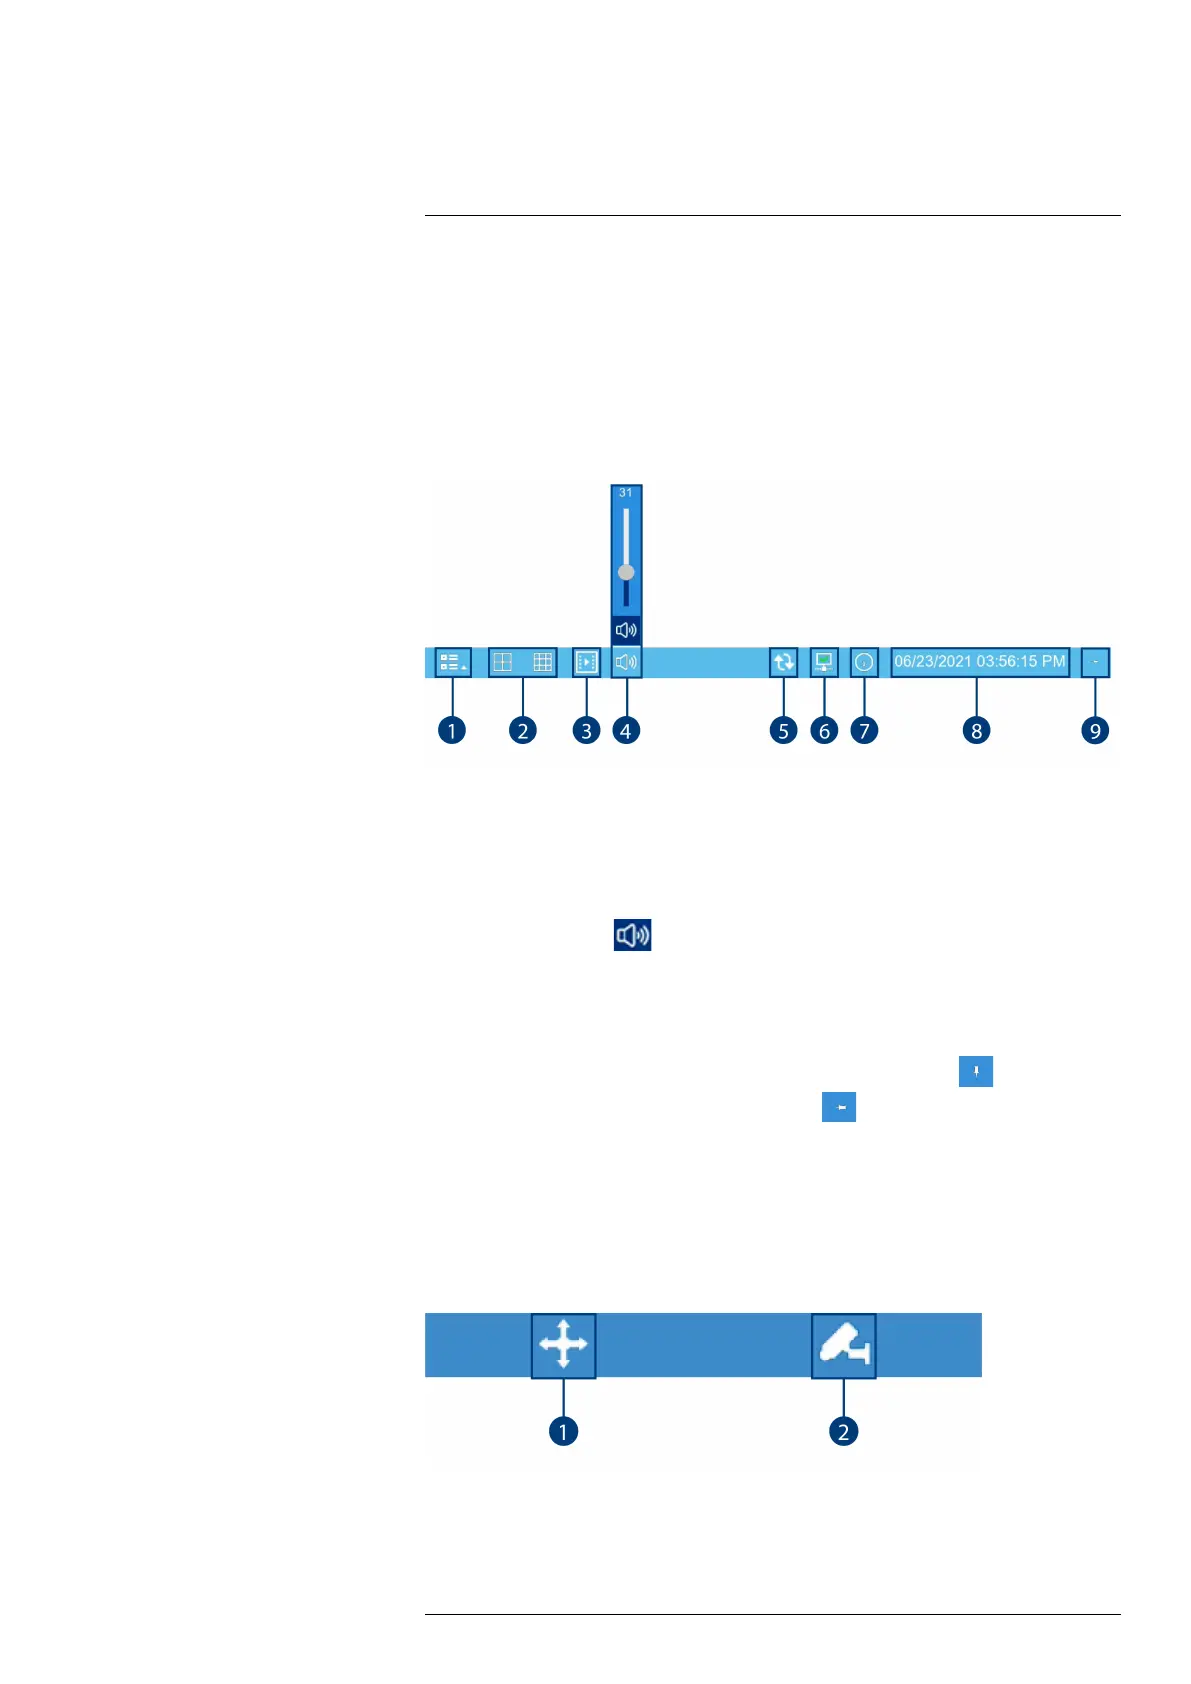
6.1 Using the Taskbar
The Taskbar along the bottom of the recorder’s main display allows you to access the Main
Menu and control basic functions of the recorder.
To use the Taskbar:
• Right-click anywhere on the Live View screen.
• Hover over the bottom of the screen in the Live View screen.
1. Main Menu: Opens the Main Menu for browsing. For details on Main Menu functions, see
13 Using the Main Menu, page 40.
2. Viewing Options: Select how many channels are shown on screen during live viewing.
3. Playback: Opens the Playback Menu. This allows you to search for video recordings saved
on the recorder’s storage. For details on using the Playback menu, see 8 Playback, page 24.
4. Audio Controls: Click to open the Audio volume controls. Use the scroll bar to change the
system volume. Click
to mute / unmute the system.
5. Auto Upgrade: Checks for an available firmware update.
6. Network Status: Displays the recorder’s network connection status.
7. System Information: Displays system information.
8. System Date & Time: Shows the date and time of the system.
9. Pin / Unpin Taskbar: Choose to always show the Taskbar on screen (
) or hide it unless
the mouse pointer is near the bottom of the screen (
).
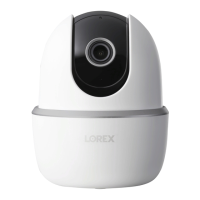
6.2 Using the Mini Menu
The Mini Menu lets you perform quick functions for a specific channel on the recorder.
To use the Mini Menu:
Hover the mouse near the top of a channel with a connected camera.
The Mini Menu opens at the top of the camera’s live display:
1. Move Mini Menu: Click-and-drag to move the Mini Menu to a different part of the screen.
#LX400115; r. 4.0/58631/58631; en-US 18