Using the Main Menu13
1. From the live viewing screen, click
> Settings > Motion > Motion Settings.
2. Select the channel you want to configure motion detection options for.
3. Use the dropdown next to Buzzer to choose whether the recorder should sound an alarm when
motion is detected by the selected channel.
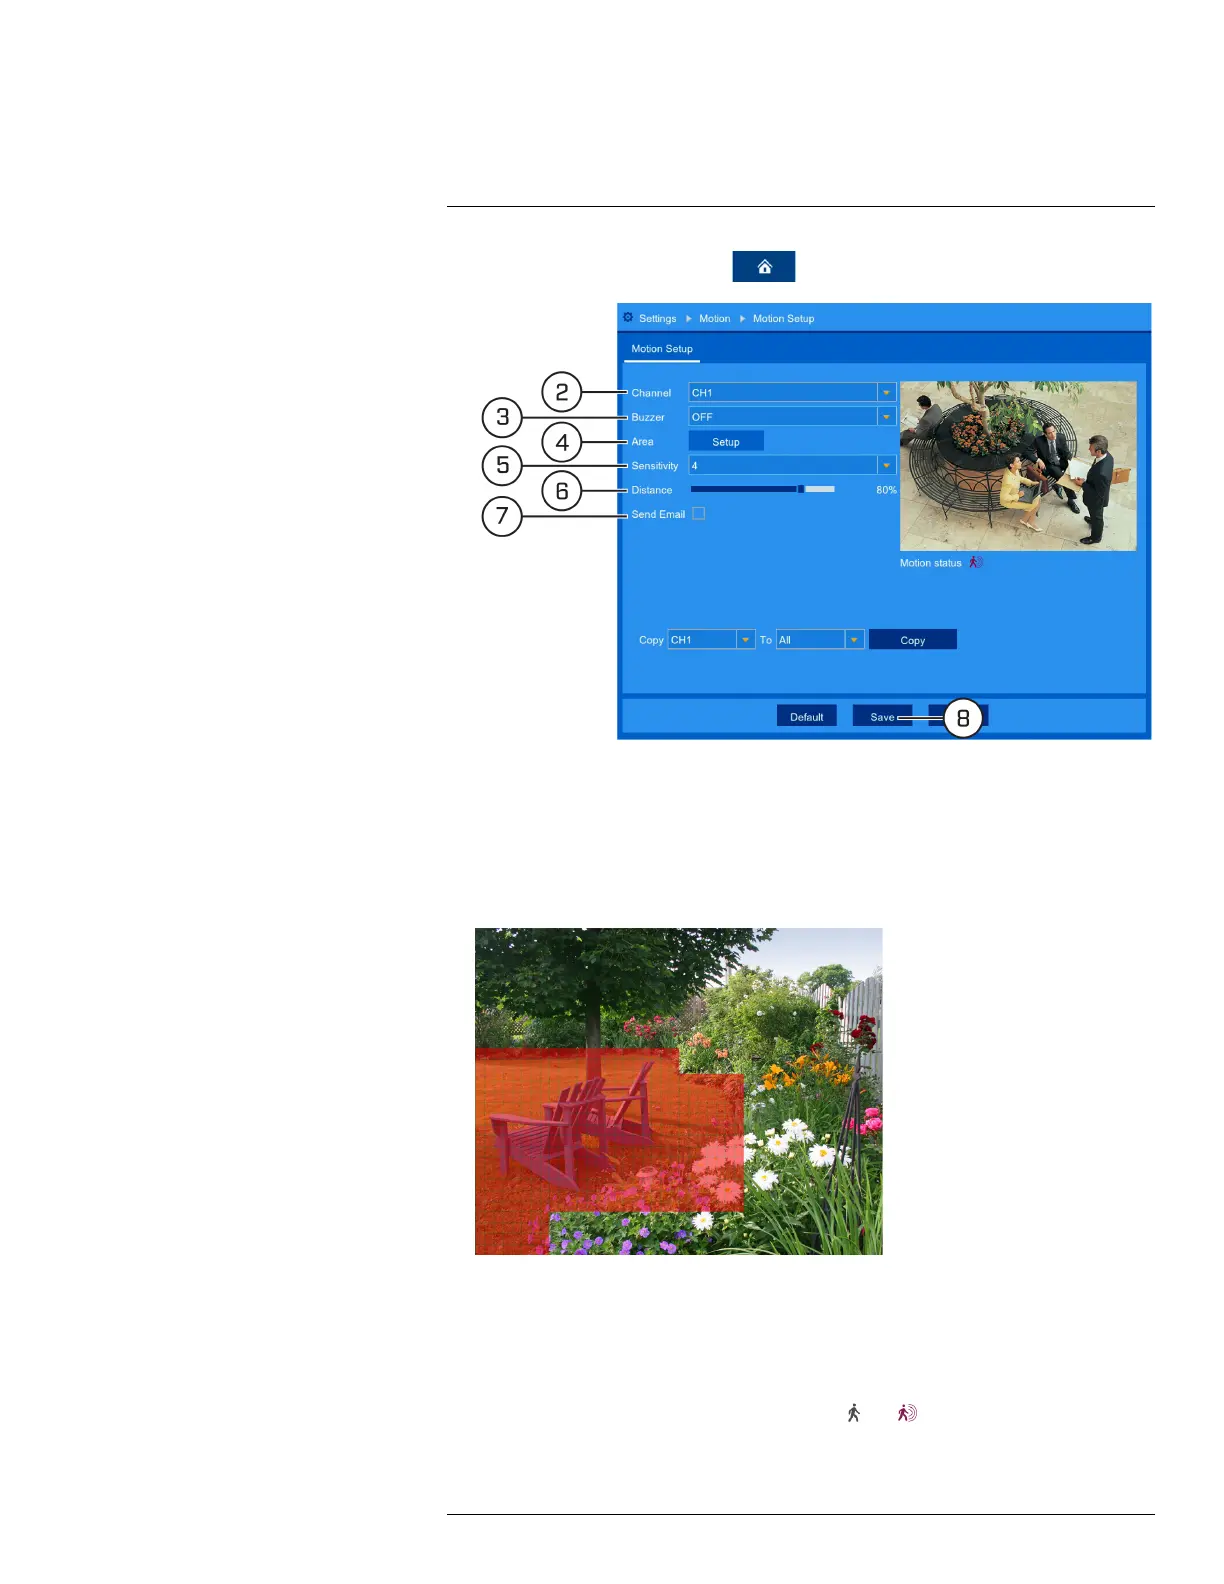
4. Click Setup next to Area to configure the active area for motion detection. The live view ap-
pears with a red grid overlay covering the whole image, meaning the whole image is active.
Click or click-and-drag to enable / disable parts of the image. In the example image below, on-
ly motion occurring in the yard will trigger recording, but motion in the flower beds will not.
5. Set the Sensitivity level to determine how much of the image needs to register motion at once
to trigger an event. For example, a higher sensitivity level will trigger recording even when
smaller objects move across the camera image.
6. Set the Distance to configure the PIR sensor. This will help to make motion detection more
accurate. Recreate a motion event in front of the camera, and set the distance so that wanted
events turn the icon below the camera image from
to .
#LX400109; r. 2.0/54857/55689; en-US 57

 Loading...


