Hard Drive Installation18
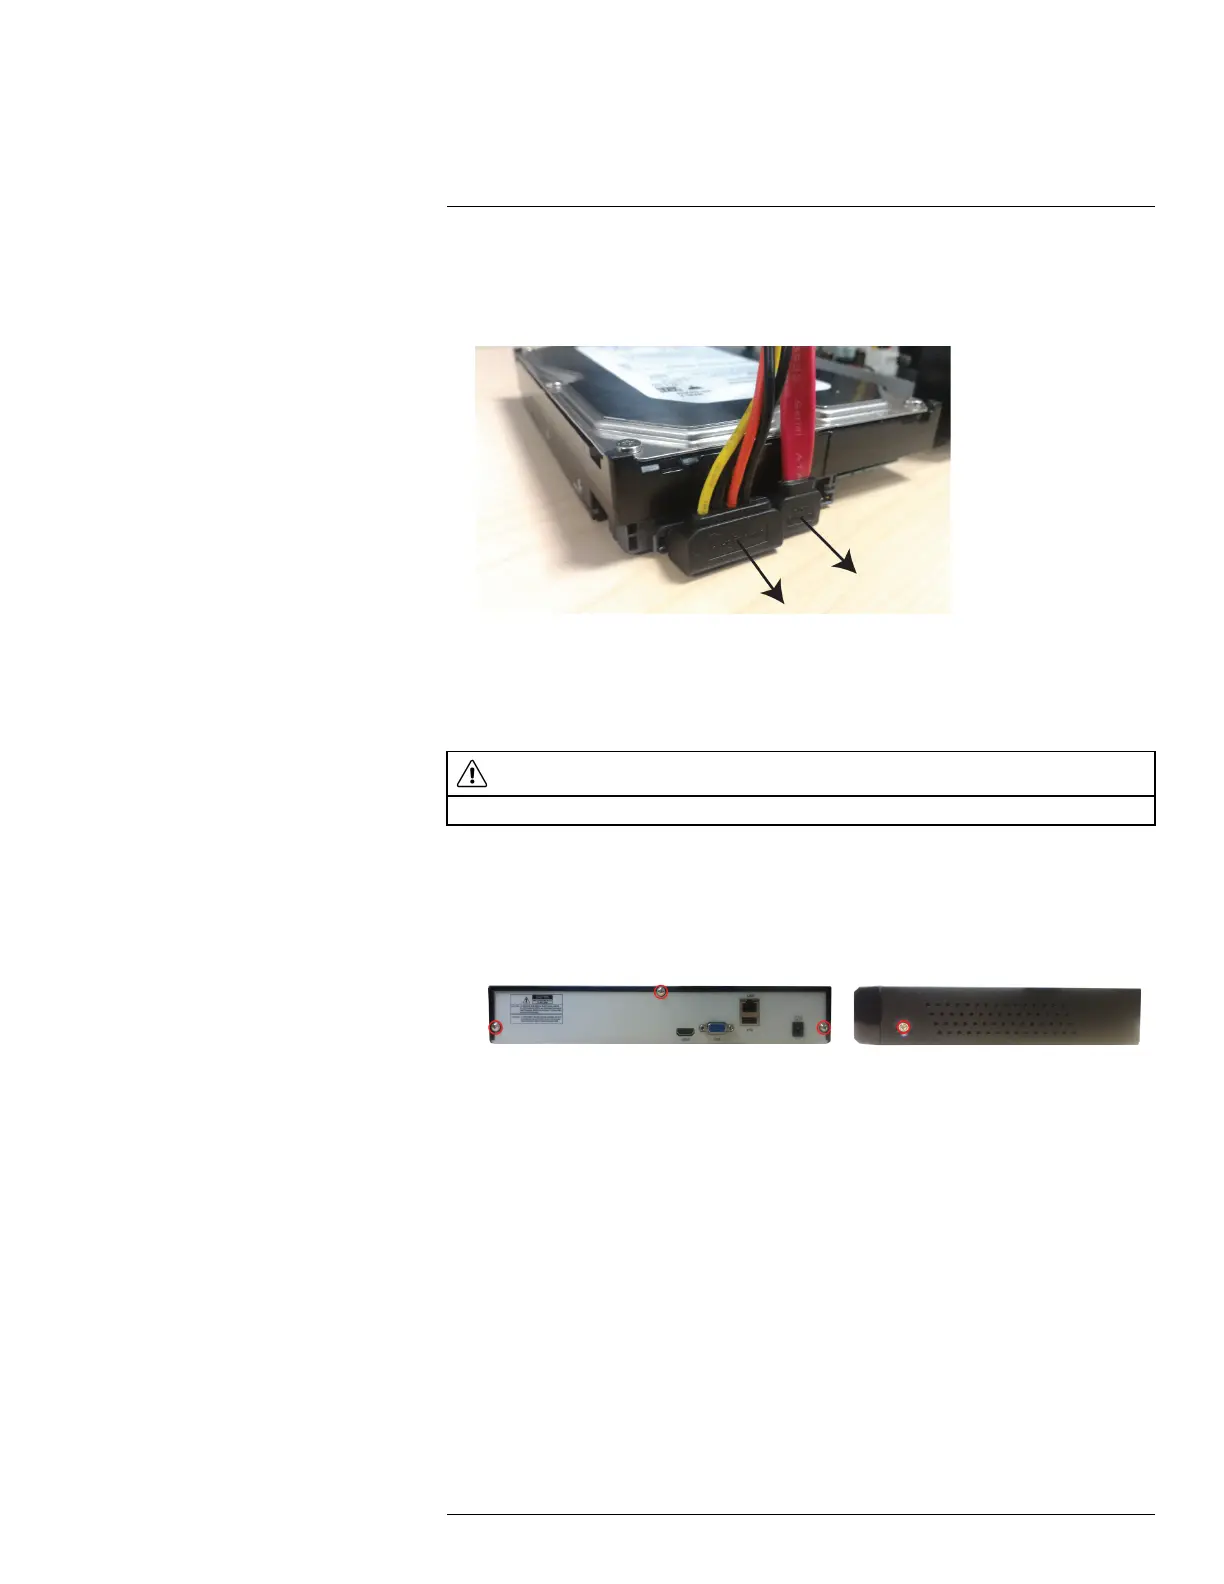
3.3. Keep holding the hard drive and turn the recorder back over. Lift the hard drive from
the recorder.
4. Disconnect the power and data cables.
5. If you are not planning to replace the hard drive immediately, reattach the cover and replace
the screws in the side and back panel of the recorder. For full instructions on installing a hard
drive, see 18.2 Installing a Hard Drive, page 83.
18.2 Installing a Hard Drive
WARNING
Make sure that the power cable has been disconnected from the recorder before changing the hard drive.
Prerequisites:
• There must be no hard drive currently installed in your recorder before using the steps below.
For full instructions on removing hard drives, see 18.1 Removing the Hard Drive, page 82.
1. Remove the screws from the rear panel (×3) and the side panels (×1 on each side) of the
recorder.
2. Gently slide the cover away from the rear panel and lift off. Be careful of sharp edges.
3. Next, you must install the hard drive:
3.1. Connect the power and data cables to the hard drive.
#LX400109; r. 2.0/54857/55689; en-US 83

 Loading...


