RadioRA® Setup Guide
ROOM Button Programming
Assigning Dimmers, Switches or GRAFIK Eye® Control
Units to ROOM Buttons
NOTE: A column of buttons can also be assigned as SCENES (see page 1-7).
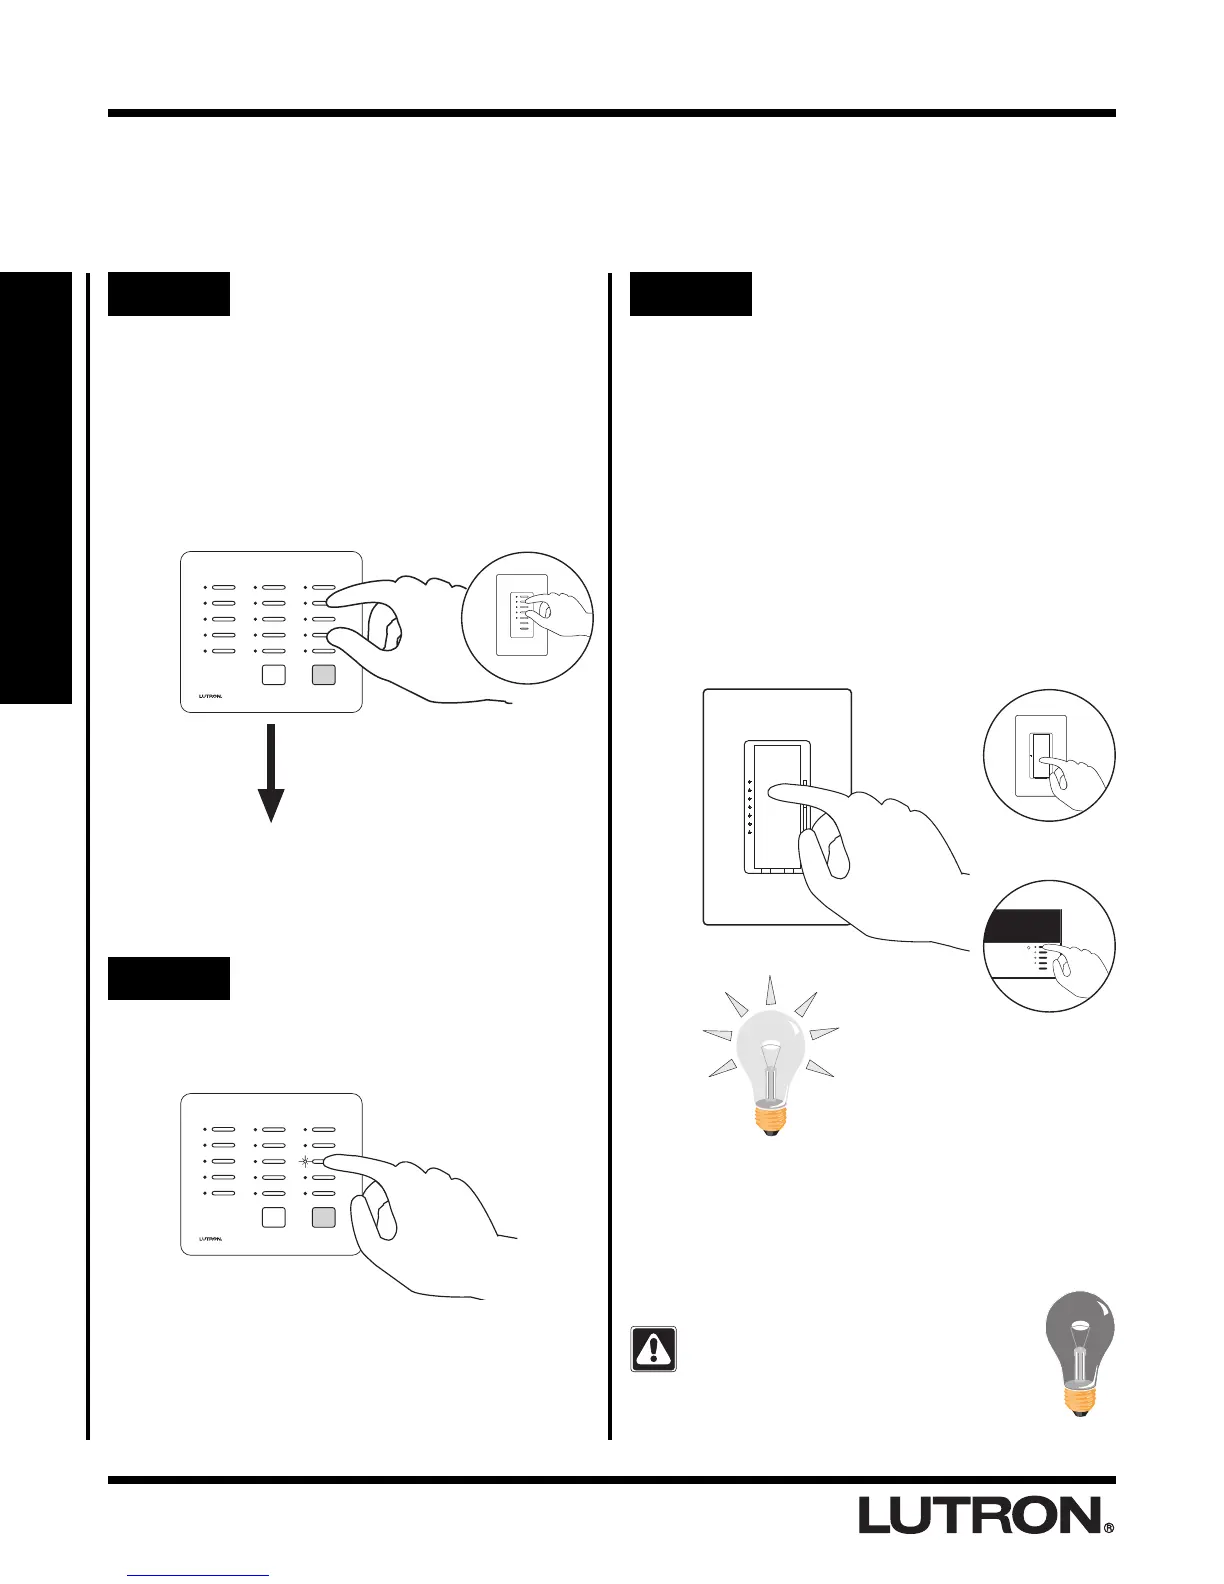
Step 3 Assign a Dimmer, Switch or
GRAFIK Eye® Control Unit
Control to the button
Notes:
• Multiple Dimmers, Switches or GRAFIK Eye® Control
Units can be assigned to a single ROOM button.
• Controls must be assigned to a Master Control
button while its LED is flashing.
1-9
Section 1 - Start-Up
Assign Dimmers or Switches to the Master
Control button by turning the Controls ON.
Assign a GRAFIK Eye® Control Unit to the
Master Control button by changing the
selected GRAFIK Eye® scene.
If you assign the wrong Dimmer,
Switch or GRAFIK Eye® Control Unit
to a Master Control button, turn the
Dimmer, Switch or GRAFIK Eye®
Control Unit OFF to unassign it.
Switch
Dimmer
OR
Note: GRAFIK Eye® Control Units will automatically
turn on to scene 1 once assigned.
Step 1 Begin assigning Dimmers,
Switches, or GRAFIK Eye®
Control Units to ROOM
buttons
Simultaneously press and hold the 2nd and
4th buttons in the right most column until the
upper right LED begins to flash (approximately
3 seconds).
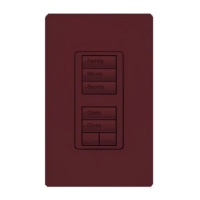
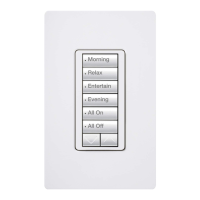
Tabletop Master Wall Master
OR
Upper right LED flashes.
Step 2 Select a ROOM Button
Press and release the ROOM button that you
want to program. It's LED will begin to flash.
GRAFIK Eye®
Control Unit
 Loading...