RadioRA® Setup Guide
SCENE Button Programming
Assigning Dimmers, Switches or GRAFIK Eye® Control
Units to SCENE Buttons
Note: A column of buttons can also be assigned as ROOMS (see page 1-7).
1-13
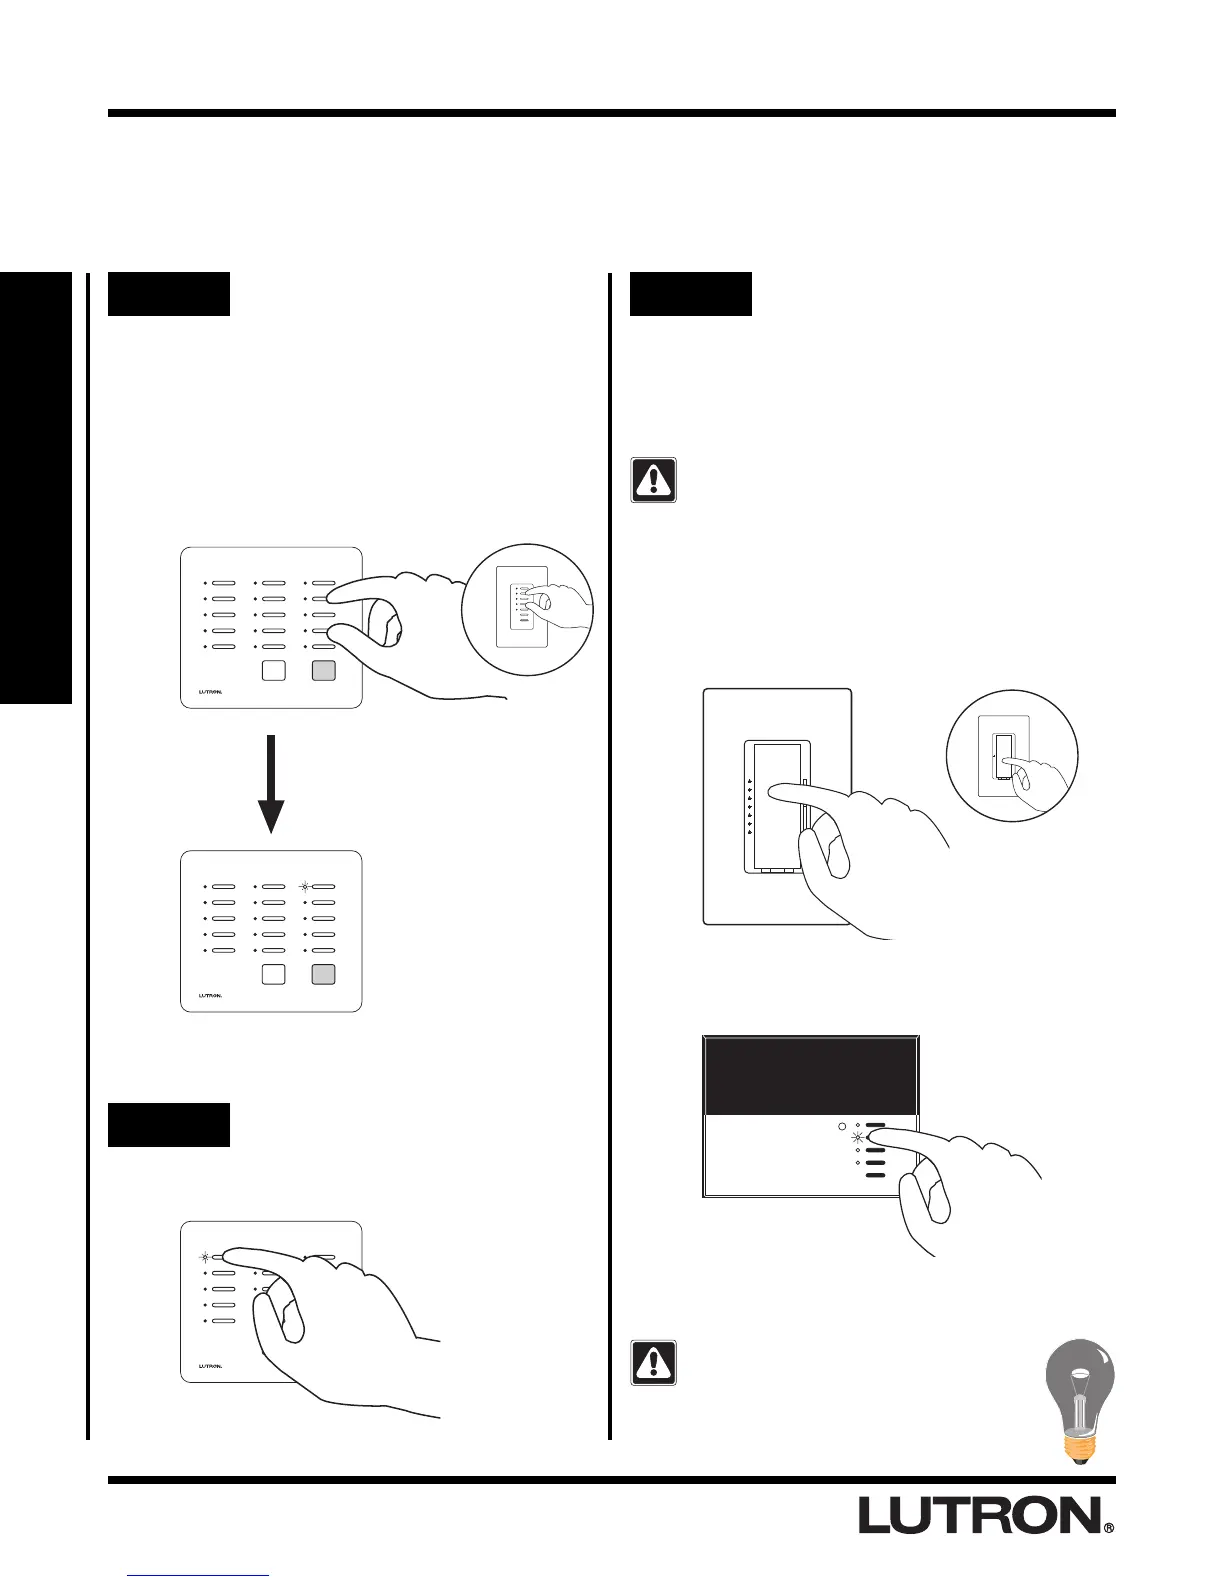
Step 1 Begin assigning Dimmers,
Switches or GRAFIK Eye®
Control Units to SCENE
buttons
Step 3 Assign Dimmers, Switches or
GRAFIK Eye® Control Units to
the button
Note: Multiple Dimmers, Switches or GRAFIK Eye®
Control Units can be assigned to a single SCENE
button.
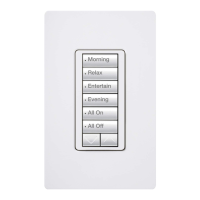
Step 2 Select a SCENE button
Press and release the SCENE button that you want to
program. Its LED will begin to flash.
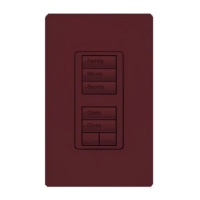
Simultaneously press and hold the 2nd and
4th buttons in the right most column until the
upper right LED begins to flash (approximately
3 seconds).
If you assign the wrong Dimmer,
Switch or GRAFIK Eye® Control Unit to
a Master Control button, turn the
Dimmer, Switch or GRAFIK Eye®
Control Unit OFF to unassign it.
In this Step you must not only assign light
controls which you want to turn ON when
the button is pressed, you must also assign
light controls which you want to turn OFF
when the button is pressed.
Assign a GRAFIK Eye® Control Unit to the
selected SCENE button by changing the
scene of the GRAFIK Eye® Control Unit.
LUTRON
Note: GRAFIK Eye® Control Units will automatically
turn ON to scene 1 once assigned.
Upper right LED flashes.
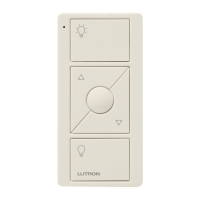
Tabletop Master Wall Master
OR
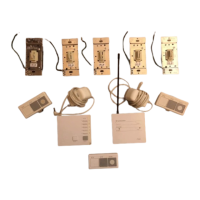
Assign a Dimmer or Switch to the selected
SCENE button by turning the Dimmer or
Switch ON.
Switch
OR
Dimmer
Section 1 - Start-Up
 Loading...