RadioRA® Setup Guide
Programming Preparations
System Programming Worksheet
After the System has been activated, the Master Controls (M.C.) should be programmed so that a light or a group
of lights can be controlled by one or more Master buttons. Prior to programming your system, complete the
RadioRA
® System Programming Worksheet (page 5-2).
Step 1 Record all Dimmer, Switch,
and GRAFIK Eye® Control Unit
locations along the top of the
worksheet
(Accessory Dimmers and Accessory Switches do not
need to be recorded.)
Step 4 Select Dimmers, Switches or
GRAFIK Eye® Control Units
Select which Dimmers, Switches or GRAFIK Eye®
Control Units will be controlled by each Master Control
button by going across the worksheet and placing a
check in the corresponding box(es).
Step 5 Label Master Control buttons
Apply one of the supplied labels in the space under
each button.
• Repeat Steps 1 through 5, for all Master
Controls in your system.
• Proceed to Assigning a Column of
Buttons as ROOMS or SCENES on page
1-7.
Step 2 Select a Master Control
Start with any Master Control and write down its type
and location.
C
o
n
tro
ls
M.C.Type:
M.C. Location:
12345
1
2
3
4
Button #
Label
Master BR Dimmer
Front Hall Dimmer
Rear Hall Dimmer
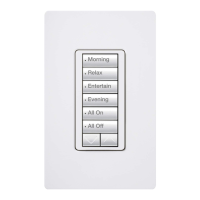
Den GRAFIK Eye
Front Porch Switch
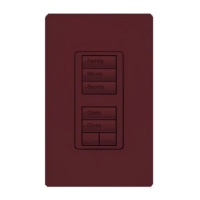
15 Button Tabletop
Master BR
1-6
Section 1 - Start-Up
M.C.Type:
M.C. Location:
12345
1
2
3
4
Button #
Label
Master BR Dimmer
Front Hall Dimmer
Rear Hall Dimmer
Den GRAFIK Eye
Front Porch Switch
15 Button Tabletop
Master BR
M Bedrm
Hall
Den
C
o
n
tro
ls
Bath
Hall
M Bedrm
ALL OFFALL ON
Place ALL ON label here
Place ALL OFF label here
Step 3 Record button names
Write name you have chosen for each button under
the
Label
column of the worksheet. Refer to label
sheets for names.
M.C.Type:
M.C. Location:
12345
1
2
3
4
Button #
Label
Master BR Dimmer
Front Hall Dimmer
Rear Hall Dimmer
Den GRAFIK Eye
Front Porch Switch
15 Button Tabletop
Master BR
M Bedrm
Hall
Den
Outside
C
o
n
tro
ls
C
ontrols
12345
1
2
3
4
Button #
Label
Master BR Dimmer
Front Hall Dimmer
Rear Hall Dimmer
 Loading...