RadioRA® Setup Guide 1-16
Step 5 Complete setting light levels/
selecting GRAFIK Eye® scenes
Step 4 Select next SCENE button
To set the light level for another Master
Control SCENE button, press and release that
button. Its LEDs will begin to blink.
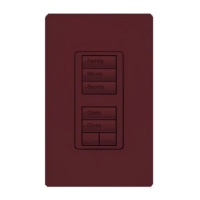
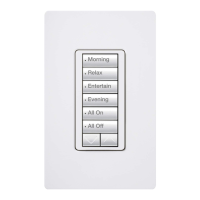
SCENE Button Programming
ALL OFF
ALL ON
ALL ON ALL OFF
You may now operate your Master Control
SCENE buttons
If at any point in this procedure you are unsure
which Dimmers, Switches or GRAFIK Eye®
Control Units are assigned to a Master Control
SCENE button
• Press the button next to the blinking LED.
• The LED will begin to flash (slower) and all
Dimmers, Switches, and GRAFIK Eye®
Control Units assigned to that Master
Control SCENE button will turn ON to full
intensity.
Note: Dimmer, Switch or GRAFIK Eye®
Control Unit assignments cannot be
changed at this time. See page 1-13 to
change control assignment.
• Press the same Master Control SCENE
button again to continue setting light levels.
The LED will begin to blink again (faster).
Perform Step 3 for this newly selected SCENE
button.
• Repeat Steps 1 through 5 to set the light
levels/select GRAFIK Eye® scenes on
any remaining Master Controls.
• To copy the button programming from
one Master Control to another Master
Control, see Copy Button Programming
on page 2-5.
• Proceed to Step 5 when all SCENE
buttons on this Master Control have
been programmed.
Simultaneously press the 1st and 5th buttons
in the right most column until all LEDs begin to
flutter (approximately 3 seconds).
Section 1 - Start-Up
 Loading...