169441 191 Revision D
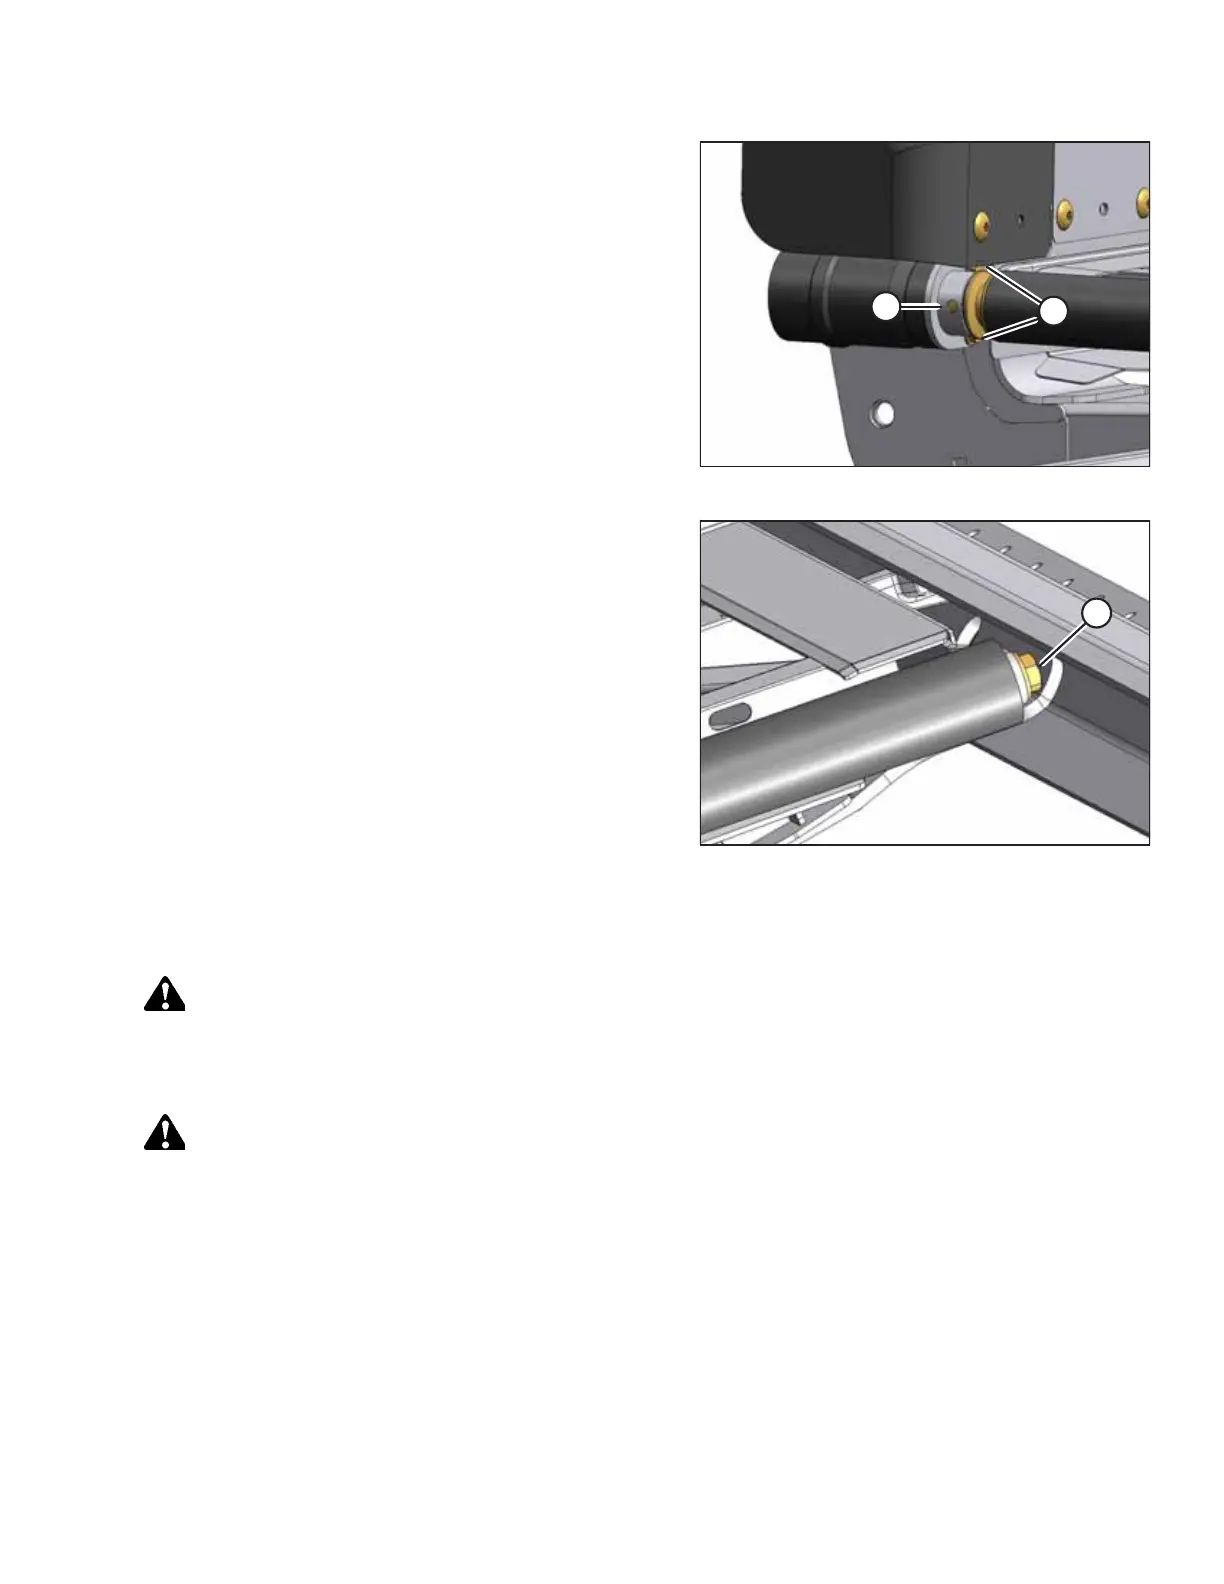
Figure 4.144: Motor End of Drive Roller
3. Secure the motor with shoulder bolts (B), and tighten. The
shoulder bolts allow clearance between the motor and arm.
The motor is not secured tightly to the arm.
4. Push the roller against the shoulder on the motor shaft, and
hand-tighten the two set screws (A). Torque the set screws
to 27 Nm (20 lbf·ft).
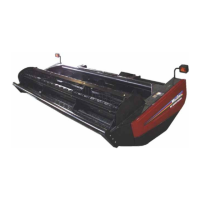
5. Torque bolt (A) to 95 Nm (70 lbf·ft).
6. Reattach draper. For instructions, refer to 4.9.3 Installing
Split Drapers, page 183.
7. Adjust draper tension. For instructions, refer to 4.9.1
Adjusting Draper Tension, page 181.
8. Readjust the hydraulic motor hoses (if required), and
tighten the hose clamps.
9. Run the machine, and adjust tracking if required. For
instructions, refer to 4.9.6 Adjusting Draper Tracking, page
188.
Removing Draper Idler Roller
The feed draper idler roller needs to be removed when repairing or replacing it.
DANGER
To prevent bodily injury or death from the unexpected start-up or fall of a raised machine, always stop the engine and
remove the key before leaving the operator’s seat, and always engage the safety props before going under the
machine for any reason.
WARNING
To prevent bodily injury from the fall of a raised reel, always engage the reel safety props before going under the
raised reel for any reason.
NOTE:
If the draper joint is not visible, engage the header until the connector is accessible (preferably close to the outboard end
of the deck).
1. Start the engine.
2. Raise the header fully.
3. Raise the reel fully.
MAINTENANCE AND SERVICING