3030226 Rev. D 2-4 Installation And
Initial System Start-Up
NOTE:
The Product Water and the Product Return connections on the RO are a male
quick disconnect fitting. All other quick disconnect fittings on the cabinet are
female disconnects to prevent cross connection. In addition, the RO fittings are
color coded. Green is RO feed water, red is RO waste water and the RO product
and return connectors are white.
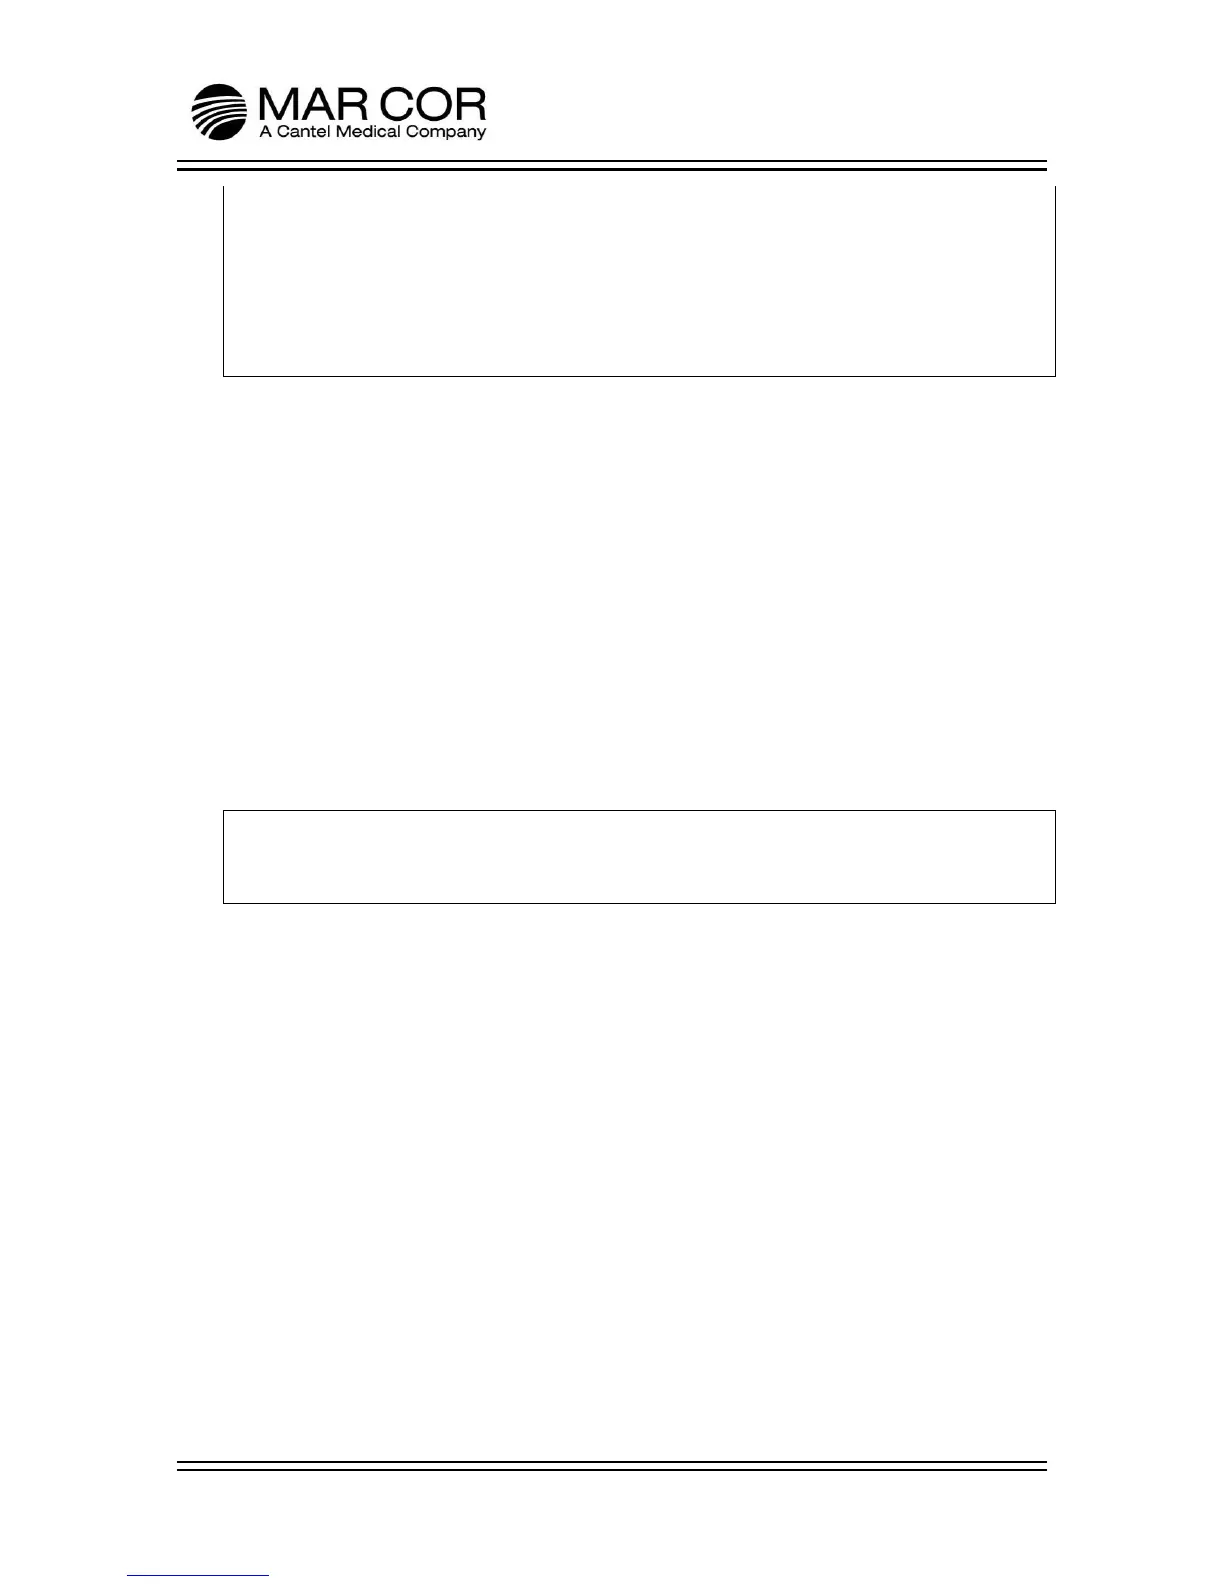
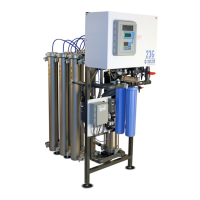
1. Unpack the RO and inspect the contents for the following;
• Millenium HX RO
• Manual (this document)
• Hose Kit
• Y-Connector with adapter hose and sample port
• Power Cord
• Chemical Bottle
• AAMI analysis kit
2. Inspect the RO for damage. When removing the RO from the packaging, you
should use 2 people to lift out of the box.
NOTE:
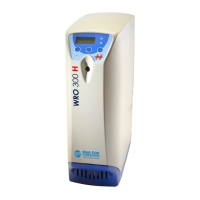
If using pre-treatment equipment, refer to the specific O&M manual for proper
placement and hose connections.
3. Connect the RO feed inlet hose connector to the water supply, and the QD end
to the “Feed” connection on the RO. This is a green quick disconnect fitting on
the RO.
4. Connect the waste water line to the red “Waste” QD fitting on the back of the
RO and route to drain in accordance with the local plumbing code.
5. Assemble the product line. Take the two ¼” silicone lines from the hose kit.
Place hose clamps over the tubing and install the Y connection. Secure the hose
clamps to secure the line on the Y connection. On the product side of the line,
cut the silicone tubing a few inches back from the Y connector. Place the hose
clamps on the tubing ends. Install the sample port and secure the hose clamps.
Connect the product line between the Product and the Return connector on the
back of the RO. The Y connector will be connected to the mating item on the
dialysis machine. Do not connect the Y connector to the hemodialysis machine
until the completion of this installation procedure.