Technical Information
4
S 500 & S 600 Canister Vacuums
List of Figures
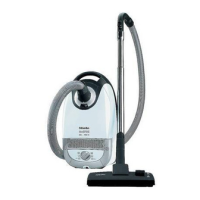
Figure D-1: S 51x Component Layout .............................................................................. 11
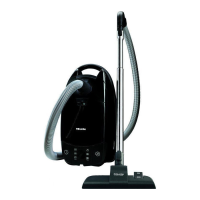
Figure D-2: S 52x and S 53x Component Layout ............................................................. 12
Figure D-3: S 54x and S 55x Component Layout ............................................................. 13
Figure D-4: S 62x Component Layout .............................................................................. 14
Figure D-5: S 65x Component Layout .............................................................................. 15
Figure D-6: Accessories ................................................................................................... 15
Figure D-7: Accessory Holder .......................................................................................... 16
Figure 010-1: Overheat Indicator ...................................................................................... 18
Figure 010-2: Filter Types ................................................................................................ 18
Figure 010-3: Storage Slot Removal ................................................................................ 19
Figure 010-4: Seal and Sealing Ring Removal ................................................................ 20
Figure 010-5: Levering Out the Support Roller ................................................................. 20
Figure 010-6: Bag Holder Removal .................................................................................. 21
Figure 010-7: Spring Position ........................................................................................... 21
Figure 010-8: Changing the Bag ...................................................................................... 22
Figure 010-9: Replacing the Super Air Clean Filter .......................................................... 22
Figure 010-10: Replacing the Active Air Clean or Active HEPA Filter .............................. 23
Figure 010-11: Removing/Inserting Grill ........................................................................... 23
Figure 010-12: Changing the Dust Compartment Filter .................................................... 24
Figure 010-13: Vacuum Pressure Monitor Removal ........................................................ 24
Figure 020-1: Turning the Adjustment Screw Clockwise .................................................. 26
Figure 020-2: Turning the Adjustment Screw Counterclockwise ...................................... 27
Figure 020-3: Shortening the Lid Catch Lugs ................................................................... 28
Figure 020-4: Accessory Compartment Lid Removal ....................................................... 29
Figure 020-5: Casing Top Removal .................................................................................. 29
Figure 020-6: Casing Top Installation ............................................................................... 30
Figure 020-7: Cover Frame Screws ................................................................................. 31
Figure 020-8: Dust Channel Holder Screws ..................................................................... 32
Figure 020-9: Connection Piece Removal ........................................................................ 33
Figure 020-10: Slide Sleeve and Dust Channel Pre-Assembly ........................................ 34
Figure 020-11: Slide Sleeve and Dust Channel Installation ............................................. 34
Figure 020-12: Bending the Slide Shutter ........................................................................ 35
Figure 020-13: Installing the Slide Shutter ....................................................................... 35
Figure 020-14: Releasing the Catch ................................................................................. 36
Figure 020-15: Spring Position (S 500 Models) ................................................................ 36
Figure 020-16: Spring Position (S 600 Models) ................................................................ 37
Figure 020-17: Cover Strip Removal ................................................................................ 37
Figure 020-18: Removing the Cover Strip from Its Guide ................................................ 38
Figure 020-19: Hinge Removal ......................................................................................... 38
Figure 020-20: Cord Guide with Cover Removal .............................................................. 39
Figure 020-21: Hinge Removal through Casing Top Opening ......................................... 39
Figure 020-22: Built-In Socket Installation ........................................................................ 40
Figure 020-23: Slide Sleeve Installation ........................................................................... 40
Figure 020-24: Install the Cover on the Cord Guide ......................................................... 41
Figure 020-25: Laying the Wires in the Cord Guide ......................................................... 41
Figure 030-1: Electronic Connections .............................................................................. 46
Figure 030-2: Direct-Connect Hose Connection ............................................................... 47