OM-225 389 Page 16
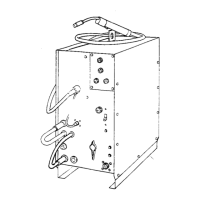
3-2. Ammeter, Voltmeter And Parameter Display
1 Ammeter
Displays actual amperage while
welding. Meter also displays preset
parameters for any of the following
units of measure when they are ac-
tive: amperage, time, percentage or
frequency.
2 Voltmeter
Displays output or open-circuit volt-
age while output is on. Meter also
displays preset parameters.
1
2
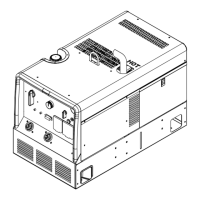
3-3. Amperage/Purge Control
1 Main Amps Push Button
(Amperage Control)
2 Encoder Adjustment Control
3 Ammeter
See Section 3-7 for Amperage
range.
Amperage Control:
Press and release Main Amps push
button, and turn Encoder control to
set weld amperage. Weld amper-
age setting is also peak amperage
when Pulser function is active (see
Section 3-5).
Purge Control:
Press and hold Main Amps push
button to activate the gas purge.
Purge time can be adjusted from 1
to 50 seconds by turning Encoder
control while holding the Amps but-
ton. Preset purge time is 0 seconds.
2
200 A
1
3
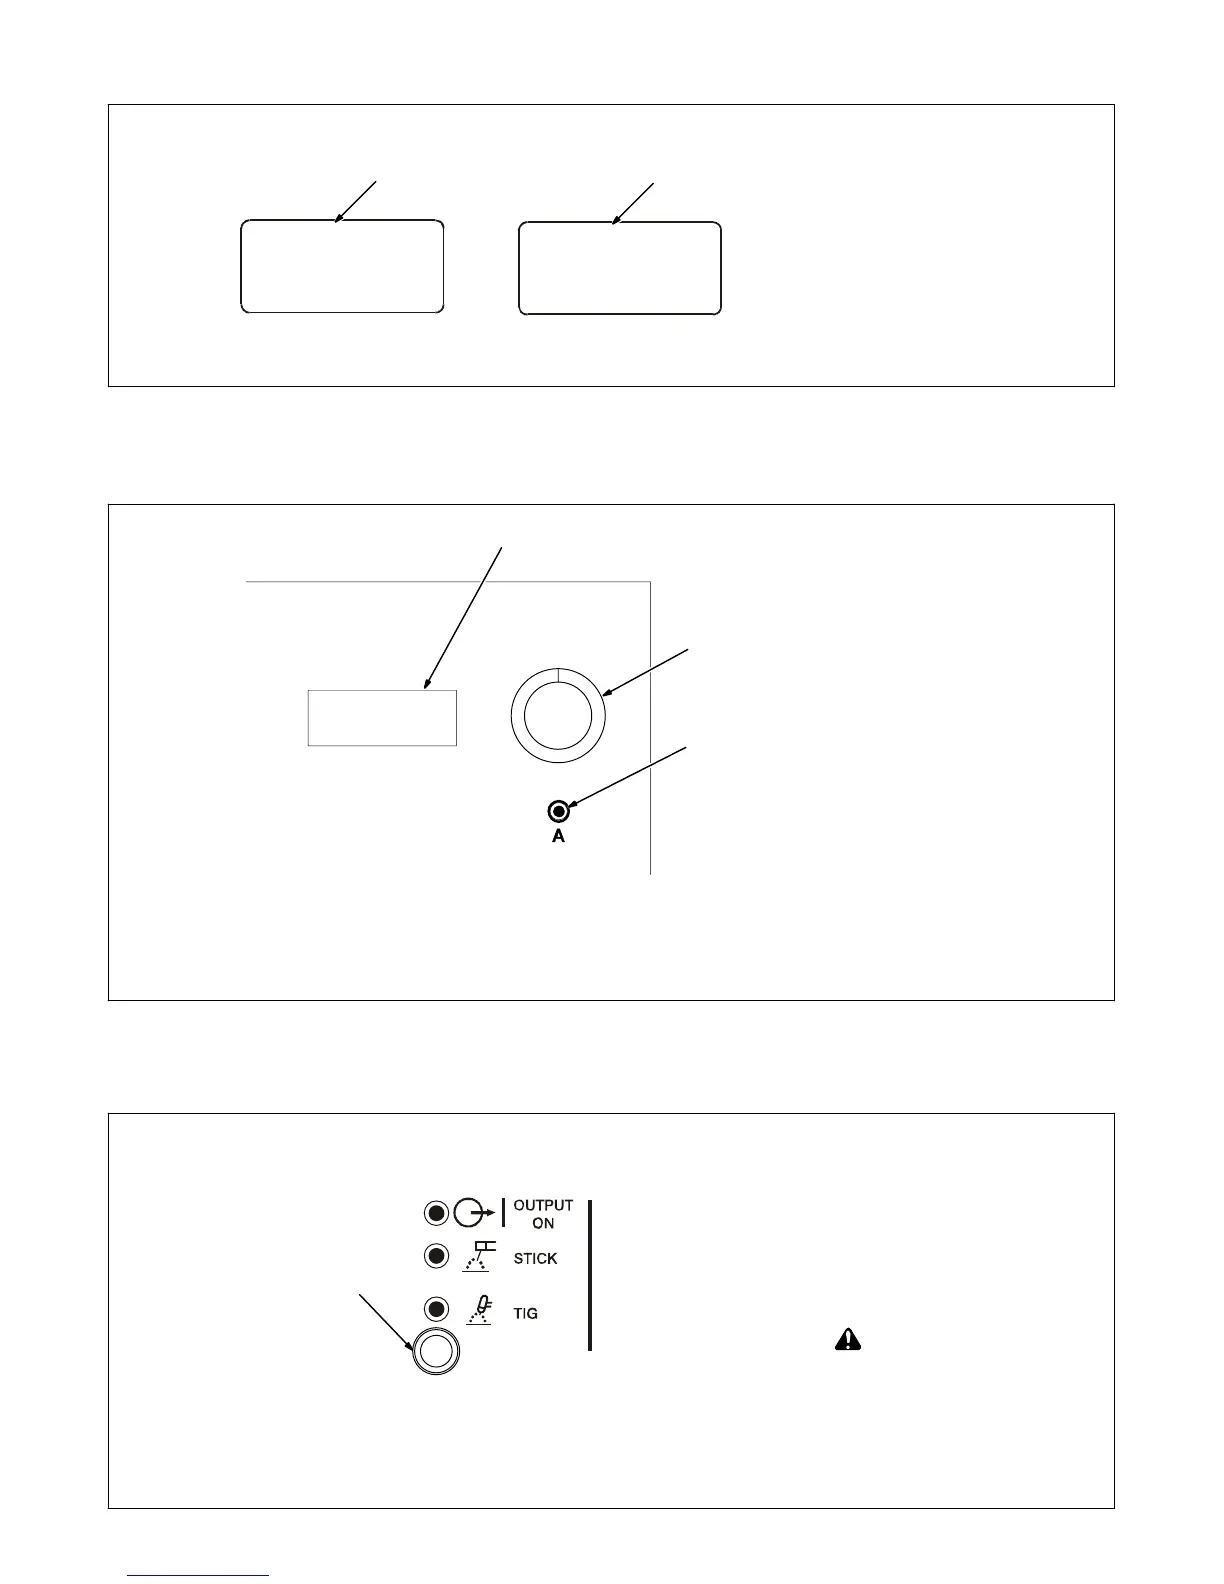
3-4. Process Control
1
1 Process Control
Press Process button until desired
process LED is illuminated:
TIG - When selected, an HF (non-
contact) arc starting method is acti-
vated. Weld output is not available
until a remote control is activated.
This method can be used with either
AC or DC TIG welding. Make con-
nections according to Section 2-13.
! Weld output terminals are en-
ergized when power is on, and
Output On LED is lit.
Stick (SMAW) - When Stick is se-
lected, weld output is on, terminals
are energized, and output LED is lit.
This method can be used with either
AC or DC Stick welding. Make con-
nections according to Section 2-14.