OM-284794 Page 20
F
Complete Parts List is available at www.MillerWelds.com
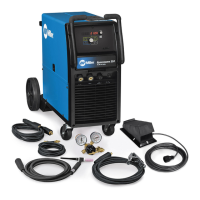
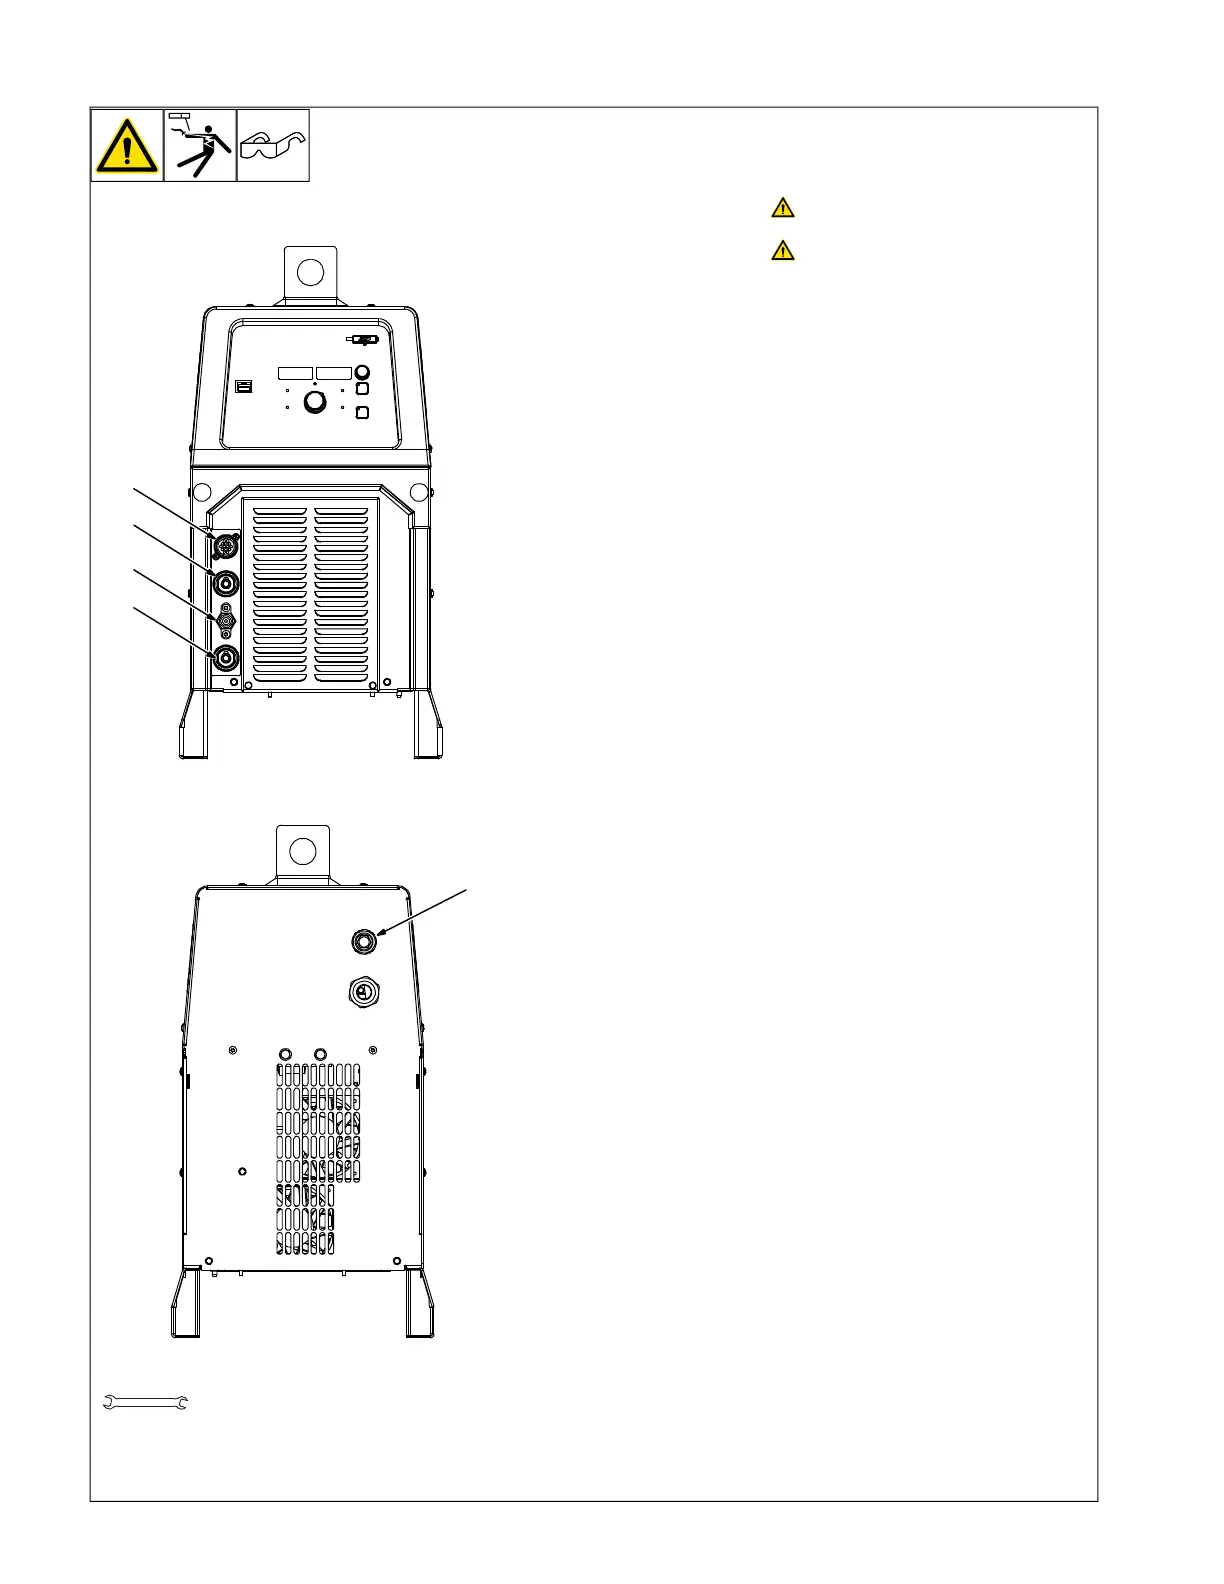
5-3. Connecting Weld Cables, Remote Control, And Shielding Gas
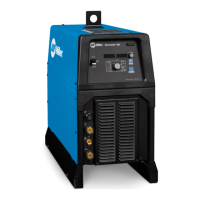
Front Panel
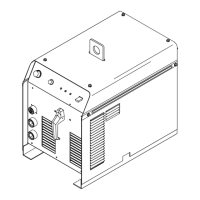
Rear Panel
OM-222 Page 1
allen_wrench
NGO’s
tools/
flathead philips head wrench
pliers
knife
heavy-duty workclamp light-duty workclamp wirecutter frontcutter
allen_set
needlenose
steelbrush nutdriver
chippinghammer
solderiron
stripcrimp
drill
torque wrench
socket wrench
hammer awl file
crimper
paintbrush
feelergauge flashlight ruler
toothbrush
greasegun
qtip (swab)
vicegrip
handream
punch
filterwrench
strapwrench
airgun
solvent pinextractor eprompuller pipewrench
torque screwdriver
crescent wrench
11/16 in.
Turn off power before connecting
to weld output terminals.
Do not use worn, damaged, under-
sized, or repaired cables.
Connections
1 Remote Control Receptacle (see Section
5-9)
2 Electrode Weld Output Terminal
For TIG (GTAW), connect torch to this
terminal.
For stick (SMAW), connect electrode holder
to this terminal.
3 Gas Out Connection
Requires an 11/16 in. wrench.
4 Work Weld Output Terminal
Connect work clamp to this terminal.
5 Gas In Connection
Fitting has 5/8-18 in. right hand threads, and
usually requires an 11/16 in. wrench. Maxi-
mum pressure is 125 psi (.86 MPa).