SECTION 2
INSTALLING THE PRINTER
27
If ink doesn’t start filling all tubes during the first 5-seconds of the first ink pump cycle:
Using deionized or distilled water; re-wet your lint-free cloth generously. Don’t wait for the pump
to stop, open the clamshell and wipe along the Nozzles with the cloth, back and forth twice.
Immediately after re-wetting the nozzles, carefully close the clamshell. The ink tubes should begin
filling.
Tip: To save time; prepare a pre-wetted lint free cloth before you begin the priming process.
If you reach the end of the second pump activation cycle and the printhead still fails to prime
(one
or more of the ink tubes have not filled):
i. Release the printhead (using the Release Printhead feature from the Toolbox),
ii. Once the latch opens, carefully retract the latch fully.
iii. Release the printhead from the electrical contacts by tilting it back; but don’t remove
the printhead.
iv. Tilt the printhead forward to reconnect it to the electrical contacts.
v. Repeat the process from Step 7. See Caution below.
11. Once the printhead priming process is successful (all ink tubes are filled, in and out of the
printhead); it will take an additional 5 - 10 minutes for the printer to complete the process. During
this time the printer will emit a number of chirps, whirrs and other noises.
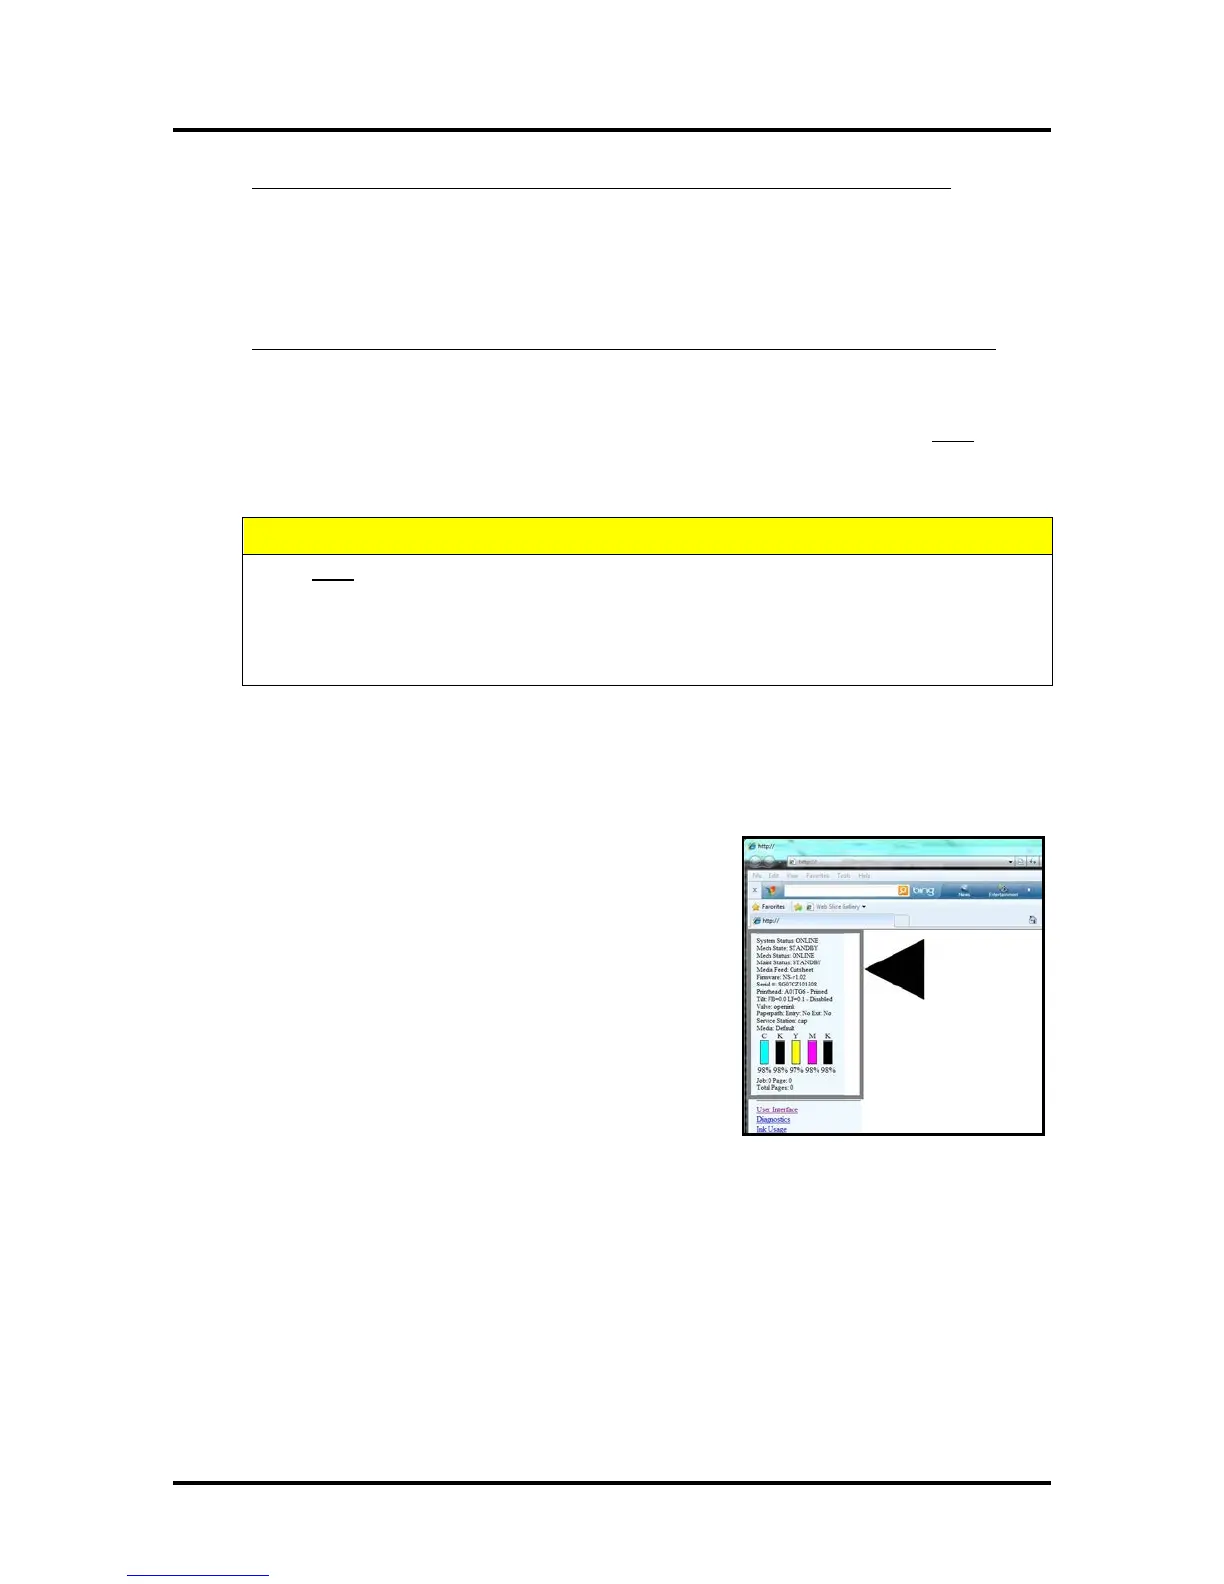
12. Watch the Toolbox screen on your computer. Notice that
some of the information is in red. As the printer circulates
ink and primes the system these fields should all turn
black. This may take a few minutes.
NOTE: If any Ink Tank is less than 30% full, the
Printhead Cartridge priming process may fail (not enough
ink to completely fill the system). In this case you will
need to replace the tank(s) containing low ink and repeat
the printhead priming process. After the Printhead is
primed, you can re-install the original Ink Tank(s) to use
up any remaining ink. Please refer to the section titled
“Replacing the Ink Tanks”.
13. When the printer stops processing, and all the fields in System Status are black, the printer is ready
for use. When the printer is ready for use you will also observe the following printer Control Panel
condition: ON/OFF button light ON, Paper/Resume light OFF, Pause/Cancel light OFF.
14. Close the top cover.
15. IMPORTANT! Whenever a printhead cartridge is installed or re-installed, it must be conditioned
to perform properly. Before printing a live print-job; please refer to the section titled “Printhead
Cartridge Conditioning”.
DO NOT REPEAT THIS PRIMING PROCEDURE MORE THAN TWICE IN A ROW.
DAMAGE TO THE INK SYSTEM MAY RESULT.
AFTER TWO ATTEMPTS, LET THE PRINTER SIT FOR AT LEAST 1 - 2 HOURS
BEFORE YOU ATTEMPT TO PRIME THE PRINTER AGAIN. CONTACT TECHNICAL
SUPPORT FOR ASSISTANCE IF PROBLEMS PERSIST.
 Loading...