68
Reference section 4 — Creating waypoints and routes
Creating avoidance-area waypoints
Northstar 6000i
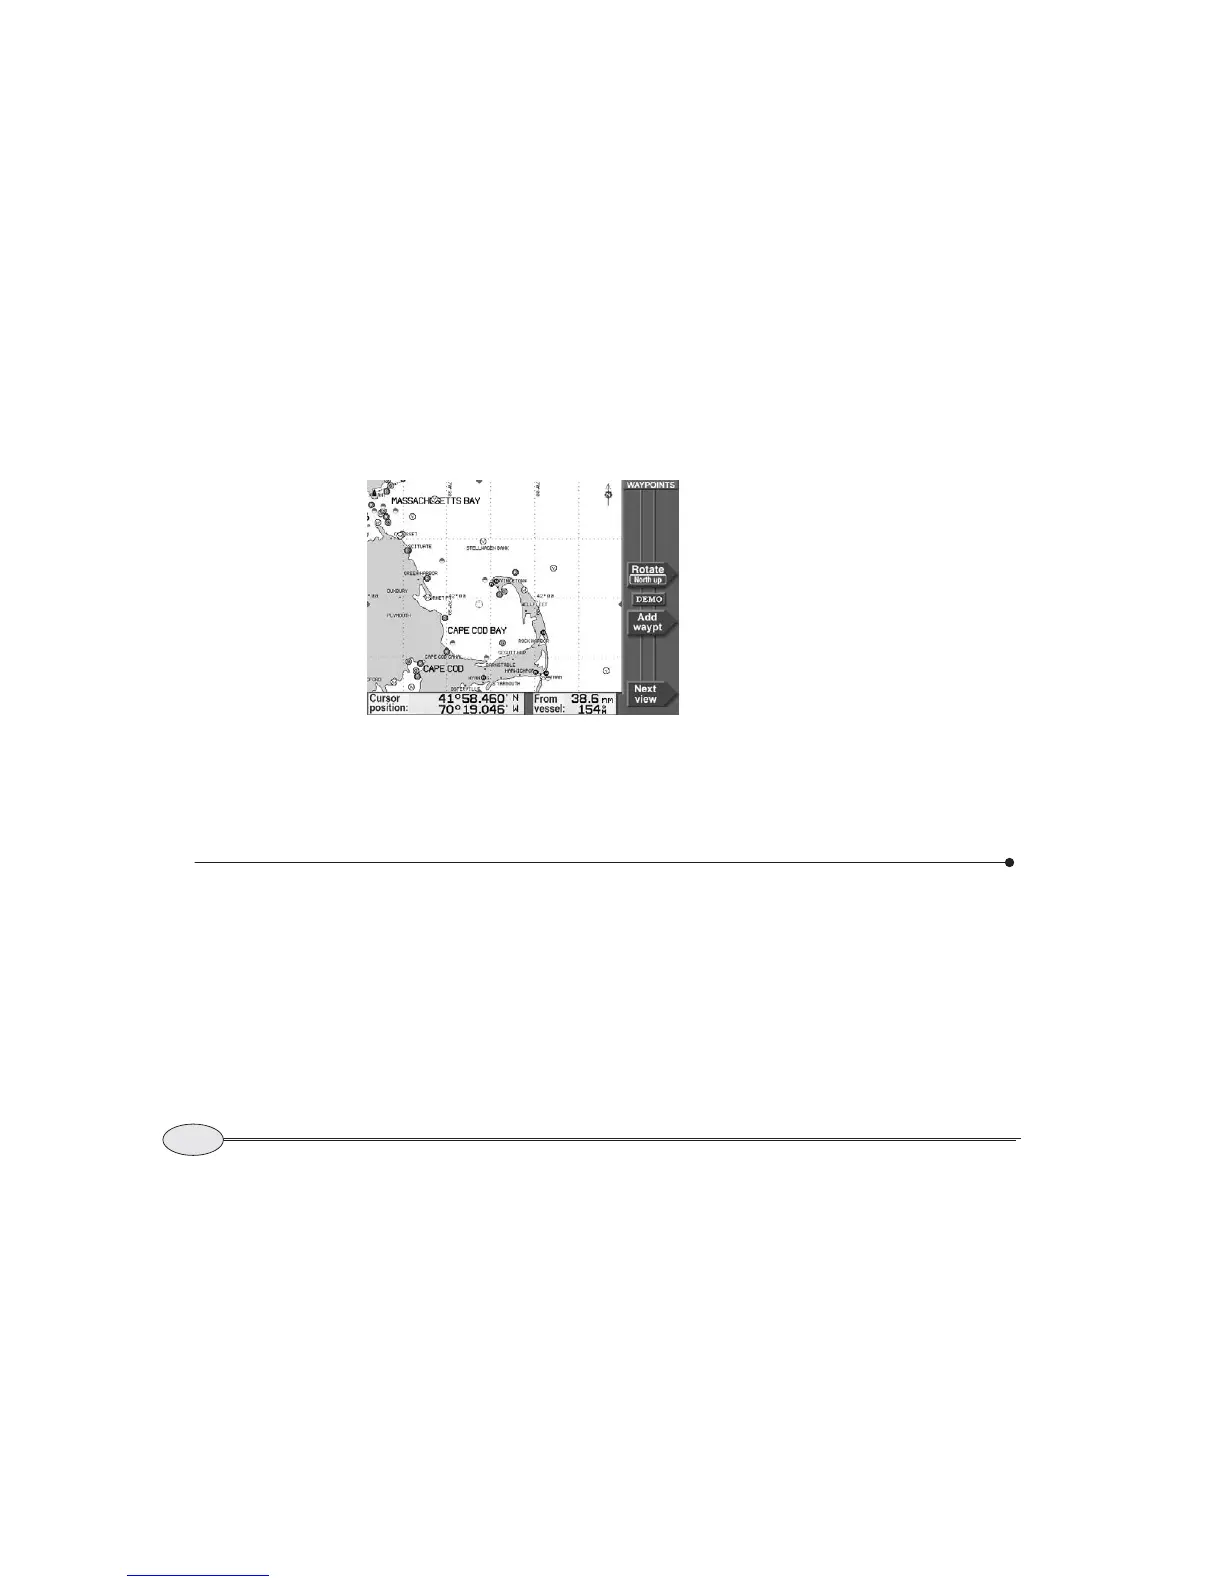
3. Press the cursor pad to move the cursor
to the position of the new waypoint. You
can zoom in or out, as necessary, to pre-
cisely place your waypoint.
4. Press Add waypt to capture the cursor
coordinates and display the NEW WAY-
POINT
screen.
5. Now follow the instructions above for
entering a waypoint numerically, start-
ing with Step 4. The coordinates of the
cursor (Step 6) will be already entered —
don’t change them unless you mean to.
Creating avoidance-area waypoints
You can make avoidance areas from new or
existing waypoints. Then, if you travel into
a designated avoidance area, the 6000i will
sound a beep and flash an alarm on the
screen.
The 6000i displays an avoidance area on
the
CHART screen as a waypoint
surrounded by a circle. The circle is the
avoidance area’s warning radius, which
you set when you create or edit the
waypoint. You can use the international
“slashed circle” no-entry symbol as the
avoidance point’s symbol to help you
quickly see it on the chart.
The waypoint is treated as an avoidance
point only if you specify a warning radius
larger than zero. In other words, just
assigning the slashed circle symbol to a
waypoint doesn’t cause the 6000i to treat
that waypoint as an avoidance point.
Waypoints chart screen


 To Next Page