CHAPTER 15
PROFILE CHANGEOVER PROCEDURE
62
30. Start the machine again and slowly jog the panel approximately 6” past the exit
die and stop. Again, TURN THE MACHINE OFF.
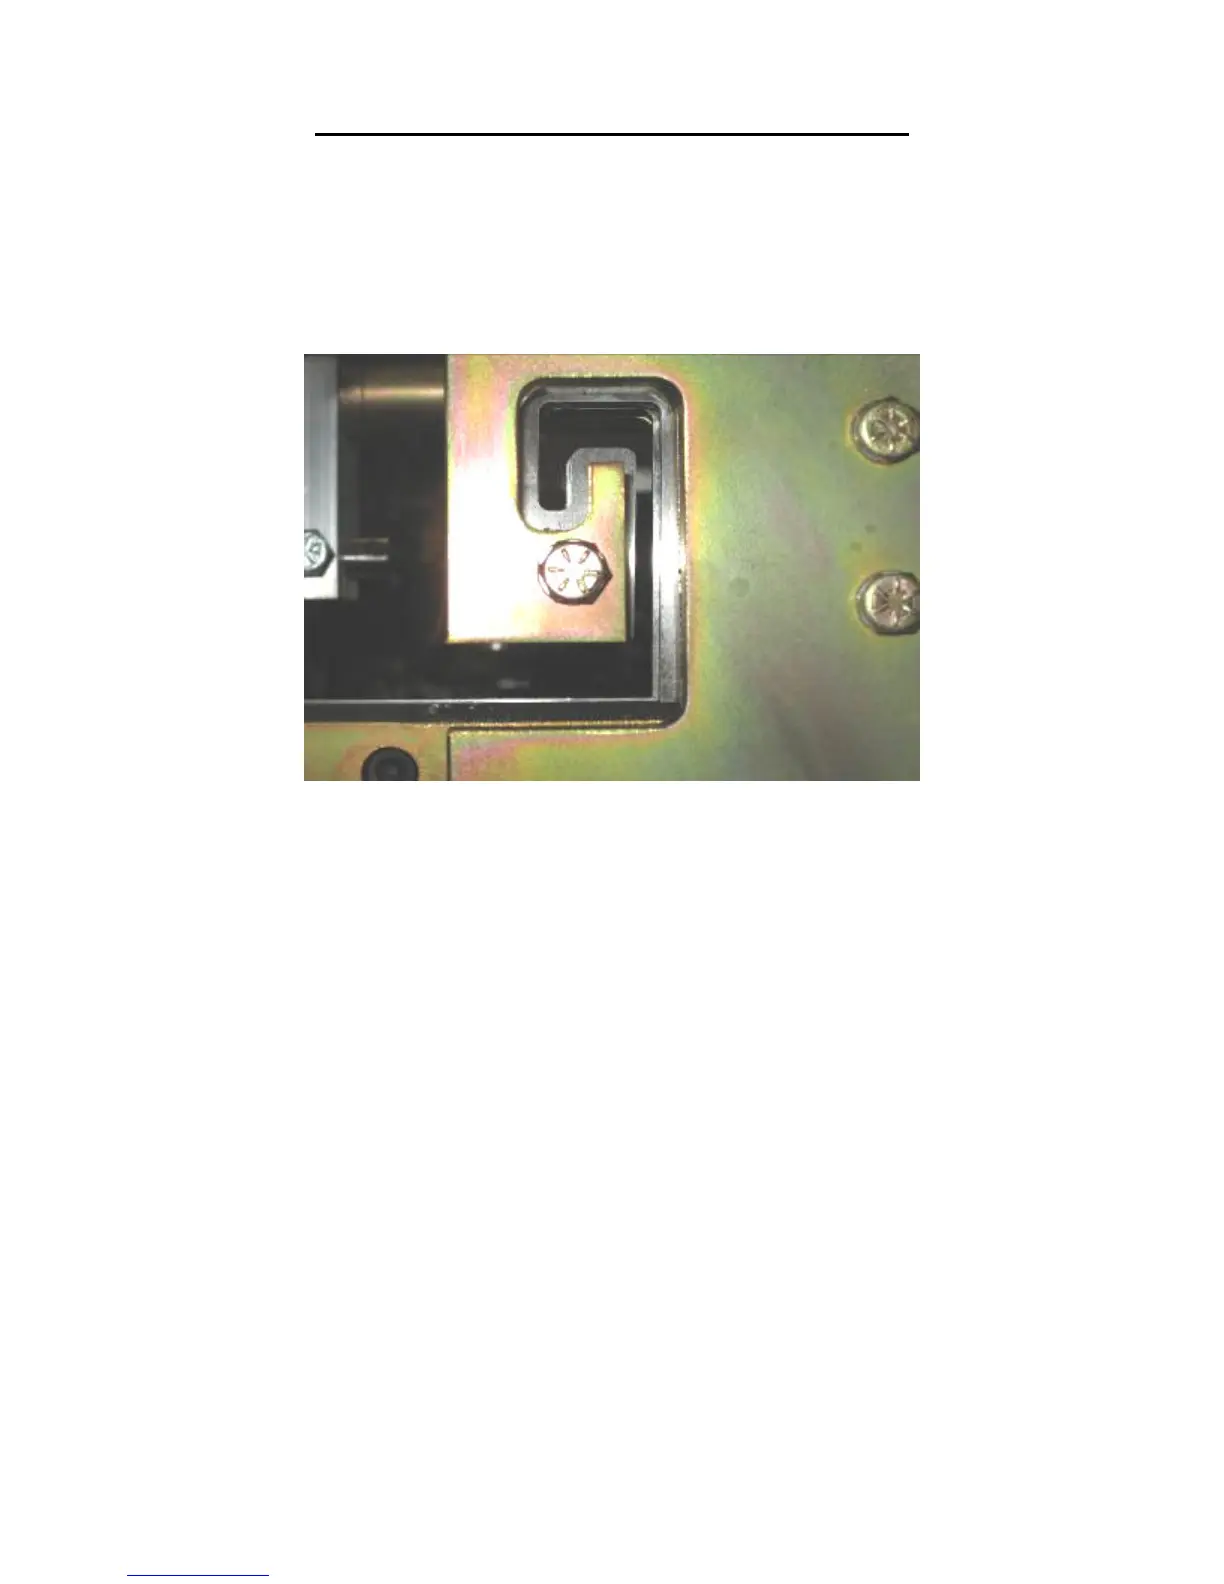
31. Adjust the male and female exit dies so that they are offset to the outside of the
entry die by approximately 1/64” and lock down the two “C” bolts (Figure 58) on
each assembly. This offset is necessary so that after a cut is made, the leading
edge of the panel does not hang up on the exit die.
Figure 58: Exit Die Adjustment
32. Look down the leg of the panel and make sure that the entry and exit dies are not
touching the panel as it passes through them.
33. Start the machine and press the shear down button to cut off the panel, then jog
the material through the shear approximately 2” and stop.
34. Inspect the two cuts and adjust the dies as necessary until an acceptable cut is
achieved. Again, TURN THE MACHINE OFF BEFORE MAKING ANY
ADJUSTMENTS! NEVER REACH THROUGH THE SHEAR WHILE
THE MACHINE IS RUNNING. SERIOUS INJURY COULD RESULT!
35. Once the cut is acceptable, you are ready to start panel production.