21
• Pressing the A button momentarily (< 2 seconds) will save
the Hour Format Set Point and access the SET TIME screen
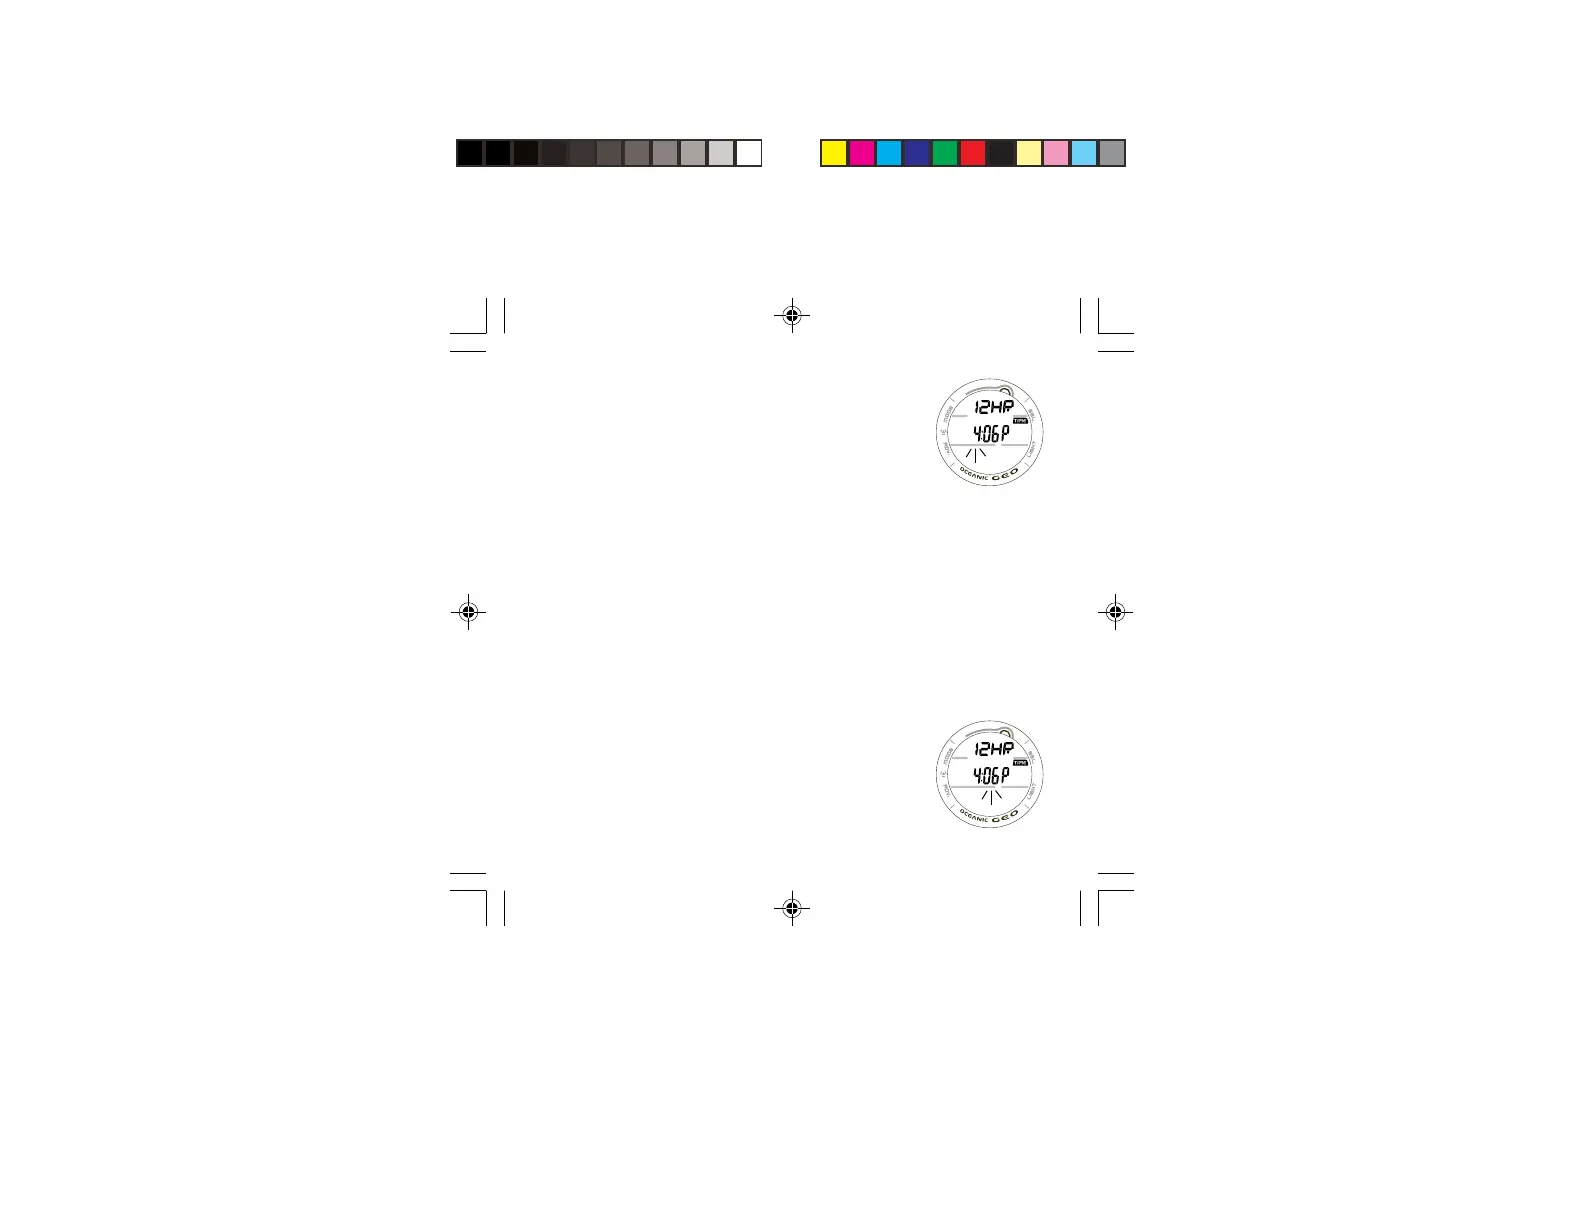
with the HOUR Set Point flashing (Fig. 9).
• HINT - Pressing the A button repeatedly (< 2 seconds each
time) will step through the Time/Date Settings, bypassing
those that don't require setting.
Set Hour and Minute
The graphic A (= Am) or P (= Pm) is displayed when Time is in
12 Hour Format.
• Depressing and holding the S button while the HOUR Set
Point is flashing will scroll through the Set Points in 1 Hour
increments at a rate of 4 per second from 12: A to 11: P
(or 0: to 23: if set for 24 Hour Format).
• Pressing and releasing the A button momentarily (< 2
seconds) will save the Hour Set Point and/or advance to
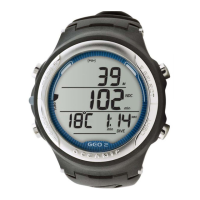
SET MINUTE with the MINUTE Set Point flashing (Fig. 10).
• Depressing and holding the S button while the MINUTE
Set Point is flashing will scroll through the Set Points in 1
minute increments at a rate of 4 per second from :00 to
:59.
• Pressing and releasing the A button momentarily (< 2
seconds) will save the Minute Set Point and/or advance to
the SET DATE screen with the YEAR Set Point flashing.
Fig. 9 - SET HOUR
Fig. 10 - SET MINUTES


 To Next Page