45
When the Odyssey software starts, it goes through an autodiscovery
process that finds any Odyssey instruments that are on the same
network.
7)
To confirm that the Odyssey software can communicate with the
Odyssey Imager, choose
Settings > System Administration
.
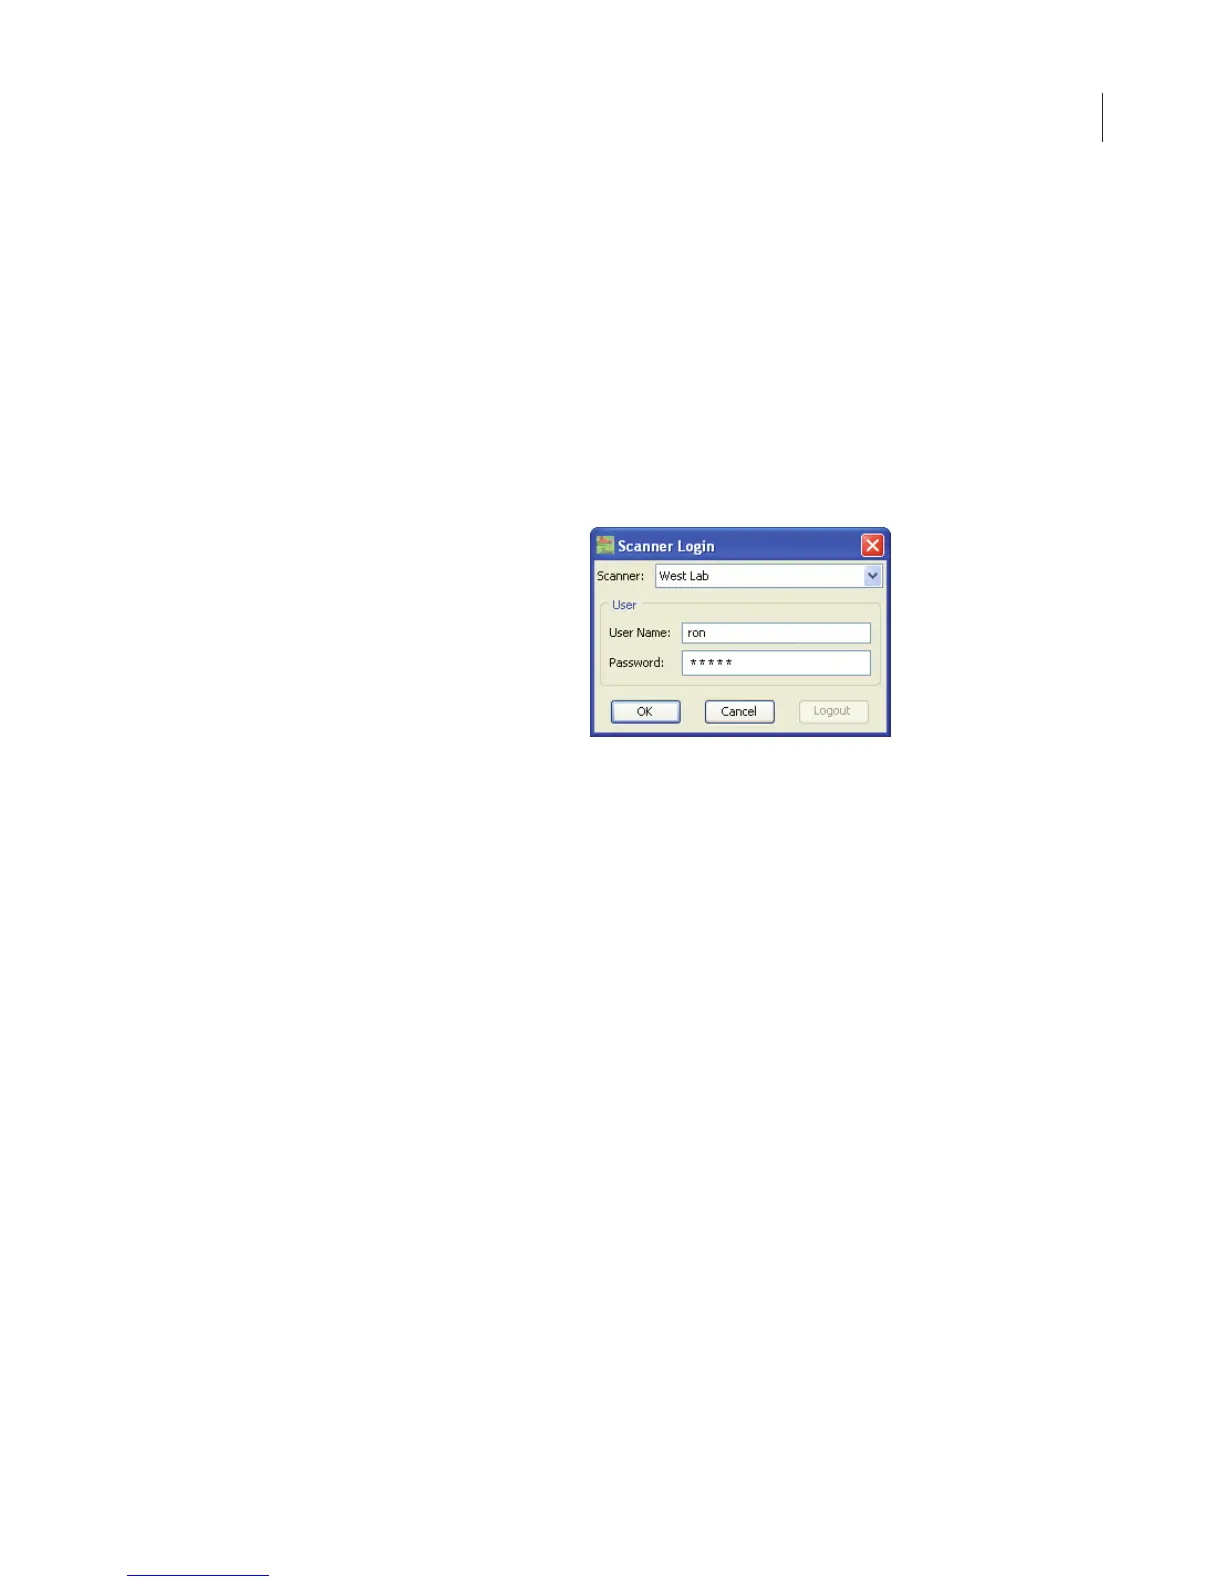
8)
In the Scanner Login window, choose your scanner, enter the
name and password of an account with
Administrator
access
rights, and click
OK
.
The default administrator account shipped with the Odyssey
instrument is named “admin” and the password is also “admin” (case
sensitive). If you can log in using the default admin/admin account,
you are successfully connected and will be able to create new user
(control) accounts.
For best security, change the password for the “admin” account and
keep a record of the new password in a safe place.
9)
If you want to use the Basic configuration as a stand-alone
network, setup is now complete. You should be able to commu-
nicate normally with the Odyssey Imager and start new scans.
You are also ready to connect the computer to your local network
by using another of the Cat. 5 RJ-45 cables included to connect
NIC-1 on the computer to your LAN. Configure NIC-1 with either
an automatic address (DHCP) or a static IP address as directed by
your network administrator. (The computer is set up for automatic