CHAPTER 4
44
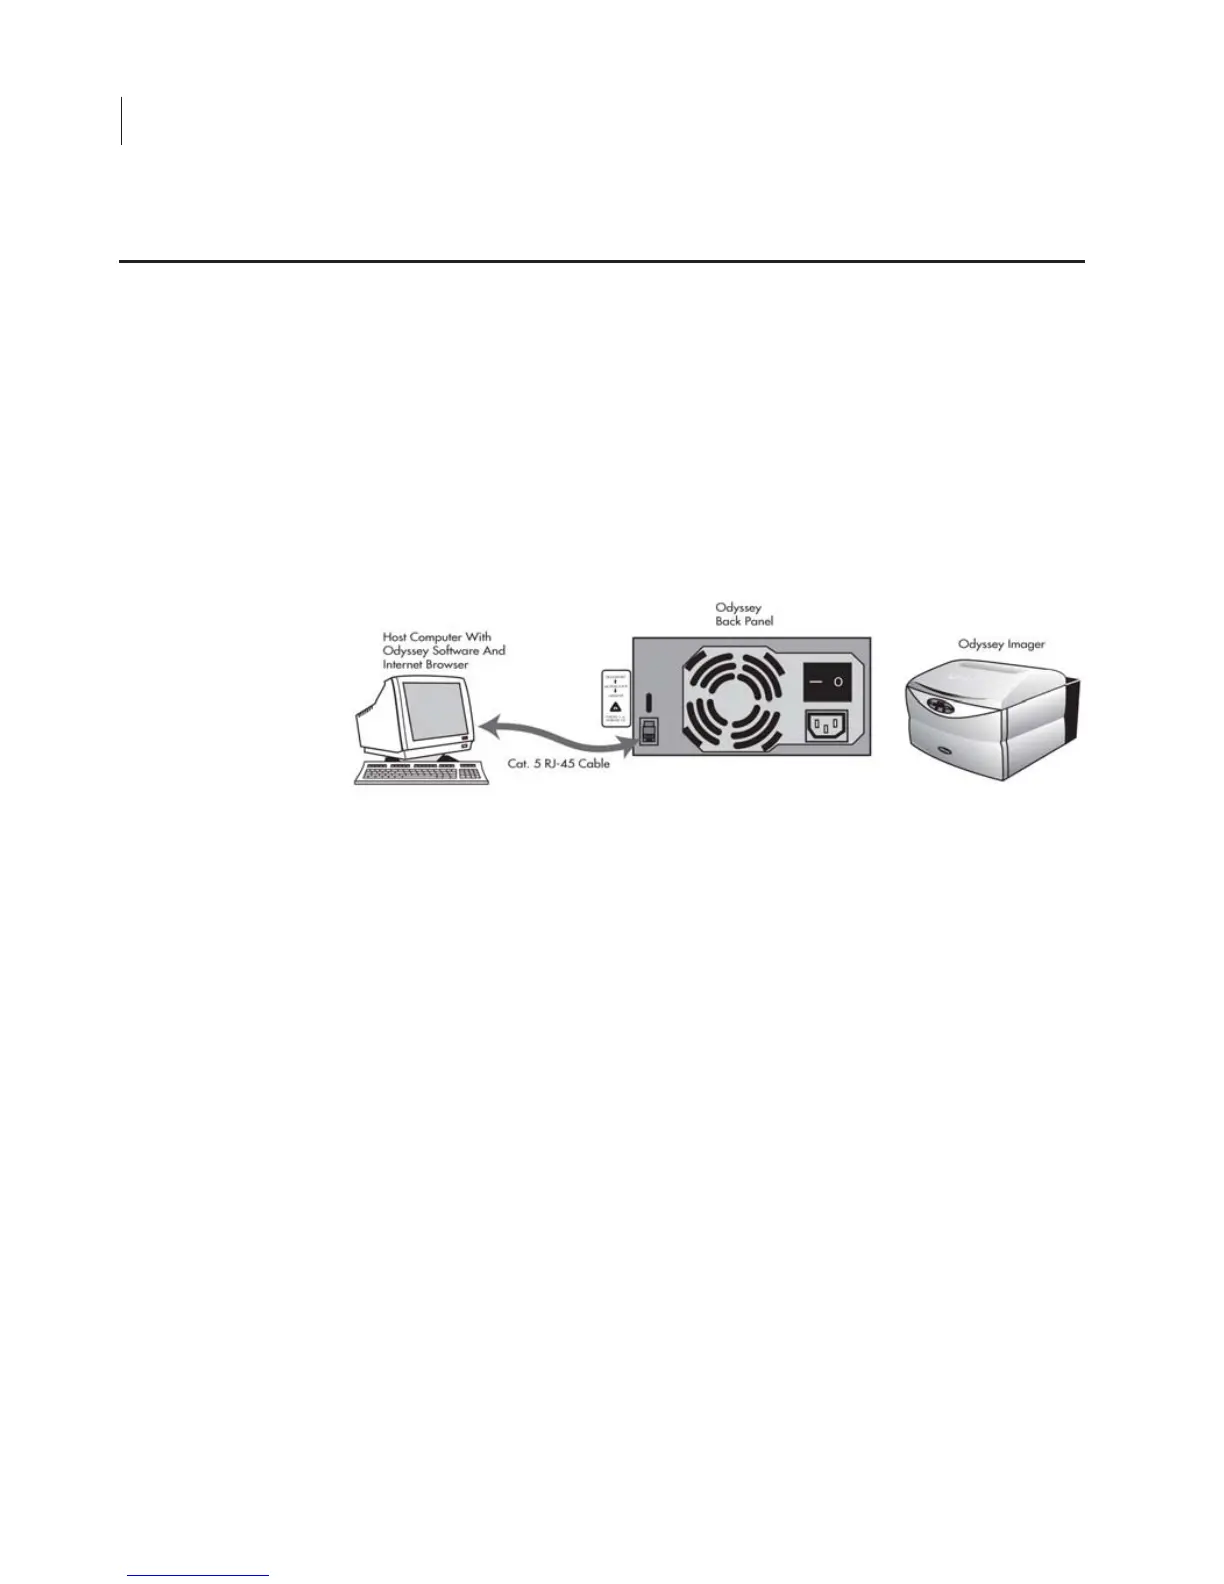
Connecting the Odyssey Imager to a Network
In this Basic configuration, the Odyssey
®
Imager is connected to the
computer by the included Cat. 5 RJ-45 cable. Only the computer
connected to the Odyssey Imager can be used to start scans and
analyze images, because there is no network connection to the
Odyssey Imager. Other computers on the network will not be able to
access the Odyssey Imager.
1) Start with the Odyssey Imager and computer powered off.
2) Use one of the Cat. 5 RJ-45 cables included to connect the
Odyssey network port and the NIC-2 on the computer.
3) Turn on the computer and the Odyssey
®
Imager and wait for their
start-up procedures to complete.
4) Set up the Odyssey Imager with a static IP address. See Config-
uring the Odyssey Imager with a Static or Automatic (DHCP) IP
Address later in this chapter.
5) Set up the computer NIC-2 with a static IP address. See Config-
uring the Computer with a Static or Automatic (DHCP) IP
Address later in this chapter.
6) Start the Odyssey Application Software on your computer.
Assembling the Basic Hardware Configuration
 Loading...