DMTA-20006-01EN, Rev. B, February 2014
Setup and Operation
27
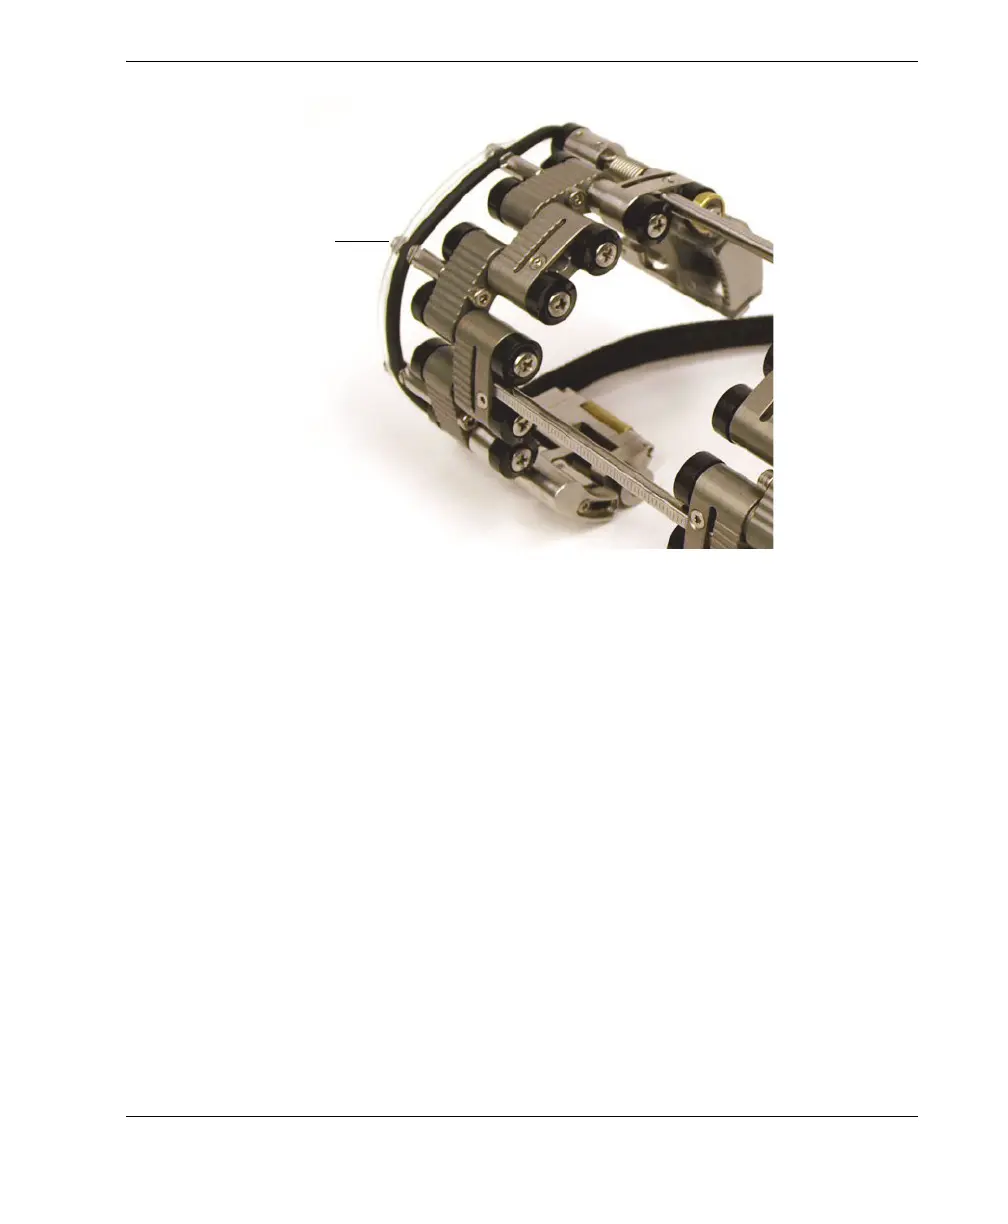
Figure 2-6 Clipping the tube and the cable on the post
2.5 Configuring the Scanner Using the Setup Template
You must configure the COBRA scanner for the pipe outside diameter on which you
want to perform the inspection. The setup templates offer guiding patterns for a wide
range of standard pipe outside diameters. Using a setup template simplifies the
scanner setup and eliminates the need for an actual pipe sample.
To configure the scanner using the setup template
1. You first need to disassemble the scanner components:
a) If applicable, loosen the crossbar screws on both sides of the scanner, and
then remove the one or more crossbars.
b) Unclip the irrigation tubes and probe cables from the cable-management
posts.
c) Fully loosen the self-captured pivot screws from all the links.
d) Disassemble the scanner components (links, crossbars, tails, and probe
supports).
Tube and cable clipped
on the post