DMTA-20006-01EN, Rev. B, February 2014
Setup and Operation
43
8. Tighten the crossbar screw(s) on the left hand side of the scanner.
9. Slide the scanner sides apart.
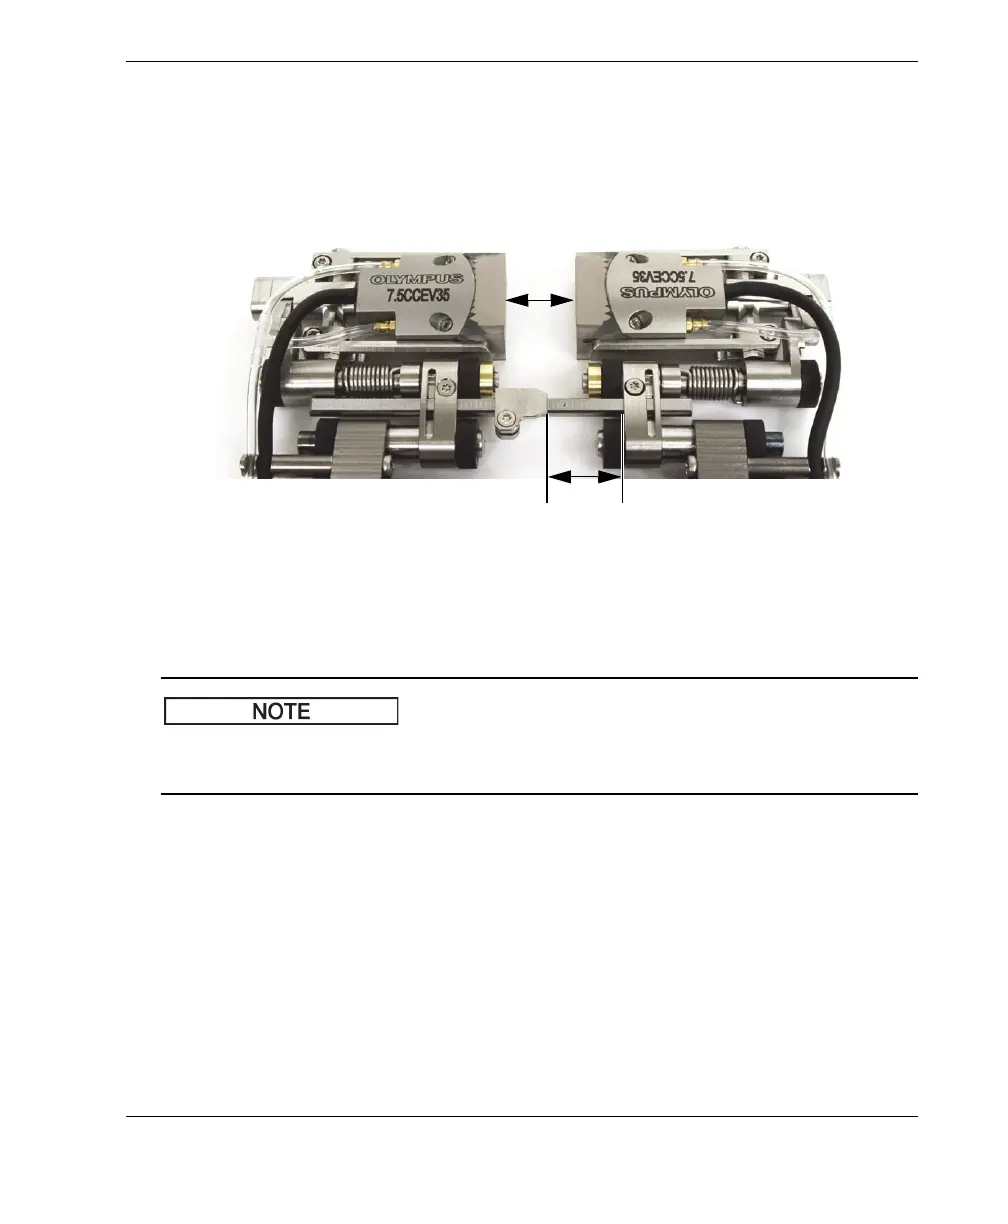
The number of graduations between the wedge-separation indicator(s) and the
right hand side link(s) indicate the distance between the wedge faces in
millimeters (see Figure 2-27 on page 43).
Figure 2-27 Reading the wedge separation
10. Once the desired separation is obtained, tighten the right hand side crossbar
screw(s).
Once the wedge-separation indicators are set as per the above instructions, to change
the wedge separation, only loosen the right hand side crossbar screw(s).
2.8 Operating the Scanner
Once the COBRA scanner is setup for the size of pipe you wish to inspect (see
section “Configuring the Scanner Using the Setup Template” on page 27 or
section “Configuring the Scanner Without the Setup Template” on page 35), use the
following procedure to operate the scanner.