119
Configuring the Master
Section 6-4
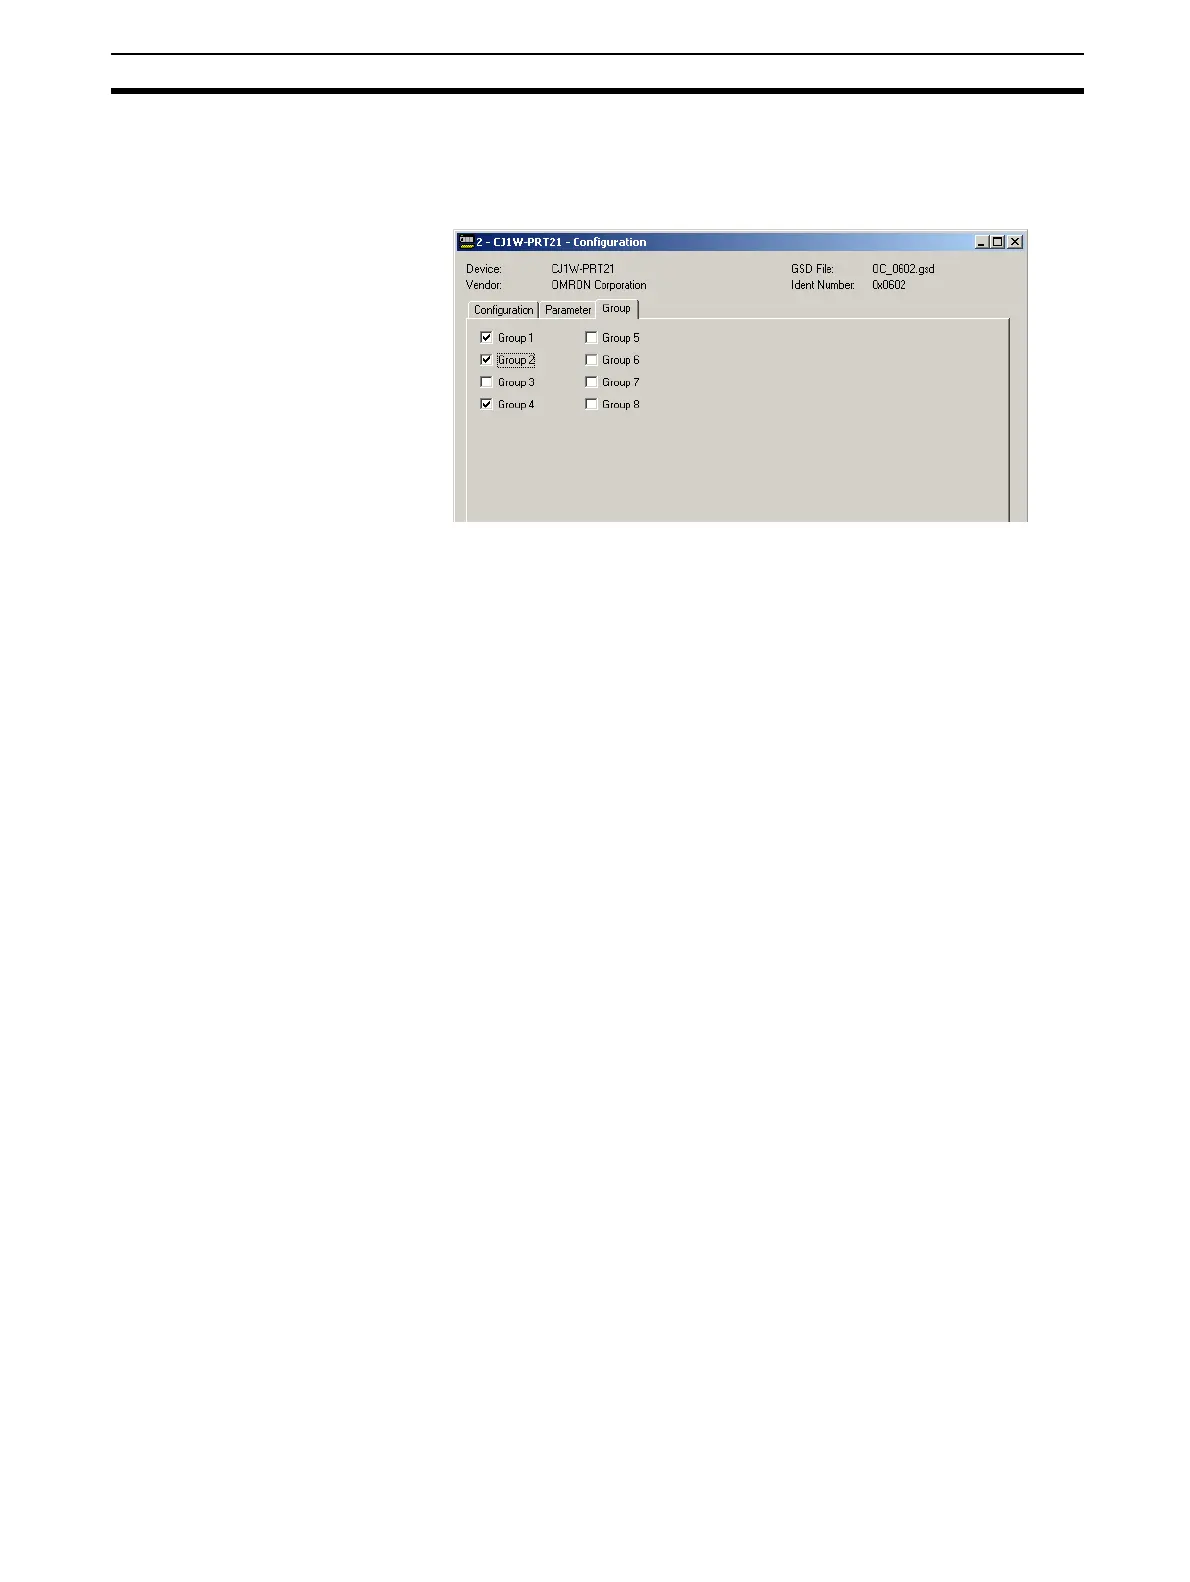
Example The assigning slave devices to groups is entirely application dependent. The
figure below shows the Group selection tab for the CJ1W-PRT21. This slave
has been assigned to group 1, 2 and 4.
After making the group assignment, press the OK button to save the changes
and close the DTM Configuration User Interface.
6-3-4 Completing the Slave Configuration
Before configuring the Master DTM, the other two slaves in the network need
to be configured.
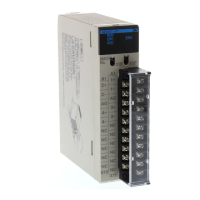
Example The CPM1A-PRT21 PROFIBUS-DP slave device is a non-modular slave, i.e.
it has only one I/O module, and the user is therefore not offered a choice of
modules. When opening the DTM, this module has already been configured.
Also the CPM1A-PRT21 has five additional parameter byte, which all have to
be set to 0. For the example the group assignment for this slave has been set
to is set to group 1, 2 and 3.
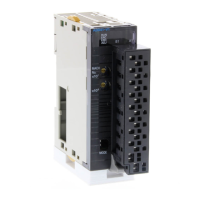
Example The F150-PRT is a modular slave, although only one I/O module can be con-
figured at a time. For the example it has been assigned to group 1, 3 and 4.
6-4 Configuring the Master
After configuring all the slave DTMs, the PROFIBUS-DP Master DTM must be
configured. In order to open the Master DTM Configuration Interface do either
one of the following.
• Select the Master DTM in the Network Window and double-click the left
mouse button.
• Select the Master DTM in the Network Window, and right-click the mouse.
From the context menu, select Configuration.
The DTM Configuration User Interface is shown below.