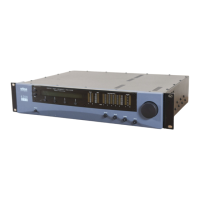
OPTIMOD MAINTENANCE
4-7
18. Replacing the CPU Board:
To avoid bent pins or other damage verify that all connector pins are aligned be-
fore applying force.
Referring to step 10, follow the instructions in reverse.
19. Replacing the Serial Port Board:
Referring to step 9, follow the instructions in reverse.
20. Reassembling the Color LCD Display and carrier board.
Referring to step 8, follow the instructions in reverse.
Verify that pin one of the ribbon cables (red stripe) is oriented correctly.
Pin 1 is indicated by the number “1” or a square pad.
21. Replacing the Rotary Encoder Board.
Referring to steps 6 and 7, follow the instructions in reverse.
Verify that pin one of the ribbon cables (red stripe) is oriented correctly.
Pin 1 is indicated by the number “1” or a square pad.
22. Replacing the Headphone Amplifier Board.
Referring to step 5, follow the instructions in reverse.
23. Replacing the Front Panel.
Referring to step 4, follow the instructions in reverse.
24. Chec
k your work.
Referring to the cable wiring diagram on page 6-37, verify that all cables have
been securely reattached.
Verify that all removed hardware has been replaced and is secure.
25. Replace the Top Cover.
Place top on the unit and reattach the seventeen thread-forming screws and five
machine screws.
The 8685 can now be returned to service.