Note: DHCP IP address: The assigned IP should persist between
device reboots, as it will ask for the same address after every
bootup.
3.
To use a manual network configuration from UART:
Connect the device using UART (see "Logging from the UART" on
page20).
Follow the steps described in network configuration from CLI (see "Network
configuration from CLI" on page37).
Reboot the device.
Connect eth0 or eth1 (according to the user network configuration).
3.2.4 Connecting on Linux (Ubuntu 18.04 LTS)
3.2.4.1 Logging from UART
To connect to the device terminal via UART, use the RJ45-RS232(m) and RS232(f) USB
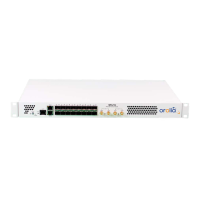
to connect to the UART management port, in the front panel of the WR-Z16 as shown in
the "Front panel" on page8 Hardware section.
The recommended software to manage UART connections on Linux is picocom, which
you should be able to install just by running with super user privileges:
sudo apt install picocom
Once installed, the command to establish the connection with picocom is similar to:
picocom –b 115200 /dev/ttyUSB<X>
where ttyUSB<x> corresponds to the instance of the USB-UART driver. In most of the
case, it will be ttyUSB0 (e.g., only one USB-UART cable connected to the PC) and the
expected output is as follows
$ sudo picocom -b 115200 /dev/ttyUSB0
Calling 'sudo /usr/bin/picocom -b 115200 /dev/ttyUSB0 -b 115200'
Exiting Ctrl+A, then Ctrl+X
picocom v2.2
port is : /dev/ttyUSB0
lowcontrol : none
baudrate is : 115200
parity is : none
databits are : 8
22
CHAPTER 3 • WR-Z16 User Manual Rev. v3.4
3.2 Connecting to the Device
 Loading...