26
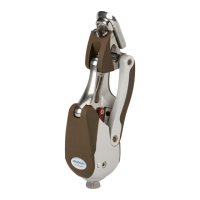
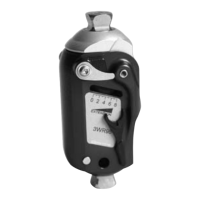
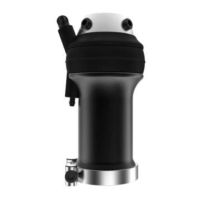
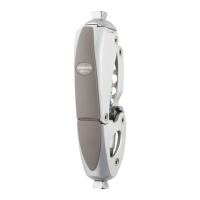
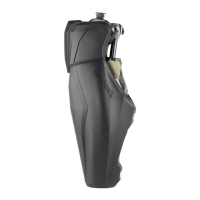
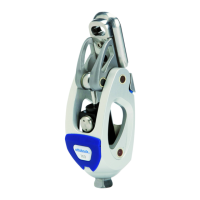
7E9 Hip Joint
Fig. No. Quantity Designation Reference number
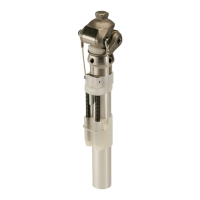
2 3 1 Intermediate Piece (up to 100 kg) 4G438=G
– – 1 Bottom Plate (up to 125 kg) 4G420-1=GS
– – 1 Intermediate Piece (up to 125 kg) 4G438-1=G
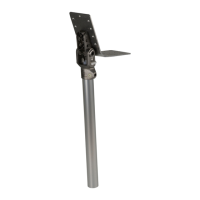
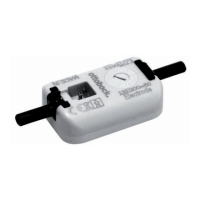
3 – 0 Reference Determination Tool 743A29
– 1 7E9 Quick Start Guide 647H540
1 8 1 Pyramid Dome Protector Kit 2Z11=KIT
5 Preparation for Use
CAUTION
Incorrect alignment, assembly or adjustment
Injuries due to incorrectly installed or adjusted as well as damaged prosthesis components
►
Observe the alignment, assembly and adjustment instructions.
INFORMATION
Correct alignment is crucial for the optimal function of the prosthesis!
Therefore, a test socket is first used for all of the described tasks.
INFORMATION
Optimum prosthesis alignment requires the use of a functional prosthesis component with tor
sion unit; this enables a more harmonious and comfortable gait pattern for the patient. It also
reduces wear on the prosthetic joint. Either a torsion adapter (e.g. 4R39) or a prosthetic foot
with torsion unit (e.g. 1C61) is recommended for this purpose (see the chapter "Combination
Possibilities" – see Page22).
Fabrication
The fabrication of the prosthesis is described in the chapters that follow.
1) Taking the Plaster Negative (see Page27)
2) Fabricating the Test Socket (see Page27)
→ The tasks that follow are completed with the test socket.
3) Determining the Alignment Reference (see Page27)
4) Bench Alignment (see Page28)
5) Static Alignment (see Page29)
6) Dynamic Trial Fitting (see Page30)
7) Finishing the Check Prosthesis (see Page33)
→ The tasks that follow are completed with the definitive socket.
8) Reinforcing the Prosthetic Socket (see Page33)
9) Determining the Alignment Reference (see Page27)
10) Bench Alignment (see Page28)
11) Static Alignment (see Page29)
12) Dynamic Trial Fitting (see Page30)
13) Finishing the Prosthesis (see Page34)
The 647H540 Quick Start Guide (included with the product!) contains useful information on the
fabrication process in the form of illustrations.
 Loading...