Oxford Technical Solutions Ltd Page 47 of 110
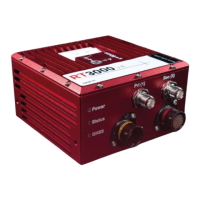
Configuring the RT
To obtain the best results from your RT it will be necessary to configure the RT to suit the installation and
application before using it. The program NAVconfig can be used to do this. This section describes how to use
NAVconfig and gives additional explanations on the meanings of some of the terms used.
It is only possible to change the RT configuration using Ethernet. It is necessary to have the Ethernet settings
on your computer configured correctly in order to communicate with the RT and change the settings. See the
sections “Ethernet configuration” on page 42 for more information.
Overview
In order to give the best possible performance, the RT needs to know the following things:
The orientation of the RT as it is mounted in the vehicle.
The position of the primary GNSS antenna compared to the RT.
The orientation of dual antennas (if applicable) compared to the RT.
The position of the rear wheels (or non-steering wheels) compared to the RT.
Some environment parameters.
The RT can work out many of these parameters by itself, but this takes time. Measuring the parameters yourself
and configuring the RT reduces the time taken to achieve full specification.
RT products can calculate the position of the GNSS antenna. This works well when using a base station to
achieve 1 cm accuracy, but can take hours with less accurate positioning modes. It is best to measure the
position of the GNSS antenna to an accuracy of 10 cm or better.
If the RT has been running for some time, it will have improved the measurements. It is possible to read these
improved measurements into NAVconfig, commit them to the RT, then use them next time you start the
system. If you move the RT from one vehicle to another it is essential you create a new configuration rather
than using parameters that have been tuned for a different vehicle.
Working through NAVconfig
NAVconfig is split into seven sections. Each section contains several tabs with settings that can be applied to
the device. The sections are: Home, Ready Configuration, Hardware Setup, Interfaces, Environment, Advanced
Tools and Write Configuration.
When a device is connected via Wi-Fi or Ethernet, the product name (including serial number) will be displayed
at the top of the application. By clicking on the ‘Save’ icon at the top right of the application you can save your
configuration process to a destination on your computer. This can be done at any stage.