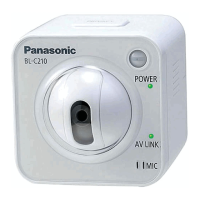
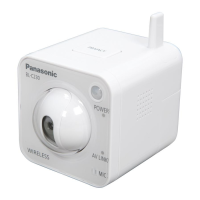
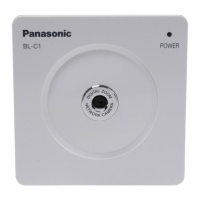
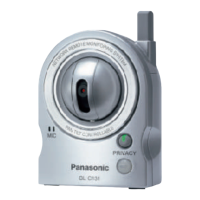
3. Select the desired camera, enter the camera’s administrator user name and password when prompted,
then click [OK].
4. Click [Save Settings to PC].
5. Specify a location to save the file, then click [Save].
6. When [Settings were saved on the PC.] is displayed, click [OK].
Note
• Buffered images are not saved in the configuration file.
• The configuration file’s extension (.dat) must not be changed. If you change it, the saved settings cannot
be restored.
• The configuration file is encrypted. Do not open it using a text editor or other software, otherwise it may
become corrupted. If the configuration file becomes corrupted it cannot be used to restore camera
settings.
• If you save a configuration file and then update the camera’s firmware later, the configuration file may
not be able to be restored properly. If you regularly save a configuration file of the cameras settings,
remember to save a configuration file after you update the camera’s firmware.
Restoring settings from a configuration file
1. Insert the included CD-ROM into the CD-ROM drive of your PC.
• The Setup Program starts. If the program does not start, double-click Setup.exe found on the CD-ROM.
2. Click [Save Settings to PC/Save Settings to Camera].
3. Click [Save Settings to Camera]. A dialog prompts you to specify the location of the saved configuration
file.
4. Specify the configuration file and click [Open].
5. Select the desired camera, enter the camera’s administrator user name and password when prompted,
then click [OK].
6. Click [Execute]. A dialog displays the status.
7. After the settings have been restored to the camera, the camera will restart automatically.
8. Click [OK] when finished.
Note
• Network settings and the administrator user name and password are not changed when you restore a
configuration file using the Setup Program.
204 Operating Instructions
 Loading...
