Optional Controller
Manual of Controller
Optional Controller
Manual of Controller
2 - 47
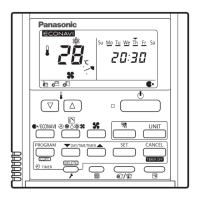
2. Wireless Remote Controller
( CZ-RWSU2N, CZ-RWSD2, CZ-RWST3N, CZ-RWSL2N )
17
Common to All Models
ENGLISH
5-8. Specications
Model No. CZ-RWSU2N, CZ-RWST3N, CZ-RWSD2, CZ-RWSL2N
Dimensions (H)182 mm × (W) 61 mm × (D)18.5 mm
Weight 140g (Including batteries)
Power Source Two LR03 size batteries
Clock Accuracy ±30 seconds / month (at 25 °C)
Model No. CZ-RWSL2N
Dimensions (H) 37 mm × (W) 70 mm × (D) 22 mm
Weight 15g
Power Source DC5V(supplied from operation panel)
Model No. CZ-RWSL2N
Dimensions (H) 55 mm × (W)120 mm × (D)16 mm
Weight 75g
Power Source DC16V(supplied from indoor unit)
Model No. CZ-RWSU2N, CZ-RWST3N, CZ-RWSD2
Dimensions
CZ-RWSU2N (H) 200 mm × (W) 200 mm × (D) 25.2 mm
CZ-RWST3N (H) 65 mm × (W)141 mm × (D) 22.5 mm
CZ-RWSD2 (H) 65 mm × (W)130 mm × (D) 22 mm
Weight
CZ-RWSU2N 140g
CZ-RWST3N 85g
CZ-RWSD2 82g
Power Source DC16V(supplied from indoor unit)
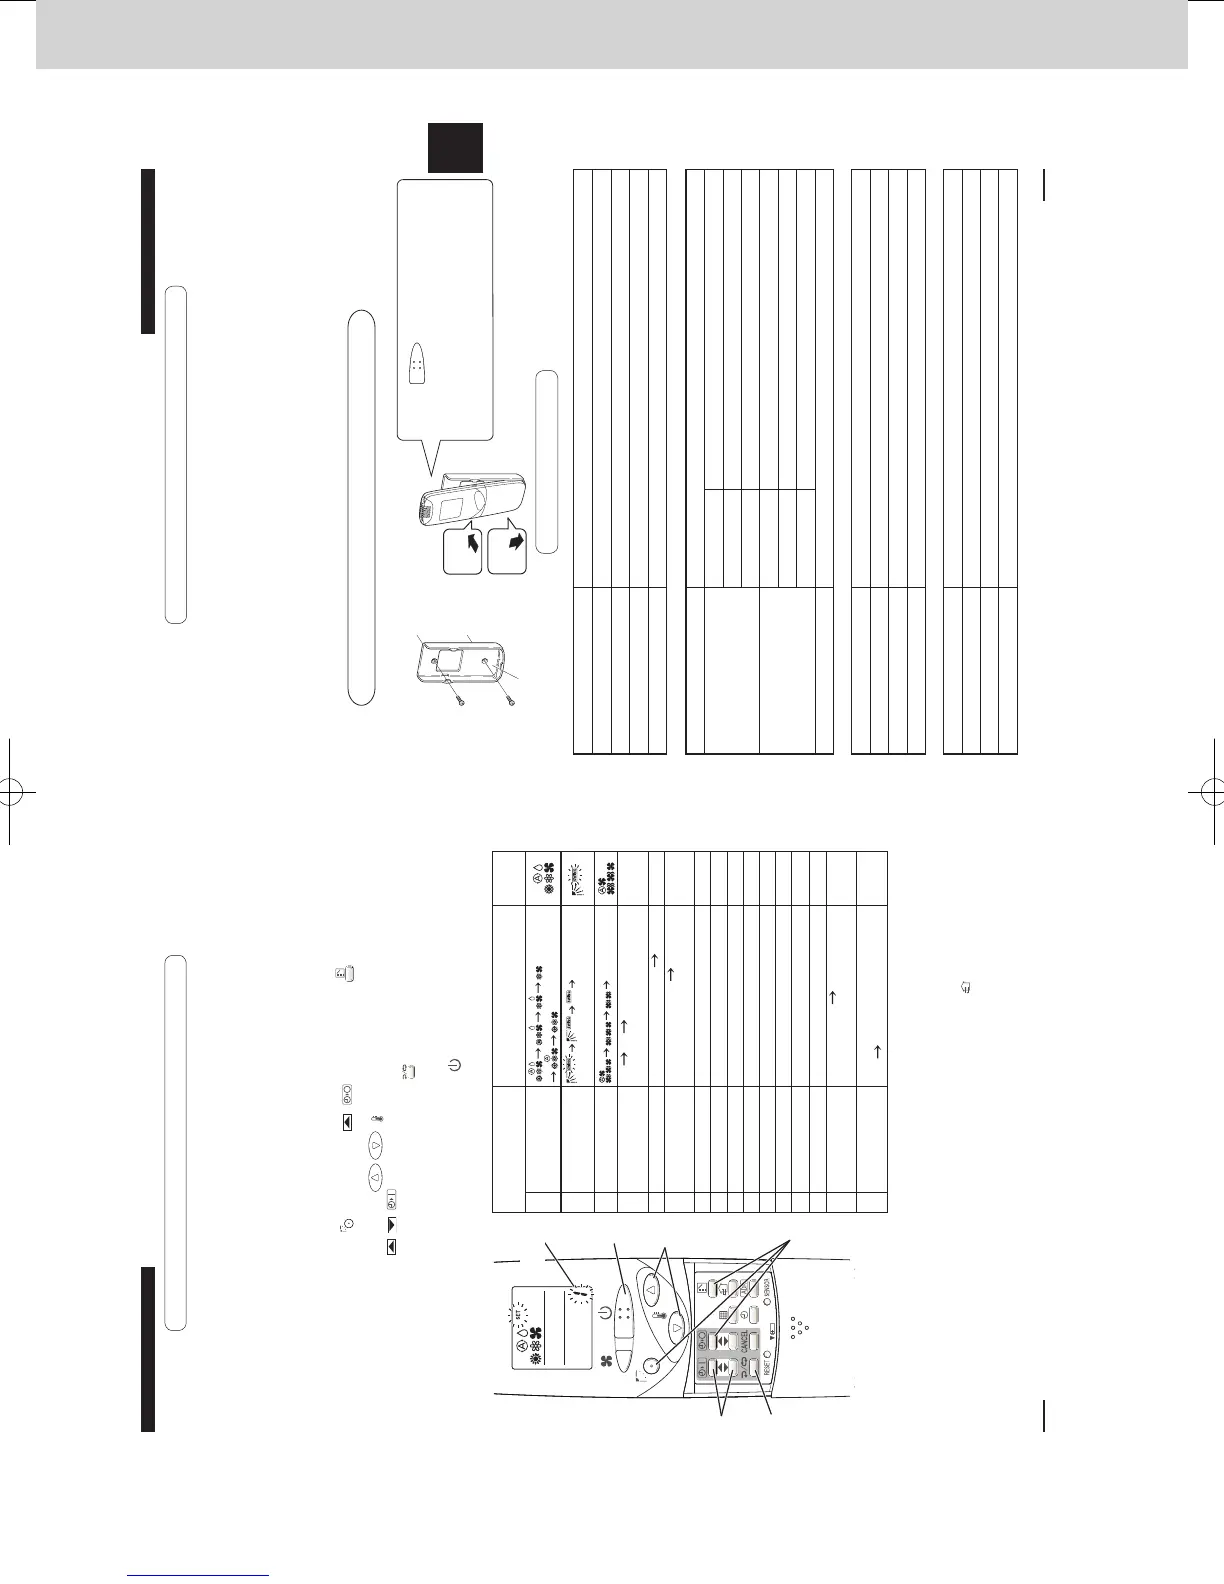
5-7. Installing Wireless Remote Controller
When installing the remote controller onto a wall, etc.
Screw the remote control
holder.
Remote control holder
Installing the remote
controller
2
Press
1
Insert
Press
at the installation location
on the wall, and check that normal
receiving is possible.
Remove the remote controller from the
remote control holder.
Installation location for the Wireless Remote Controller
If a remote controller is to be operated from a remote control holder that is hung on a wall, turn on the lights in
the room as well as any electrical appliances and then check to make sure the air conditioner works with the
remote controller in the location where it will be installed. If it works, continue with installation.
If the main sensor is to be switched from the indoor unit to a remote controller, pay attention to the following
when installing.
•
Locate where no warm or cold air will aect it.
•
Locate in a place free from direct sunlight.
•
Locate where it will not be aected by any other heat/cold source.
Wireless Remote Controller
Receiver
Receiver
Operation panel
270059_all.indb 17 2015-1-20 9:53:52
16
Common to All Models
5-6. Setting Up Remote Controller Functions
The functions of the wireless remote controller can be set on site.
(These settings are saved in nonvolatile memory in the remote controller. Therefore, the settings
do not revert to the defaults even when its batteries are changed.)
<Note> Only service personnel should make the settings because the operation of the air
conditioner may be aected, depending on the settings made.
Furthermore, making changes to these settings may cause actual operation to deviate
from what is printed in the Operating Instructions, so be sure to fully explain this to the
customer.
Making Settings (Do with unit stopped)
(1) Holding down the swing/ap ( ) + OFF timer ( ) + mode select ( ) buttons at the
same time for 4 or more seconds will open the setting screen. (See gure below.)
(2) Use the Temperature setting buttons
/ (
) to select the number of the item to be set.
(3) Use the ON timer buttons
/ ( ) to change settings.
(4) The settings are saved with the once/every day button (
). When this is done, the SET
displayed on the LCD changes from blinking to lighting.
(5) If other settings are to be changed, repeat steps (2) to (4).
(6) When all settings have been made, press the start/stop (
) button.
<Note 1> While the unit is in the SWING mode (swing/ap), the ap cannot be stopped in a
desired position.
<Note 2> When Setting OFF is selected, “°C” is displayed on the LCD.
<Note 3> You can toggle between ON and OFF by pressing ventilation “(
) button” for 4 seconds
or more.
<Note 4> If the Heater Max ON/OFF setting is not changed to EP (ON), the setting change will
not be reected.
<Note 5> This is the number of addresses that can be set in the address change mode. Do not
set it to 07 or above.
Operation procedure and function display
Item
Number
(1)
(2)
(6)
(3)
(4)
Detected contents Set Contents
Factory
setting
1 Operation Mode
2 Flap Display
(No Display)
(*1)
3 Select Fan Speed
(No Display)
4 Display of Set
Temperature
°C °F Setting O (*2) °C
5 Time Display
24 Hour (No Display) AM/PM
24 Hour
6 Ventilation Fan
ON/OFF
OFF (No Display)
ON OFF
(*3)
7 Cool temp Max 05 to 35°C 30
8 Cool temp Min 05 to 35°C 18
9 Heat temp Max 05 to 35°C 30(*4)
10 Heat temp Min 05 to 35°C 16
11 Dry temp Max 05 to 35°C 30
12 Dry temp Min 05 to 35°C 18
13 Auto temp Max 05 to 35°C 27
14 Auto temp Min 05 to 35°C 17
16 Address Setting
Max Value
00 (ALL only)
01 to 031 06(*5)
17 Heat temp Max
ON/OFF
JP (Heater Max Temp Change
O)
EP (ON)
JP
270059_all.indb 16 2015-1-20 9:53:52
SM830241-00_2WAY SYS.indb 47 2015/03/26 14:55:23
 Loading...