125
4. Focus and Shutter (Drive Mode) Settings
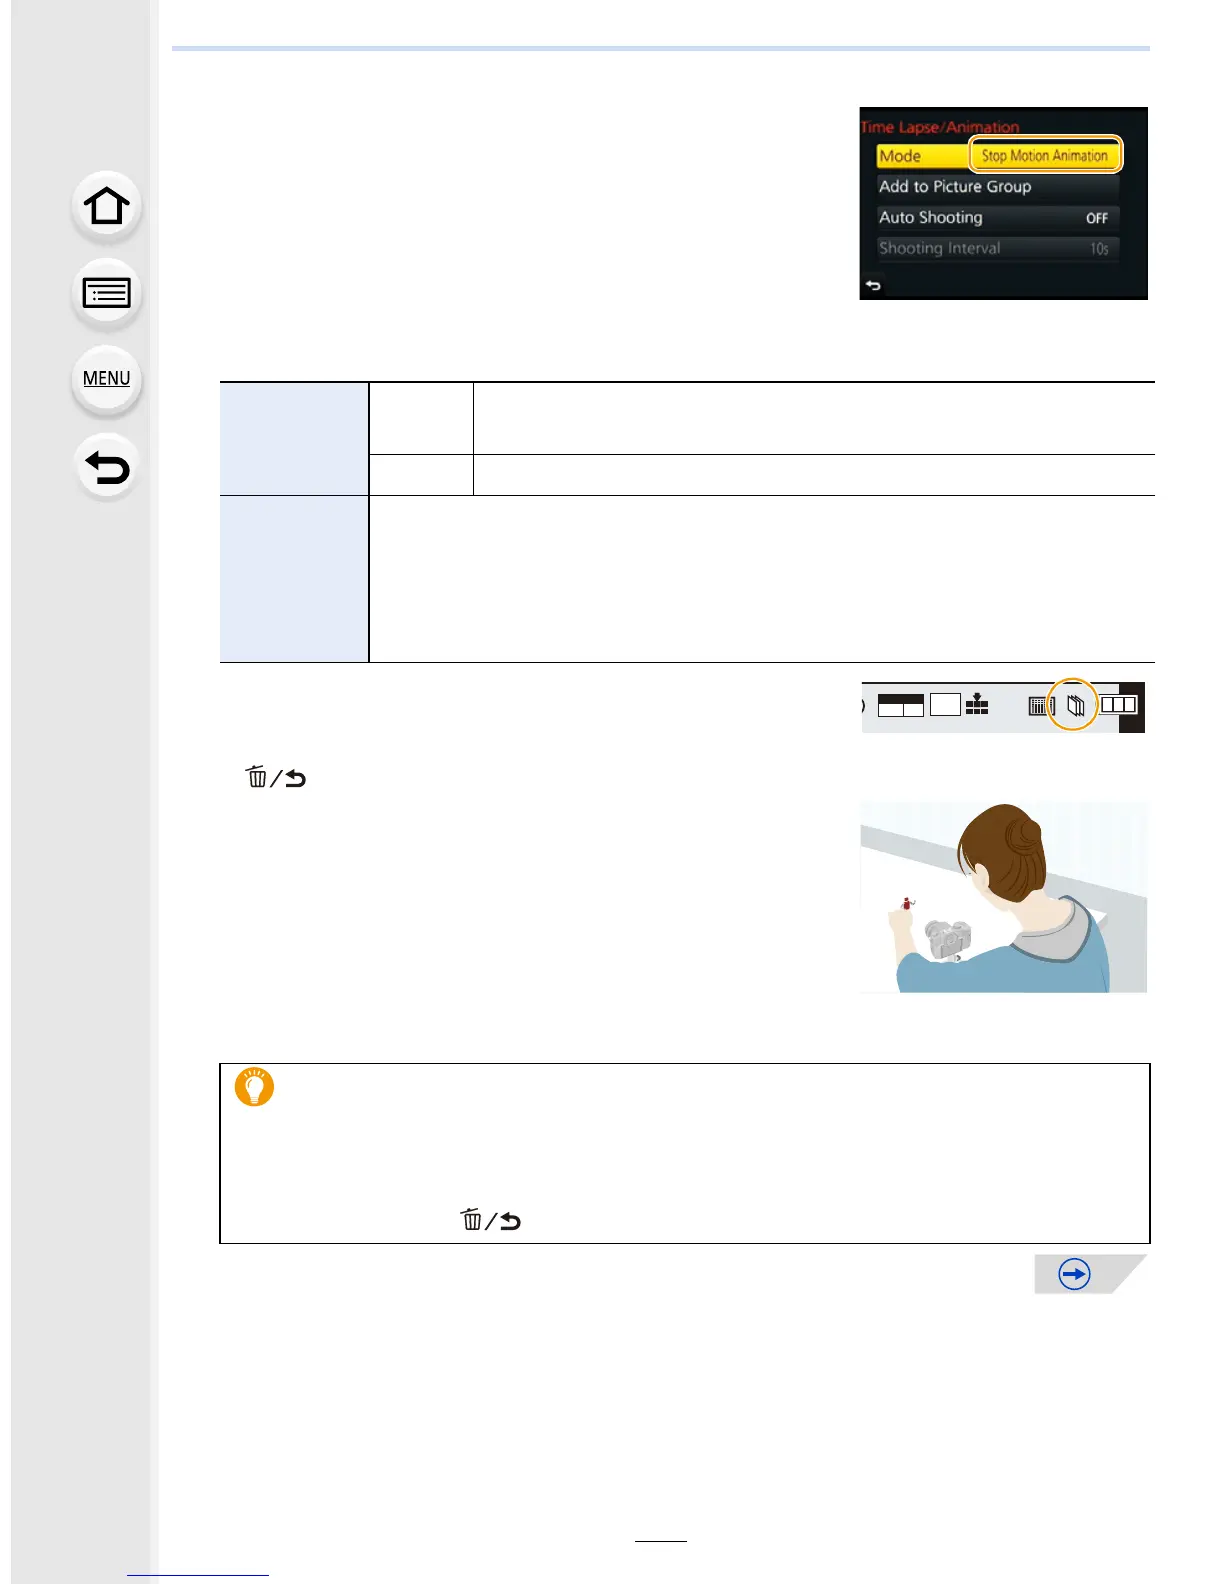
4 Select [Mode] with 3/4, and then press [MENU/
SET].
•
If [Stop Motion Animation] is already selected, proceed to
step
6.
5 Select [Stop Motion Animation] with 3/4, and then
press [MENU/SET].
6 Press 3
/
4 to select the recording method, and then
press [MENU/SET].
7 Press the shutter button halfway.
•
The recording screen will be displayed. You can also
perform the same operation by pressing and holding
[ ] until the recording screen is displayed.
8 Press the shutter button fully.
•
Up to 9999 frames can be recorded.
9 Move the subject to decide on the composition.
•
Repeat recording in the same way.
• If the camera is turned off during recording, a message for
resuming the recording is displayed when the camera is
turned on. Selecting [Yes] allows you to resume the
recording from the interruption point.
[Auto
Shooting]
[ON]
Takes pictures automatically at a set recording interval. When the
shutter button is pressed fully, recording starts.
[OFF] This is for taking pictures manually, frame by frame.
[Shooting
Interval]
(Only when [Auto Shooting] is set to [ON])
Sets the interval for automatic recording. A value between 1 and 60 seconds
can be set in 1 second intervals.
Press 2/1 to select the recording interval (seconds), press 3/4
to set it, and press [MENU/SET].
Recording materials skillfully
•
The recording screen displays up to two pictures taken previously. Use them as
reference for the amount of movement.
• Pressing [(] allows you to check recorded pictures. Unnecessary pictures can be
deleted by pressing [ ]. Pressing [(] again will return you to the recording screen.
 Loading...