76180 EM -34/73-
12-2. Adjustment
① Connect the camera to the PC, and adjust the shutter speed by the programmed software.
[The flow of adjustment is as follows.]
↓Product select menu (Select *istD)
↓76180 test program(Select 1 even when you replace 0-T100.)
↓Main menu (Select 7 )
↓Shutter speed adjustment
② Adjust the camera according to the instructed on the screen.
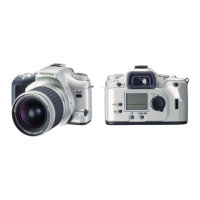
[NOTE] Read the shutter speed displayed on the window B as shown in the figure above.
③ Return to the MAIN MENU to finish the adjustment when the adjustment is completed.
④ Execute Eeprom checking (END) (select
5)
If standard data is NG, re-write by pressing 3. Other adjustments carry out on section 23.
⑤ Return to the MAIN MENU to finish the adjustment.
12-3. Remove temporally installed for camera.
① Unsolder the I/F buffer cable and black lead wire No.6 (T800).
② Remove the top cover and bottom cover.
③ Peel off PT (20x20) on the left side of the pentaprism.
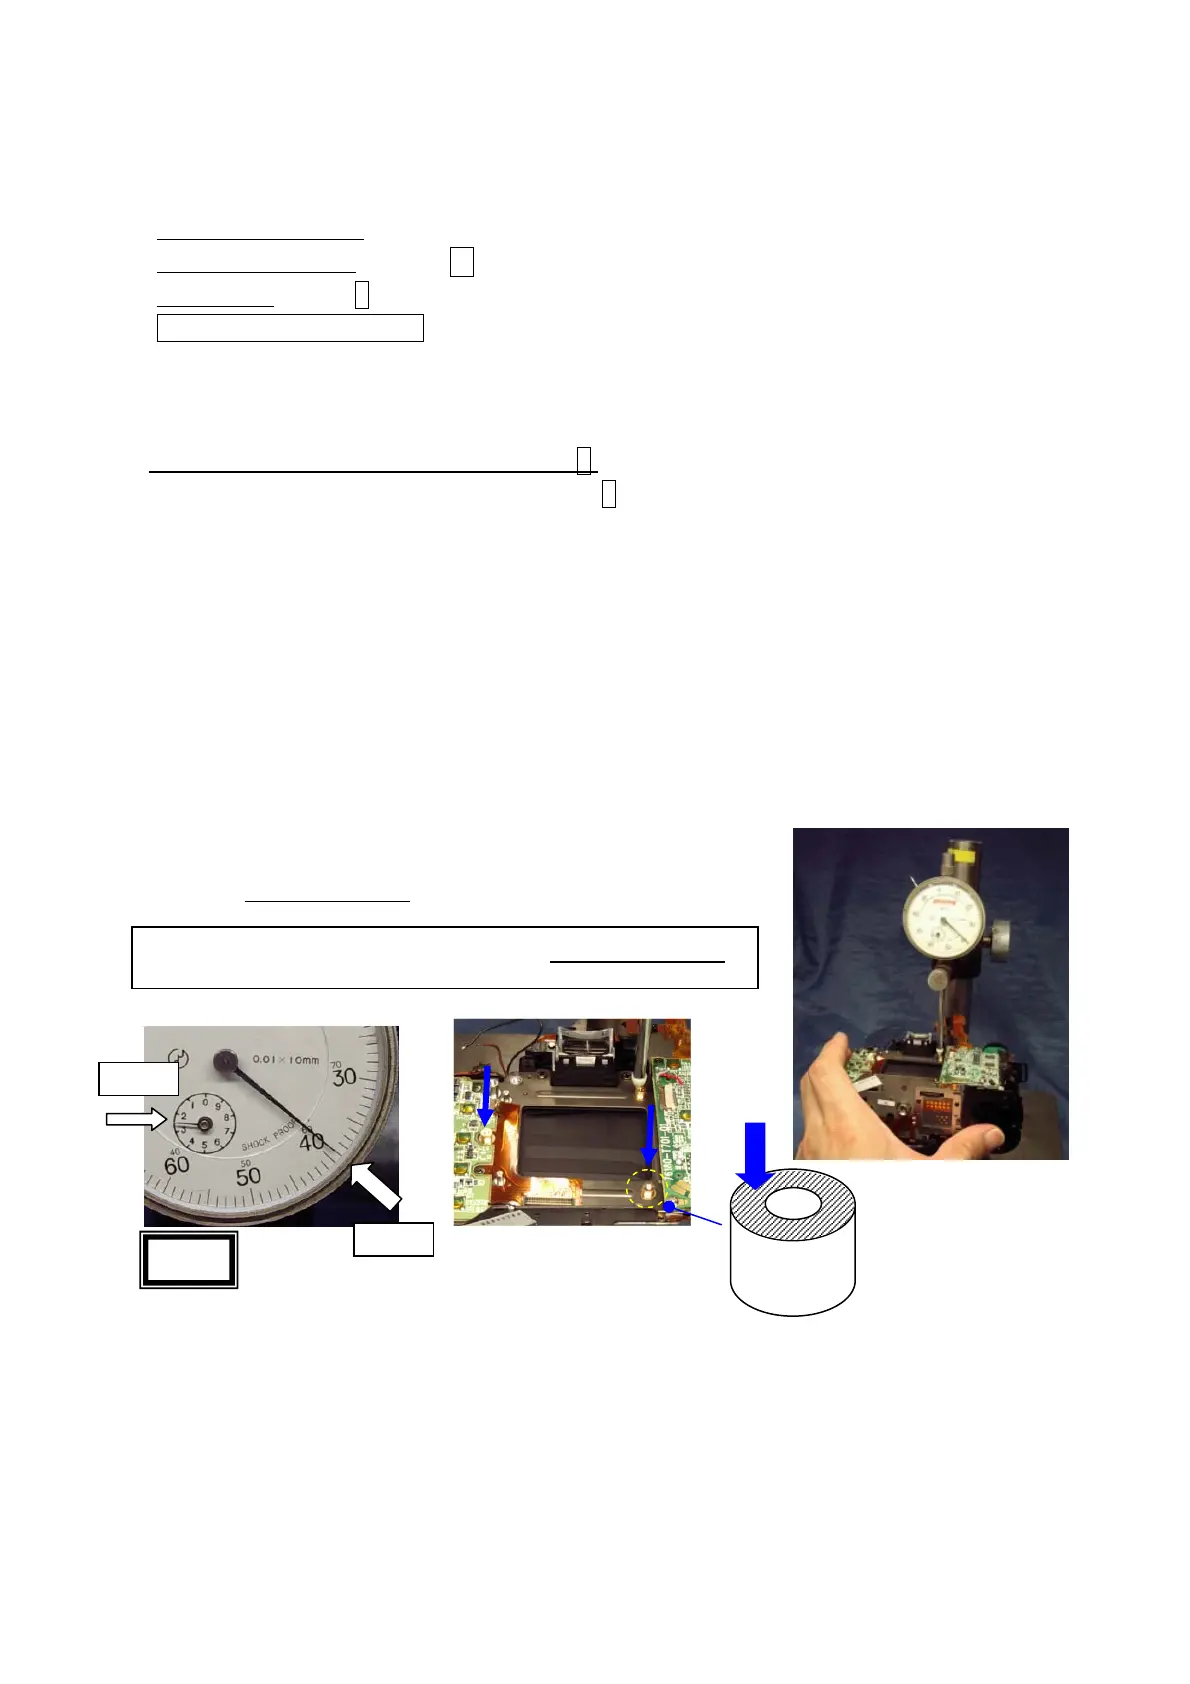
13. [CONF] CCD Base Plate Support Pillar
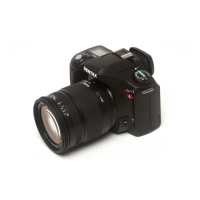
[Required equipment] Block gauge for 35mm, Dial gauge comparator, etc. (same as MZ series)
① Measure height of the CCD base support pillar (3 places) from the mount surface as shown
in the figure.
Tolerance: 47.85±0.02 mm
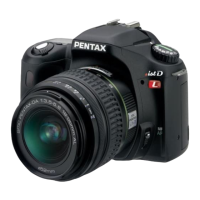
14. 0-T600 (CCD Block)
[Preparation] Attach the body mount cap to the camera to prevent damage of Tv dial.
[CAUTION] Confirm there is neither dust nor scratches in the surface of CCD of T600.
① Put 0-T750 (USB P.C. board assy.) on the flexible board of T960.
② Temporarily tighten CNL-D1.7x2.5 (3pcs.) a little bit loosely so that 0-T750 moves.
・・・ Two washers should be placed at the USB part underneath 0-T750.
③ Connect the flexible board of T960 to the connector terminal of 0-T750.
④ Connect 0-T600 to the connector terminal of T960.
when using the block gauge for 35mm: +2.39±0.02 mm
+0.39
+2.00
+2.39