41
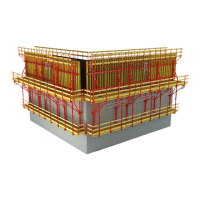
CB 240 Climbing Formwork
Instructions for Assembly and Use – Standard Configuration
B1 Work on the Construction Site
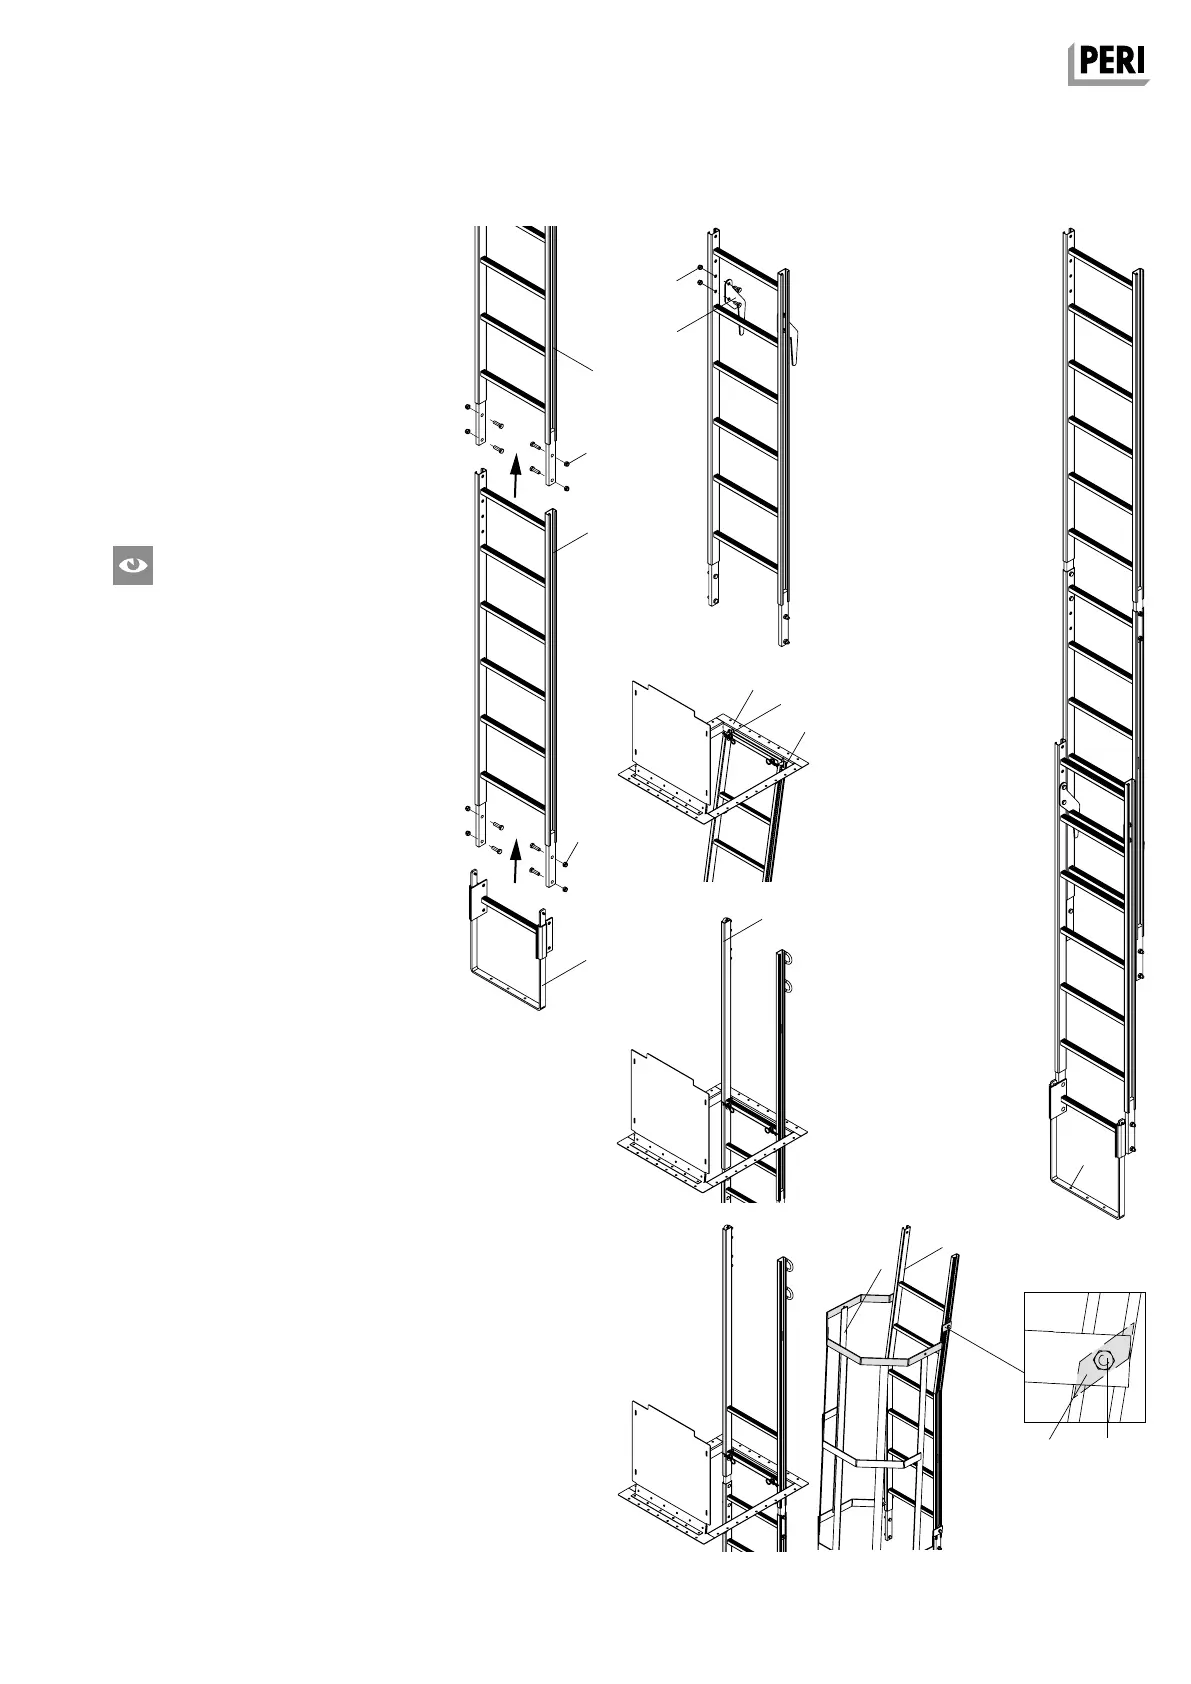
Ladder Assembly
Pre-Assembly of Ladder
1. Lay out ladders, End Ladder 180/2
(15.10) or
Ladder 220/6 and Ladder 180/6 (15.2).
2. Connect Ladders with bolts M12 x 40,
SW 19 (15.3). (Fig. B1.48)
3. Mount Ladder Base 30 (15.4) using
bolts M12 x 40 (15.3). (Fig. B1.48)
4. If the bottom ladder is of a hook-on
type, fix Ladder Hook (15.5) with bolts
M12 x 25, SW 19 (15.7). (Fig. B1.49)
Are the rungs of the hook-on ladder at
the same height as the bottom ladder?
(Fig. B1.50)
Ladder variations for access:
Ladder 220/6 bolted
1. Lift ladder using the crane. Lower lad-
der through hatch opening.
2. Fix ladder to hatch on both sides from
the top, bolts M12 x 40 (14.3).
(Fig. B1.51a)
End Ladder 180/2 attached
In addition, the Hatch 55 x 60-2 has a
rung depression to accommodate a
screw connection for mounting the End
Ladder 180/2.
1. Lift ladder using the crane. Lower lad-
der through hatch opening.
2. Attach top rung or second rung on the
hatch and secure with cotter pins
(Fig. B1.51b + B1.51c)
Mounting the Ladder Base
For horizontal mounting of the ladder,
tightly screw the drawn-out bracket of
the Ladder Base 30 to the planking with
3 Torx TSS 6 x 40 (15.9).
Mounting the Ladder Safety Cage
1. Bring and hold Ladder Safety Cage
(15.6) in position using a rope.
2. Slightly loosen bolts M12 x 25 (15.7)
(4x) on the clamping plate (15.8), posi-
tion clamping plate on the ladder lon-
gitudinal members, and tighten bolts.
(Fig. B1.52)
15.2
15.1
15.3
15.4
15.7
15.5
15.3
15.9
Fig. B1.48
Fig. B1.49
Fig. B1.50
SW 19
SW 19
14.3
14.1
15.10
15.1
15.6
15.8
15.7
Fig. B1.51a
Fig. B1.51b
Fig. B1.51c
Fig. B1.52
SW 19
SW 19
AuV CB 240 EX.indb 41 29.06.16 09:45