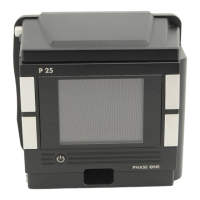
XF Camera System Manual |
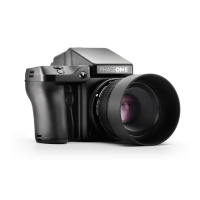
3. Aperture Selector
1. Preview Lever
2. Focusing Ring
Shooting with the Electronic Shutter (ES)
Using the Electronic Shutter (ES) on applicable IQ Digital Backs makes the
shutter release operation faster and easier as there is no need to cock the
mechanical shutter between every exposure.
It should be noted, however, that it takes a noticeably longer time to read the
entire image from the sensor when using the Electronic Shutter rather than
the mechanical shutter. The full read-out time is typically up to one and a half
second, so Electronic Shutter is mostly useful for product shots or landscape
photography, where there are only small local movements (for example, leaves,
trees or waves). Due to the readout time, larger moving subjects (for example
a moving car or running persons) will be distorted in the image. As a
consequence, the Electronic Shutter is best suited for tripod use.
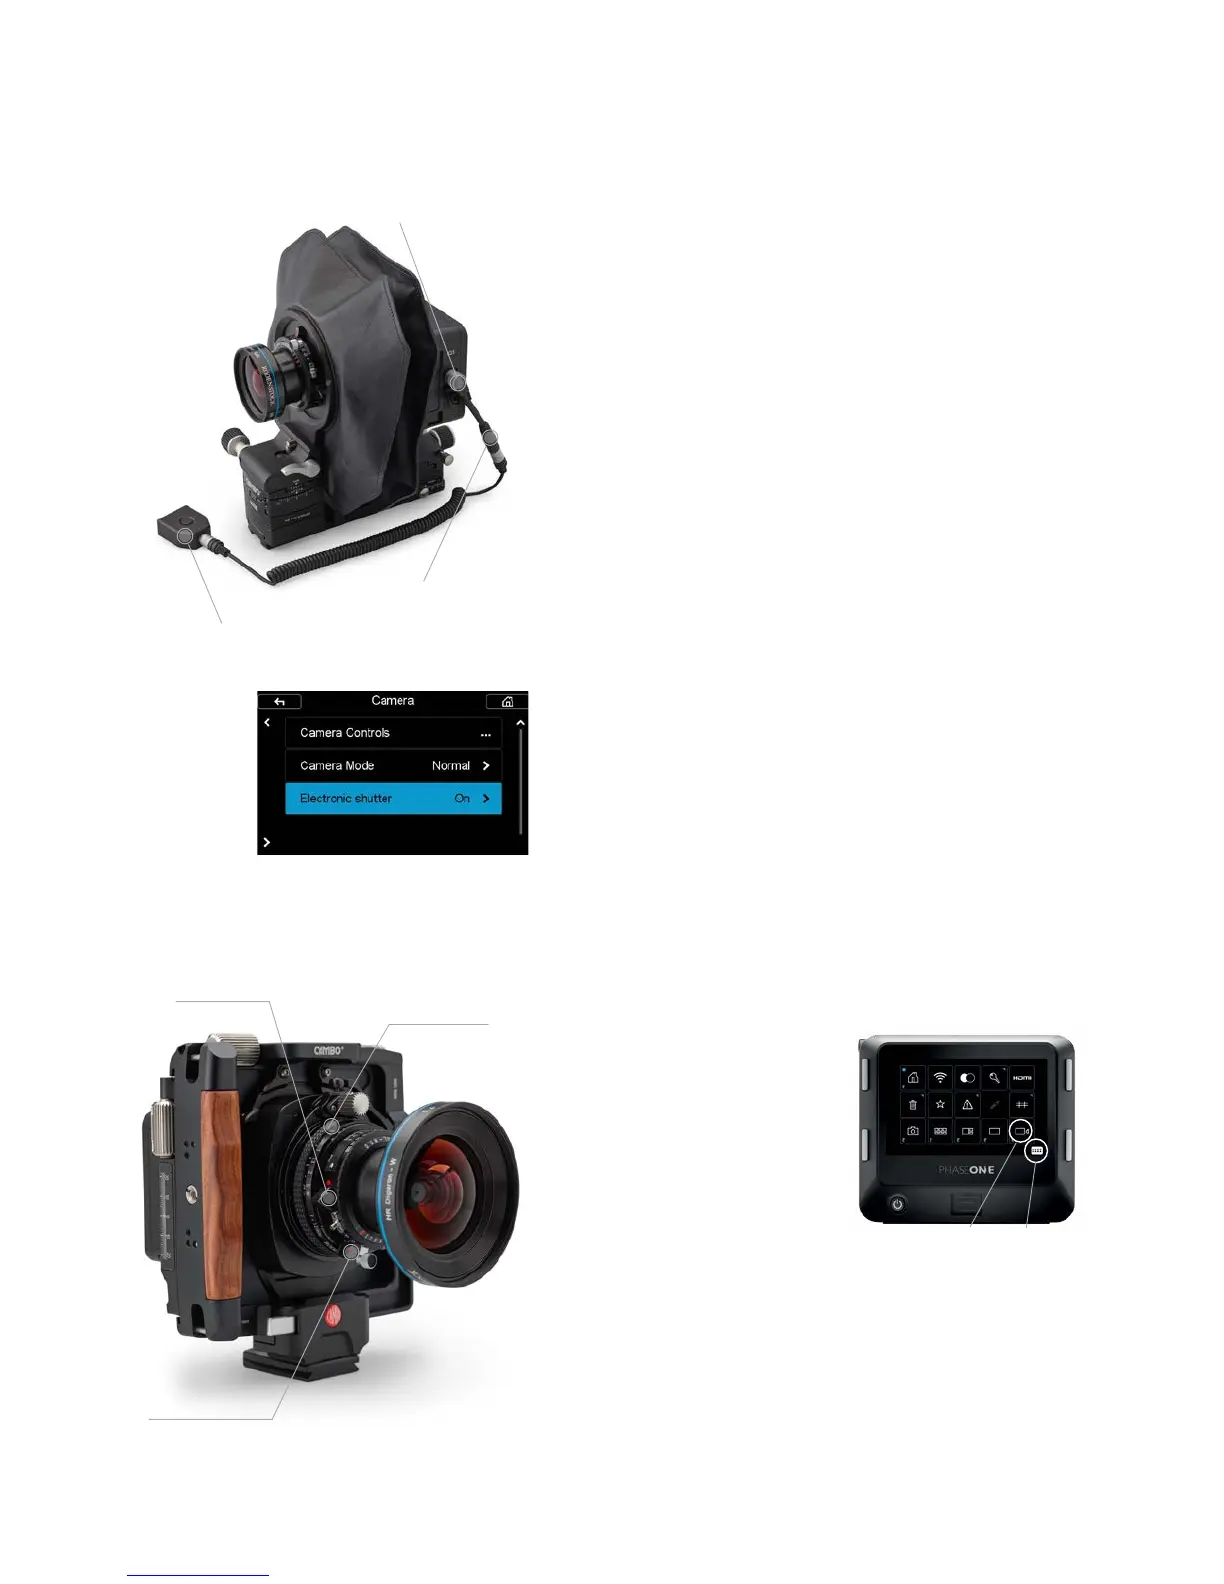
Shooting with Electronic Shutter (ES)
It is recommended to trigger the Electronic Shutter (ES) with a remote release
like the Phase One Break Out Box (part number 73130). In order to connect it
to the 8-pin multi-connector port on the applicable IQ Digital Back, you will
need the Cable Release Adaptor (part number 73174). Plug the adapter into
the 8-pin multi-connector port on the side of the IQ3 Digital Back, while the
other end of the adaptor should be connected to the Phase One Break Out
Box.
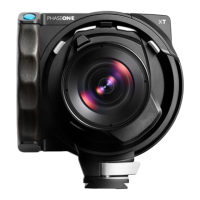
You first need to make sure that the Electronic Shutter is enabled on the
Digital Back by selecting Menu > Camera > Electronic shutter > On.
Make sure that the shutter is open by using the Preview Lever (1) on the lens.
The shutter is open when the red dot is visible.
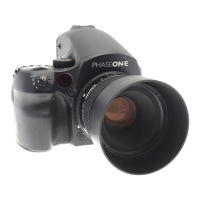
Enter Live View in the applicable IQ Digital
Back by tapping on the contextual menu
icon (A) of the Rear Touch Screen, then
press the Live View icon (B). You can also
enter Live View from the Camera Controls
screen mention on the next page.
Make any desired adjustments to Tilt, Shift
and Swing on the Cambo Technical Camera.
Adjust focus (2). If you want to review the
depth of field, remember to close the aperture down to the desired working
value with the Aperture Selector (3) on the lens.
You can capture using the Electronic Shutter directly from live view, or exit
Live View to wait for the desired moment of capture.
Adjust the aperture on the lens with the Aperture Selector (3), if needed.
Enabling Electronic Shutter
Multi-connector port
Cable Release Adaptor
Phase One Break Out Box
A: Menu
B: Live View