2 Getting Acquainted Printing Waveforms
28
Printing Waveforms
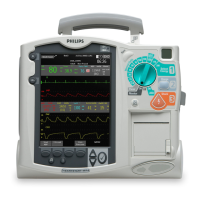
By using the Print Button on the front of the HeartStart MRx, you can obtain a continuous printout
of the primary ECG and one additional waveform if you have the 50mm printer installed; two
additional waveforms if you have the 75mm printer installed. Certain waveforms (including invasive
pressures and CO
2
) will include scale indications on the printout. The printouts are generated either
real-time or with a 10-second delay, depending on your configuration.
For devices with a 50mm printer, to change wave forms for the second wave printed, perform the steps
below:
1 Press the Menu Select button.
2 Using the Navigation buttons, select the Printed Waves option and press the Menu Select button.
3 Using the Navigation buttons, select the wave form you want to print in Wave 2 and press the
Menu Select button.
For devices with a 75mm printer, to change wave forms for the second or third waves printed, perform
the steps below:
1 Press the Menu Select button.
2 Using the Navigation buttons, select the Printed Waves option and press the Menu Select button.
3 Using the Navigation buttons, select Wave 2 or Wave 3 and press the Menu Select button.
4 Using the Navigation buttons, select the wave form you want printed and press the Menu Select
button.
5 Repeat Steps 2 through 4 for the other printed wave.


 To Next Page