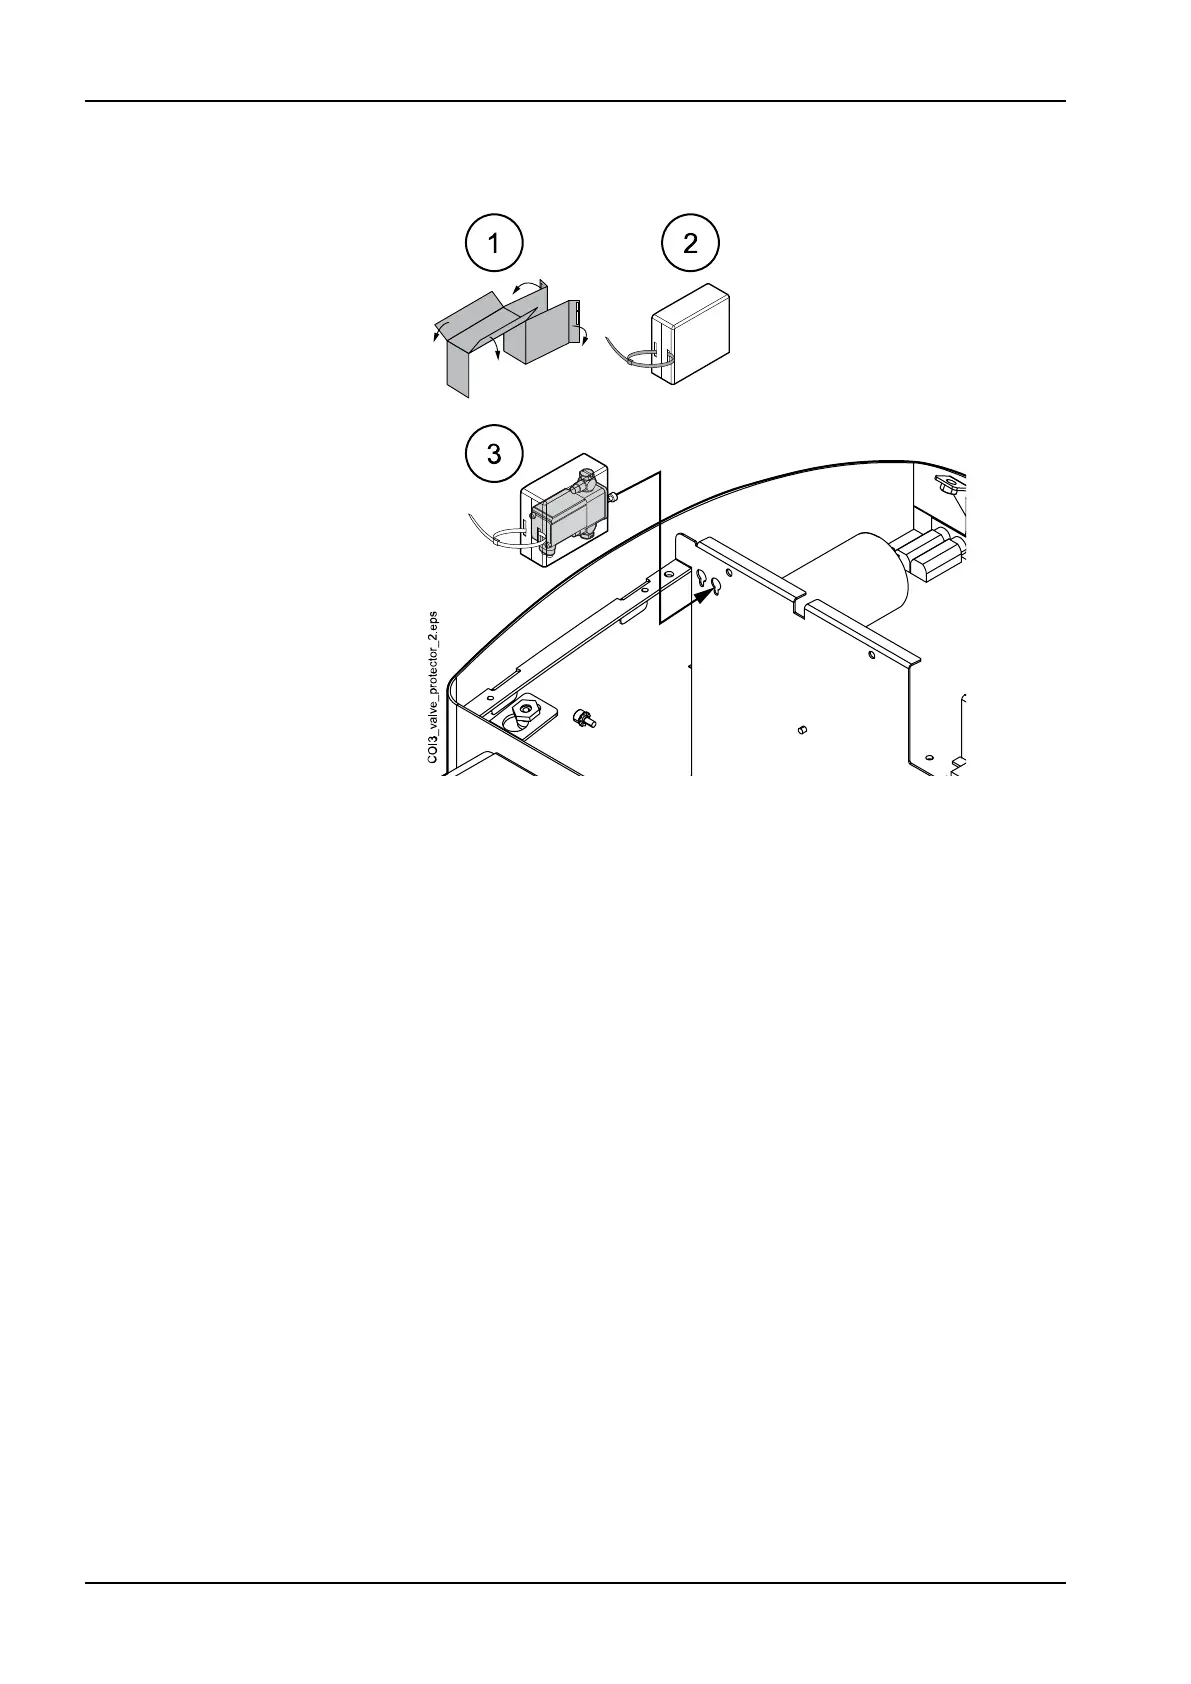
5. Cover the assistant syringe valve with a splash protector.
6. Install the suction element.
6.a.
Attach the suction element attachment screw M6x20 DIN912 (1) to
the seat base using a 5 mm Allen key. Do not tighten the screw.
6.b. Attach the suction tube to the suction element assembly and
secure it into place with a securing ring (2).
6.c. Lift the suction element (3) to its position so that it is attached to
the seat base with screw M6x20 DIN912. Tighten the screw.
6.d. Attach the suction element to the seat base with two M6x20
DIN912 screws (4) using a 5 mm Allen key.
6.e. Bring the assistant syringe quick-connector into position and
attach it with two M3x6 DIN 912 screws using a 2.5 mm Allen key
(5).
6.f. Secure the Planmeca Emerald active repeater to the repeater
holder with a cable tie. Attach it to the USB opening with two
attachment screws (6).
6.g. Attach the suction arm to its position (see step 6) before attaching
the support plate (7) with five M6x20 DIN912 screws (8 and 9)
using a 5 mm Allen key.
12 Installing suction element
66 Planmeca Compact i3 Installation manual
 Loading...


