9.12
BRAKES
9923412 - 2012 Sportsman 400/500 and EFI Tractor Service Manual
© Copyright 2011 Polaris Sales Inc.
FRONT MASTER CYLINDER ALL
MODELS
Removal
1. Clean master cylinder and reservoir assembly. Make
sure you have a clean work area to disassemble
brake components.
2. Remove master cylinder from handlebars.
3. While holding upright, continue to remove master
cylinder. C
over the brake line to avoid spillage when
removing the brake line banjo bolt.
Installation
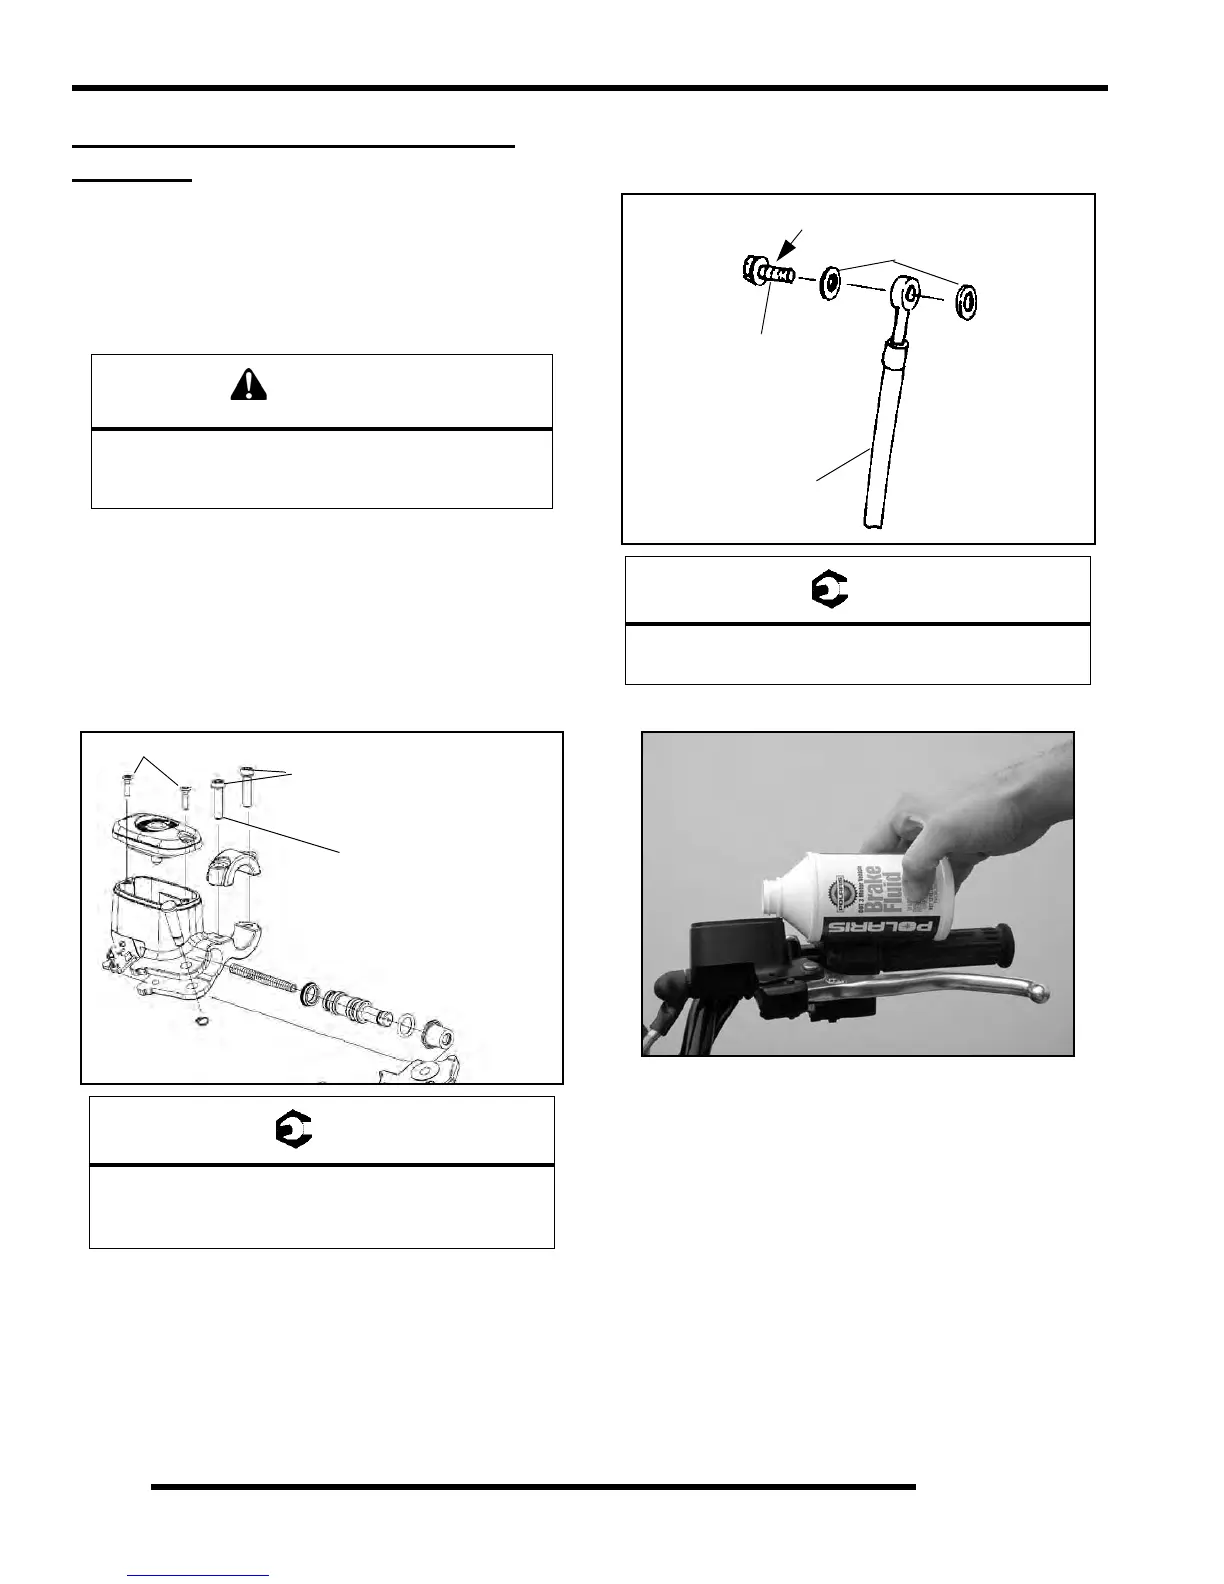
1. Install master cylinder on handlebars. Torque
mounting bolts to specification. Torque the inner bolt
first as indicated in the illustration below.
2. Place new sealing washers on each side of banjo
fitting on
the brake line and torque banjo bolt to
specification.
3. Fill reservoir with DOT-approved brake fluid.
NOTE: To speed up the brake bleeding procedure,
the
master cylinder can be purged of air before
brake line is attached. Fill with DOT-approved brake
fluid and pump lever slowly two to three times with
finger over the outlet end to purge master cylinder of
air.
4. Follow proper bleeding procedures. Check all
co
nnections for leaks and repair if necessary.
Brake fluid will damage finished surfaces.
Do not allow brake fluid to come in
contact with finished surfaces.
Master Cylinder Mount Bolt Torque:
25 in. lbs. (3 Nm)
Torque Inner Bolt First
7 in.lbs. (.79 Nm)
Torque inner Bolt First
25 in.lbs. (3 Nm)
Banjo Bolt Torque:
15 ft.lbs. (21 Nm)
Torque to 15 ft.lbs. (21 Nm)
Banjo Bolt
Sealing Washer
Brake Line

 Loading...


