THE ART OF WELDING
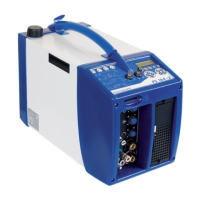
P6 HW
2a
4
5
6
7
2b
1
3
8
9
22-100 PN-0110008 Rev. 12
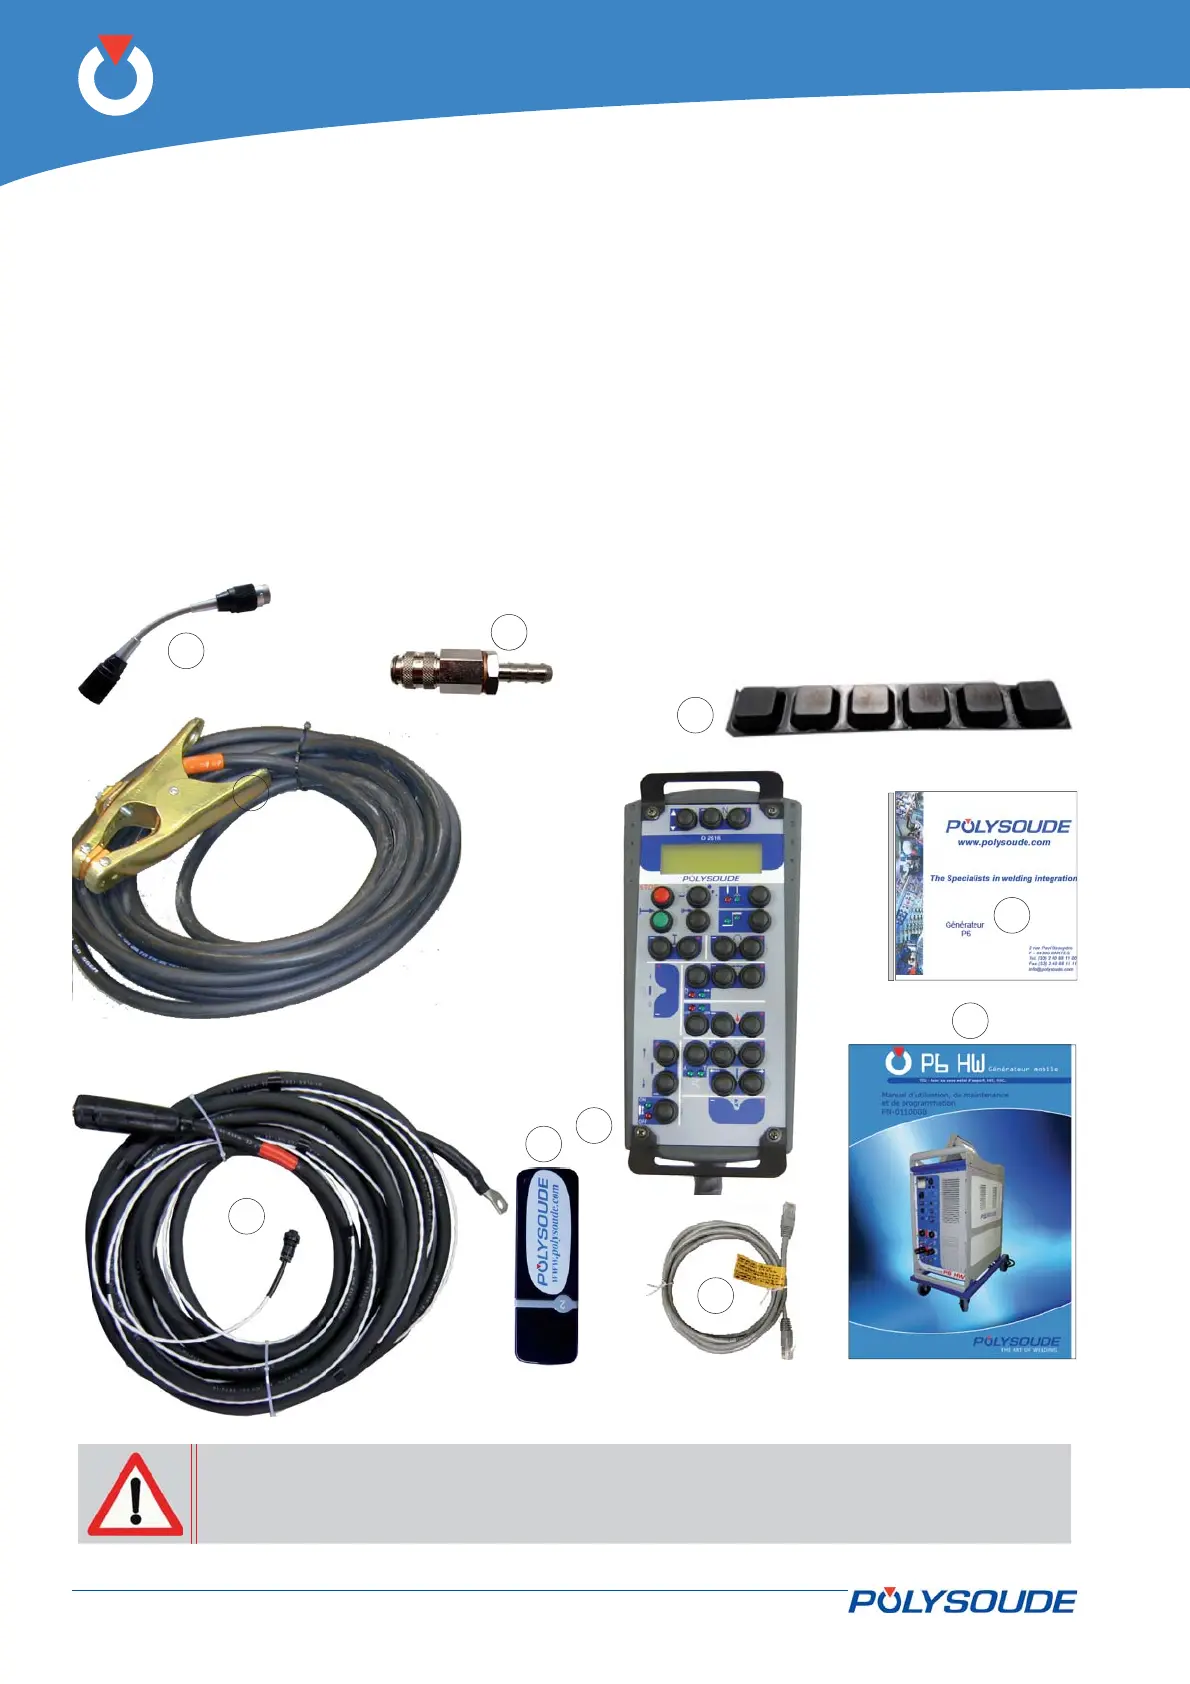
Setting to work4.
Receiving a P6 HW generator4. 1.
The P6 HW generator is delivered packaged: crate,
protection, etc. The original packaging must be kept
for use each time the power source is transported in
order to prevent damage.
When the power source is not in use, it must be
stored on a suitable support and protected against
impact damage (e.g. in its packaging).
In the package you will fi nd:
The D2616 remote control unit version P6 HW •
(Fig. 4.1 - 1).
Fig. 4.1 - P6 HW power source accessories
9 meters of hot wire current earthing cable •
(Fig. 4.1 - 2a).
9 meters of welding earthing cable (Fig. 4.1 - 2b) •
with U
workpiece
measurement cable.
A gas hose connector (3 hose connectors if the op-•
tional second gas has been ordered) (Fig. 4.1 – 3).
This user manual (Fig. 4.1 - 4).•
A USB Key 9000629193 (Fig. 4.1 – 5).•
The installation CD ROM (Fig. 4.1 – 6).•
A RJ45 twisted cable to connect the PC with the •
power source (Fig. 4.1 – 7).
A adapter manual torch ref. 0023000901(Fig.4.1 - •
Rep.8).
Pad set anti-slip (Fig.4.1 - Rep.9).•
If a PC is used you must use the RJ45 cable supplied with the power source. Failure
to use this cable may result in hazards for the user. Polysoude declines to accept any
liability unless the PC/Power source connection is made with the RJ45 cable.