3 Starting up ■
17
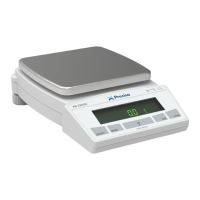
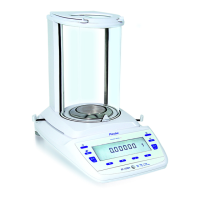
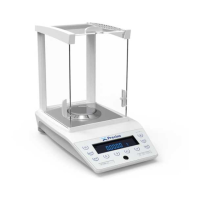
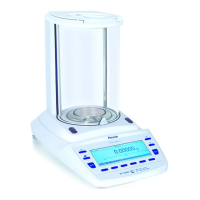
3.3 Assembly of the balance
The balance is delivered in partly dismantled condition. Assemble the
individual components in the following sequence (see fig. 2.1 and
fig. 2.2).
• Install the dust-protection cover on the balance
• Install the windshield as well as the protective ring with the two
screws supplied
• Place the scale-pan holder in position and add the scale pan
• Insert the power adaptor cable plug into the socket at the rear of the
balance.
3.4 Choice of a suitable location
The balance location must be chosen in such a way as to guarantee
perfect functioning of your balance, so that the allowable ambient
conditions (see Chapter 2.3.1 “Technical data”) are maintained and,
in addition, so that the following prerequisites are met:
• Put the balance on a solid, firm and preferably vibration-proof,
horizontal base
• Make sure that the balance cannot be shaken or knocked over
• Protect from direct solar radiation
• Avoid drafts and excessive temperature fluctuations
NOTE
A screwdriver is required for assembly.
All parts must fit together easily. Do not apply force. Precisa
Customer Service will be pleased to help you with any problems.
NOTE
With difficult environment-conditions (where the balance may be
easily shaken or subject to vibration) the balance can nevertheless
provide accurate results through suitable adjustment of the stability
control (see Chapter 5.7 “Weighing mode”).