AFV-P Series High Performance Programmable AC Power Supply
102
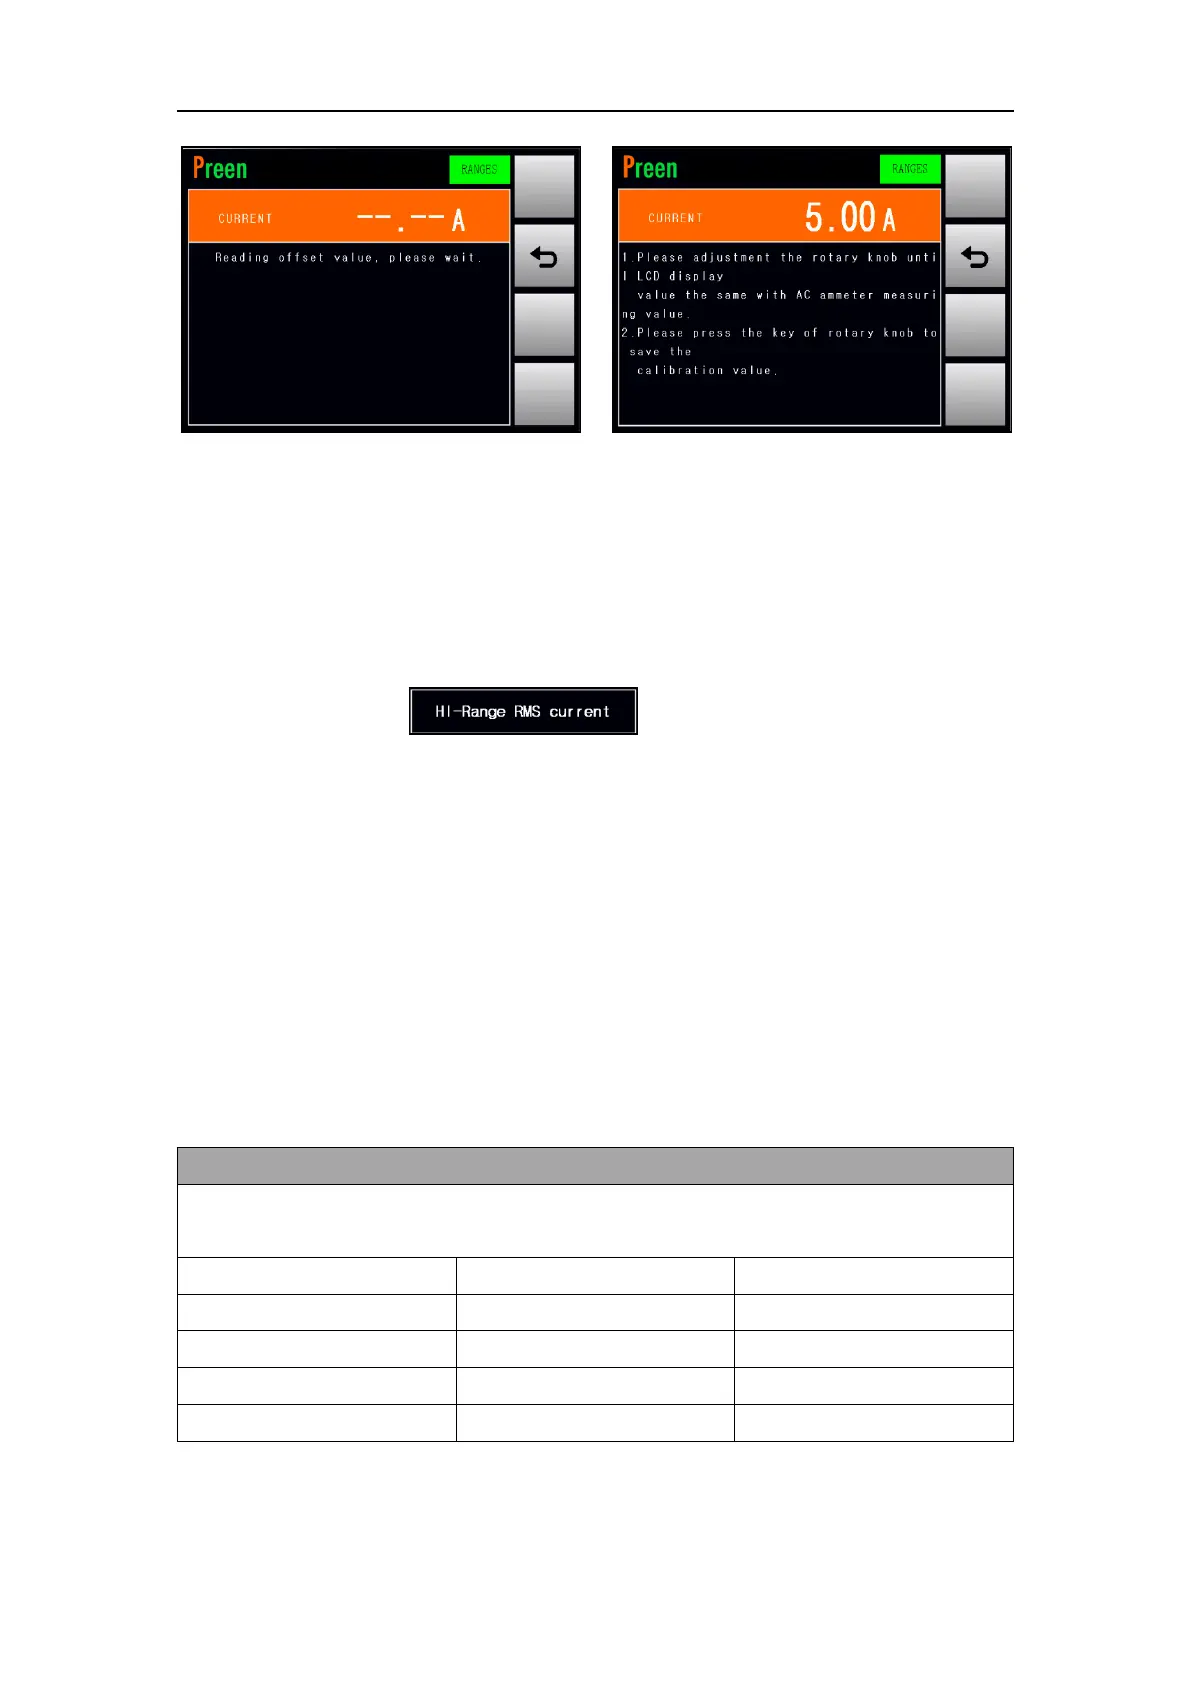
Figure 6.14 Enable the calibration of the HI-Range RMS current
6.6 LO-Range RMS Current
At the CALIBRATION page 2, users are allowed to enter into the page which calibrates
the LO-Range RMS current. The procedures of calibrating the LO-Range RMS current
are given as below:
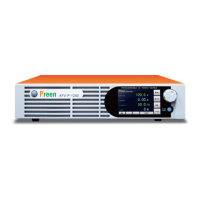
1. Press the item repeatedly to enter into the page
which calibrates the LO-Range RMS current (refer to Figure 6.15).
2. Connect the product with the current meter and suitable load (refer to Figure
6.1).
3. Press the output & reset button on the front panel to enable the calibration of
the LO-Range RMS current (refer to Figure 6.16), and then the product will start to
output the voltage which is closed to 100V.
4. Use the rotary knob to adjust the product output until the measurement read-
ing of the output current shown on the touch screen is closed to the measure-
ment reading shown on the current meter.
5. Press the rotary knob to confirm and finish the calibration.
The definition of the suitable load for calibrating the LO-Range RMS current are
given as follows, and the suitable load shall be resistive load.