Section 07: TRANSMISSION
PA1593
12
WARNING
It is better to drain oil when it is still warm.
Avoid contact with oil since it can be very hot
and cause personal injury.
6. Remove transmission dipstick and filler tube.
7. Disconnect propeller shaft from transmission
and remove its safety guard. Refer to Section
09, "PROPELLER SHAFT".
8. Disconnect the two oil cooler hoses from
transmission. Cover hose ends and fittings to
prevent fluid contamination.
WARNING
A significant amount of oil may drain from oil
lines when they are disconnected.
9. Disconnect all sensors on L.H. side of the
transmission.
10. Disconnect main wiring harness.
11. Disconnect the air supply line (steel-braided
hose) from retarder control valve (if
applicable).
12. Remove any locking tie, clamp and bracket
that may interfere with the removal of
transmission.
13. Support transmission using a suitable
transmission jack.
NOTE
Remove starter motor located on engine L.H.
side. Removing the starter motor will allow
access to unfasten the 12 converter-to-flexible
plate attaching screws. Remove the plug
located below starter motor and install cranking
tool (88800014). Cranking the engine to gain
access to the attaching screws may be done by
turning the cranking tool using a suitable
adapter (fig. 7).
CAUTION
Do not rotate alternator shaft clockwise to avoid
removing tension on belt.
14. Remove the 12 screws retaining the torque
converter housing to the flywheel housing.
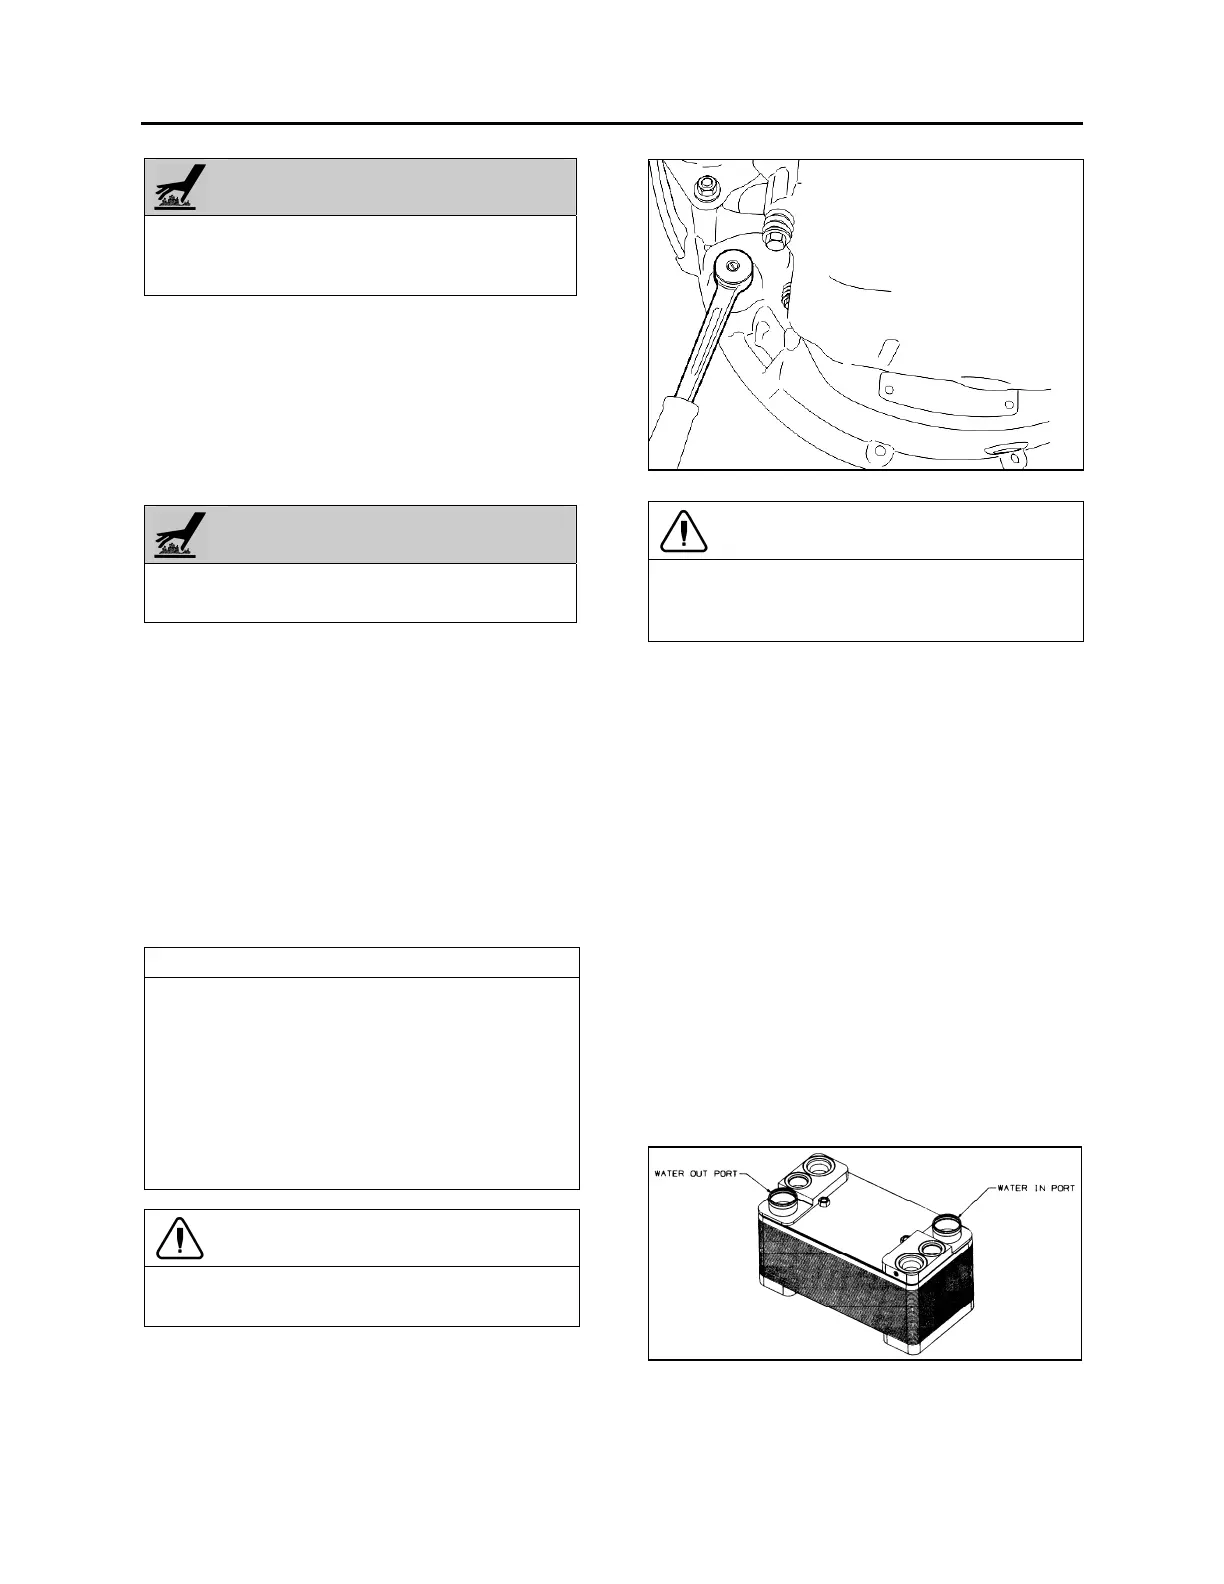
FIGURE 7: VOLVO ENGINE CRANKING POSITION
CAUTION
Make sure transmission-to-engine alignment is
maintained when removing screws to avoid
damaging torque converter housing.
15. Slowly pull transmission straight out to clear
the engine.
16. Remove the transmission.
5. TRANSMISSION OIL COOLER REMOVAL
Stop engine and allow engine to cool. Close
both heater line shutoff valves (refer to Section
05 ‘’Cooling’’).
1. To drain the cooling system, proceed as per
Section 05 ‘’Cooling’’, paragraph 5: Draining.
If the cooling system is contaminated, flush
system as per Section 05 ‘’Cooling’’,
paragraph 7: Flushing.
2. Remove the rear L.H. side tag axle wheel,
then remove the rear L.H. side fender panel.
3. Disconnect the transmission hoses from oil
cooler. Cover hose ends and fittings to
prevent fluid contamination.
FIGURE 8: ALLISON OIL COOLER