Q40 Tape Library Installation and Operations Manual
511026 Rev. 07-01-19 132
7.9.9 Moving Library Cover Plates
Unpack the replacement module and place it on a sturdy work surface. Save the packaging materials to
return the empty module.
The library has removable top and bottom cover plates. The two covers are identical and the process for
removing and installing them is the same for the top and bottom of the module. See "
Preparing the Top
and Bottom Modules" for details; while this example refers to moving a cover from a Base Module, the
information is the same for moving a cover from an Expansion Module.
The replacement module is shipped with a bottom cover plate but not a top cover plate. Move the cover
plates as necessary so the replacement module has the cover plates in the same location as the empty
module and the empty module has a bottom cover plate.
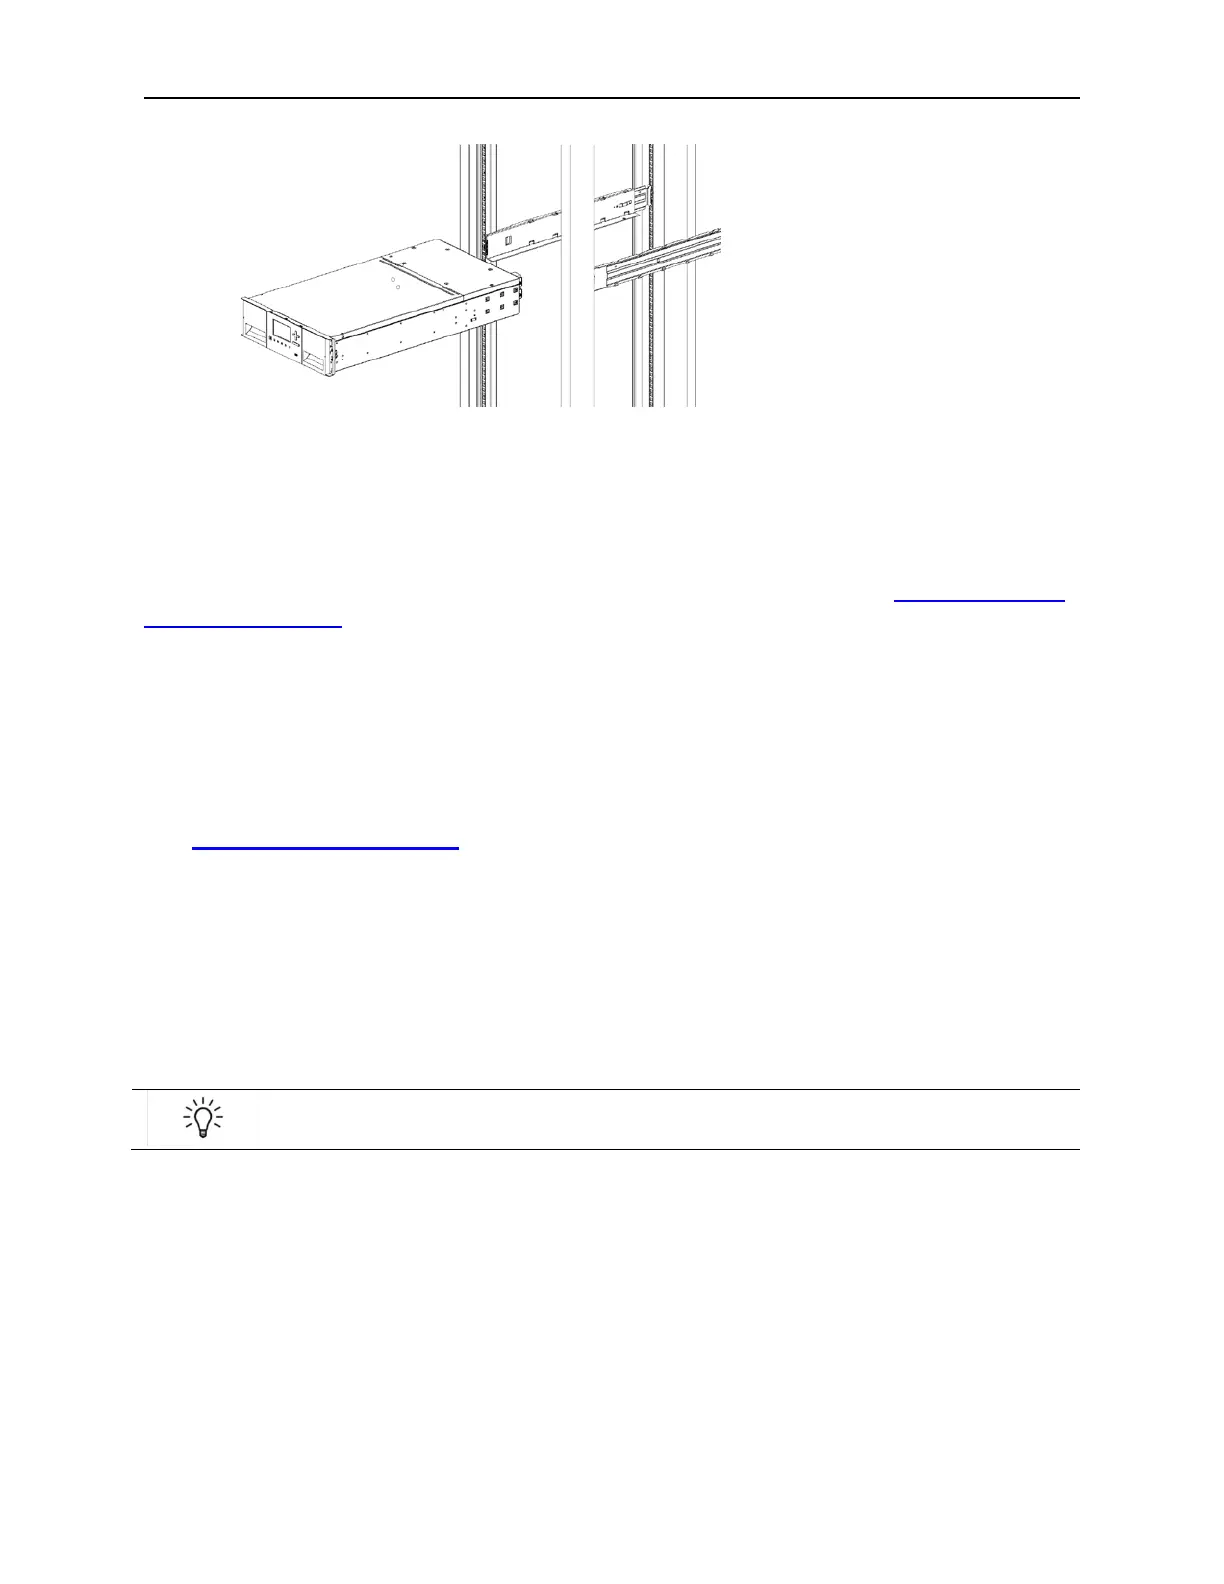
7.9.10 Installing the Module into the Rack
See “Installing Modules in a Rack” for details
7.9.11 Replacing the Module Components and Cables
Replace the module components by reversing the removal procedures. Align the components carefully in
the guide slots and only tighten thumbscrews with your fingers. If the thumbscrews cannot be tightened
easily, verify that the component is aligned properly.
1. Install the tape drives in the same locations.
To assist in aligning the drive, only remove the drive bay covers for one drive at
a time.
2. Reconnect any SAS, FC, expansion interconnect, and Ethernet cables removed earlier.
3. Reattach the power cords.
7.9.12 Verifying the Library Configuration
1. Power on the library by pressing the button just below the OCP.
2. Verify that the library initializes correctly and that the status is Ready. Verify that the replacement
module is visible in the OCP or RMI.


 To Next Page