46 ESP-LX Modular Controller
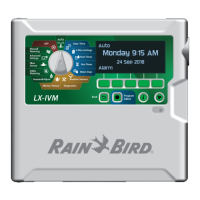
To activate the sensor, set the sensor bypass switch to
“ACTIVE.”
NOTE: If no sensor is attached to the controller,
make sure the supplied jumper connects the two
SENSOR terminals on the controller’s base module.
If you set the sensor bypass switch to “ACTIVE”
without a sensor or jumper connected to these
terminals, the valves will not operate, and no watering
will occur.
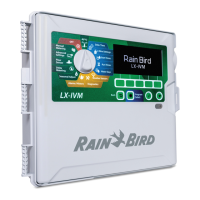
The display shows the active status of the sensor. The
controller will operate normally until an activating condition is
detected by the sensor. When the sensor detects an activating
condition, power to the valves will be interrupted, and no
watering will occur (including manual program or valve
operation) EXCEPT for valves that have the sensor override
set to ON. See page 38 for more information about sensor
override.
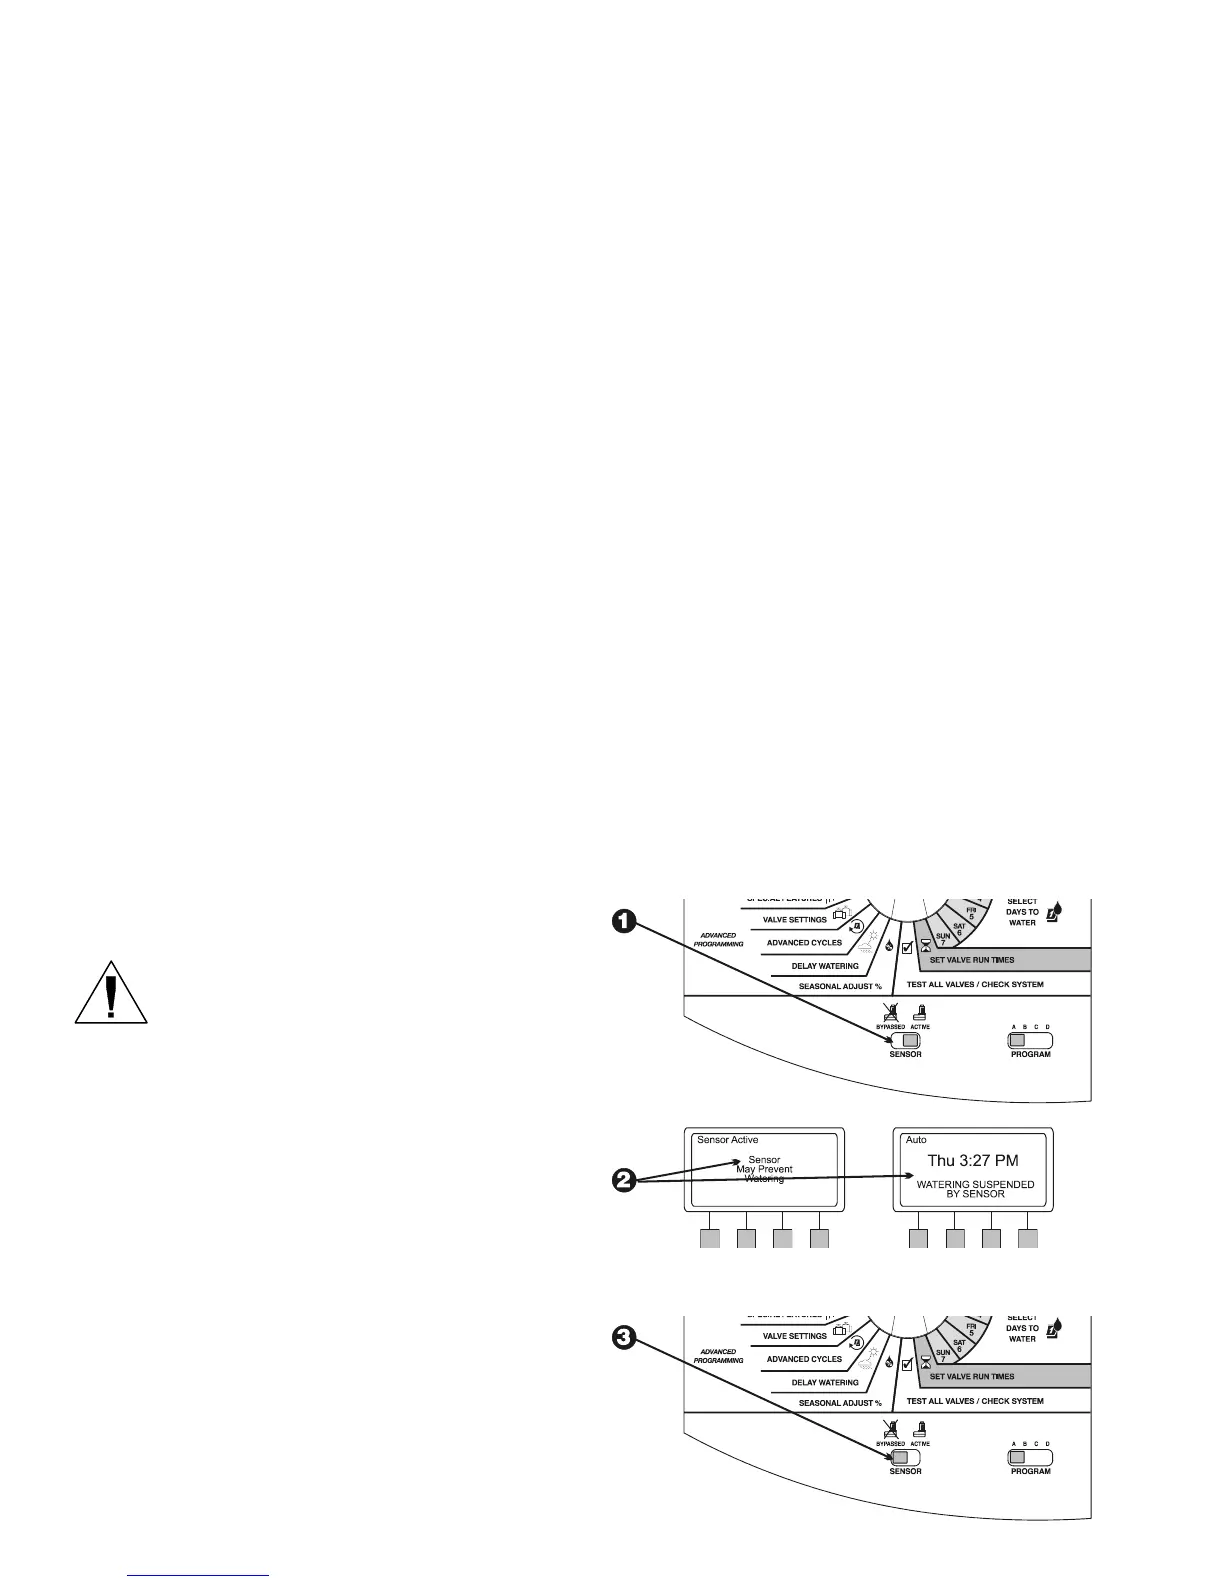
To deactivate the sensor, set the sensor bypass switch to
“BYPASSED.” Use this setting for troubleshooting or manual
watering while a sensor condition is in effect.