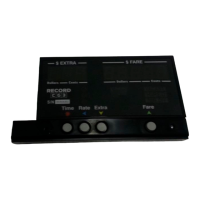
Figure 4: Config Switch. Note the two copper plated holes on the underlying circuit board.
To activate the Config Switch, you have to short (i.e. electrically connect) the two
plated holes together. This can be done, either with a rate-set pin (these are usually
provided with CG3 upon purchase), or simply with a stiff piece of wire (we find that a
stretched out paper-clip works the best). See Figures 5 and 6.
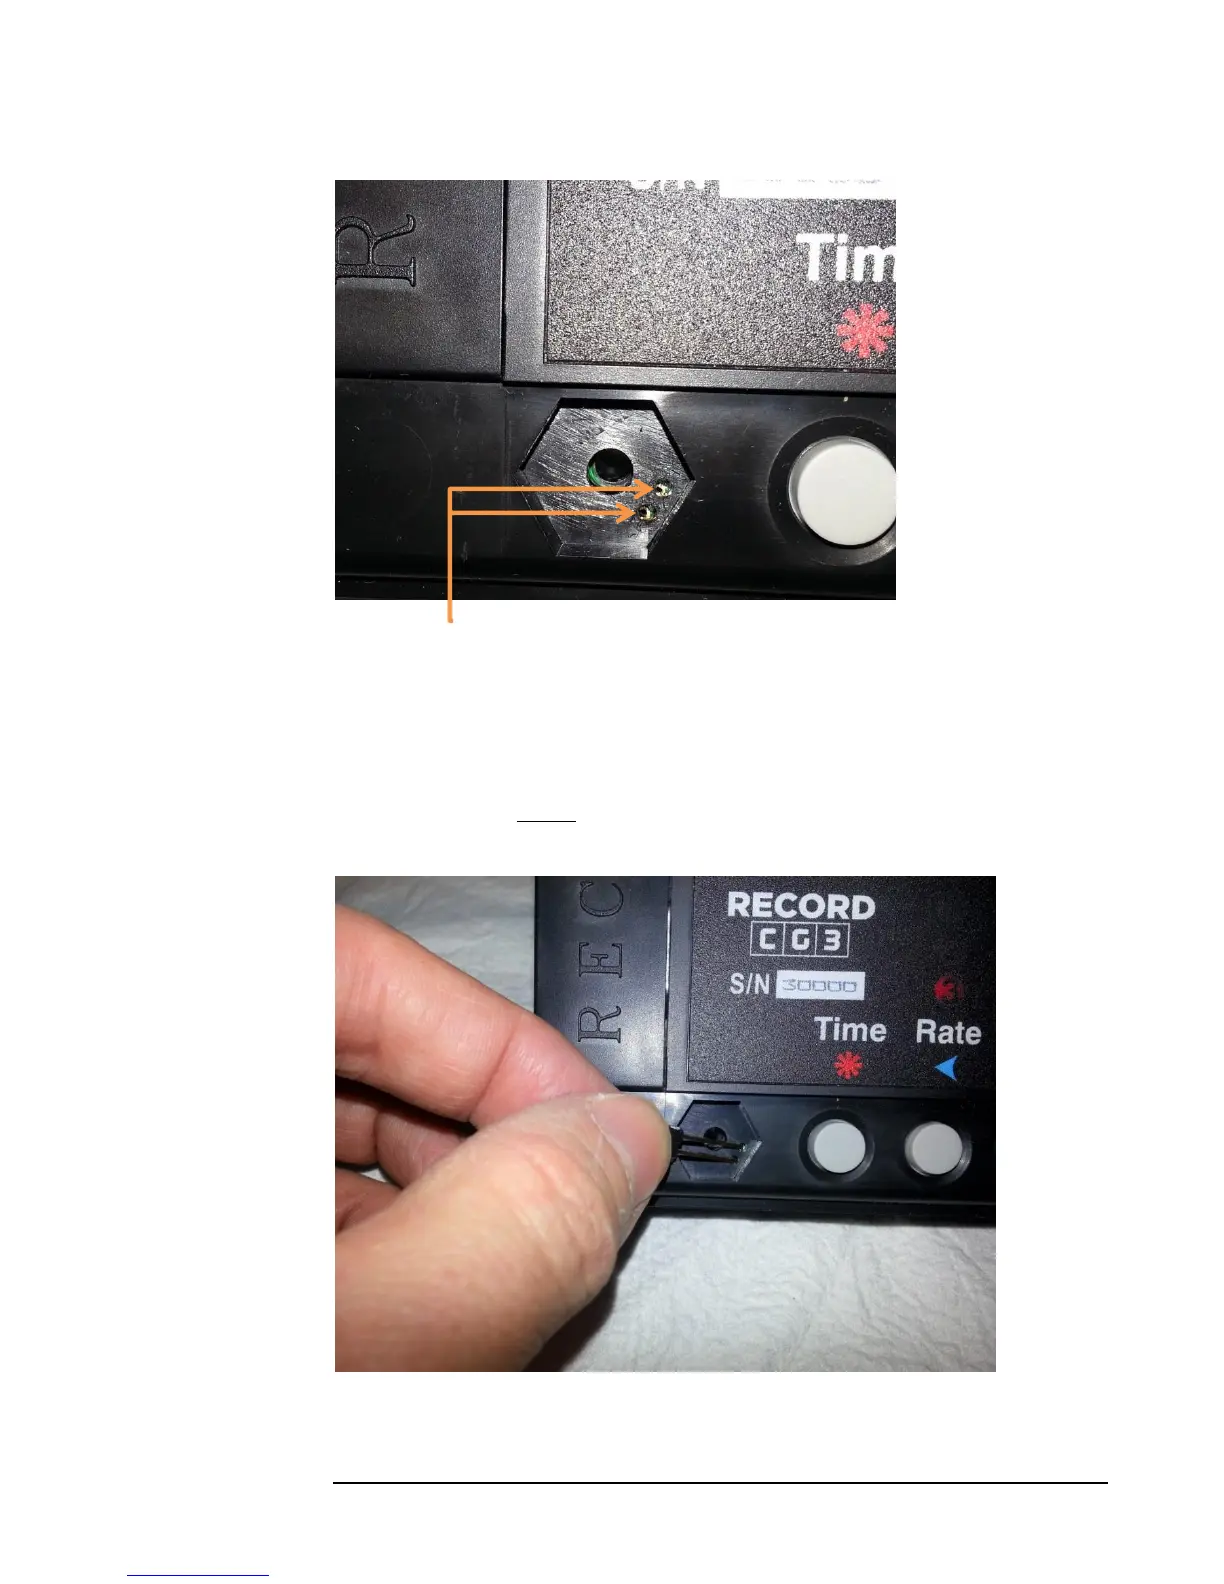
If nothing happens, gently wiggle the rate-set pin until Configuration Mode is entered.
The CG3 will display “RATES” when you have successfully done so.
Figure 5: Activating the Config Switch, using the rate-set pin. Contact must be made with the two copper-plated holes on the circuit-
board inside the taximeter case, in order to short the holes together.