Setup Steps:
The CG3 must first be configured to use the OBDII option. To do so, follow the
steps below:
1) With the automobile ignition OFF, plug the OBDII interface into the
automobile OBDII port. The OBDII port is normally located on the driver’s
side, below the dash. NOTE: Only plug or unplug OBDII device when
vehicle ignition OFF.
2) If you are using an RS-232 interface to connect the CG3 to the OBDII
interface, connect the matching serial connectors.
3) Turn on automobile ignition.
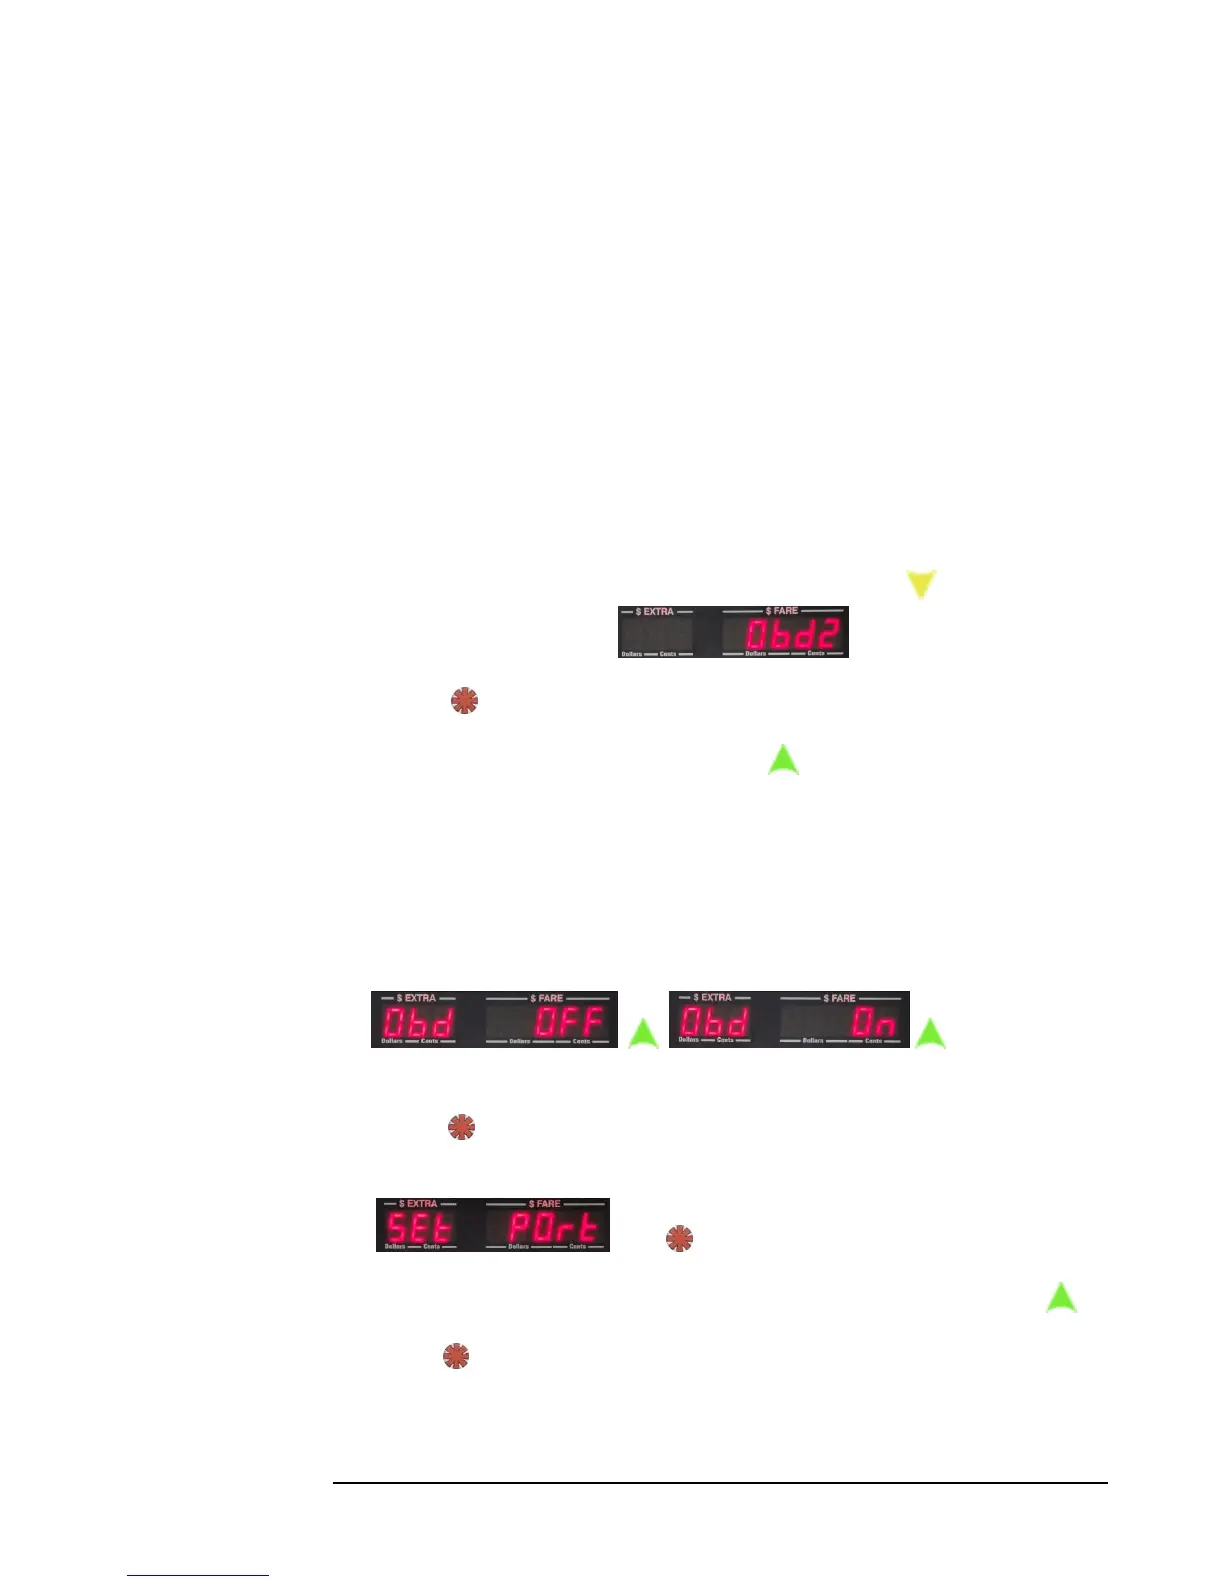
4) Enter the CG3 Configuration Menu (4.4.1) and press twice to navigate
to the OBDII settings:
4) Press to select the OBDII settings.
5) If the display shows “OBD OFF”, press . The display will now show “Obd
On”, which means that the OBDII feature is now active.
Note: By turning on the OBDII communication in the CG3, you are
simultaneously turning off VSS pulse-counting in the taximeter. If you later
want to switch back to reading speed pulses for measuring distance, you
will have to return to this step and turn off the OBDII feature (i.e. “Obd
OFF”).
Figure 17: Toggle the OBDII feature by pressing the Up button.
6) Press . You will now be presented with the option to set which port on the
CG3 that will be used to communicate with the OBDII interface device:
Press .
7) You may toggle between RS232 or Bluetooth communication by pressing .
8) Press to select the communication type that will be used.