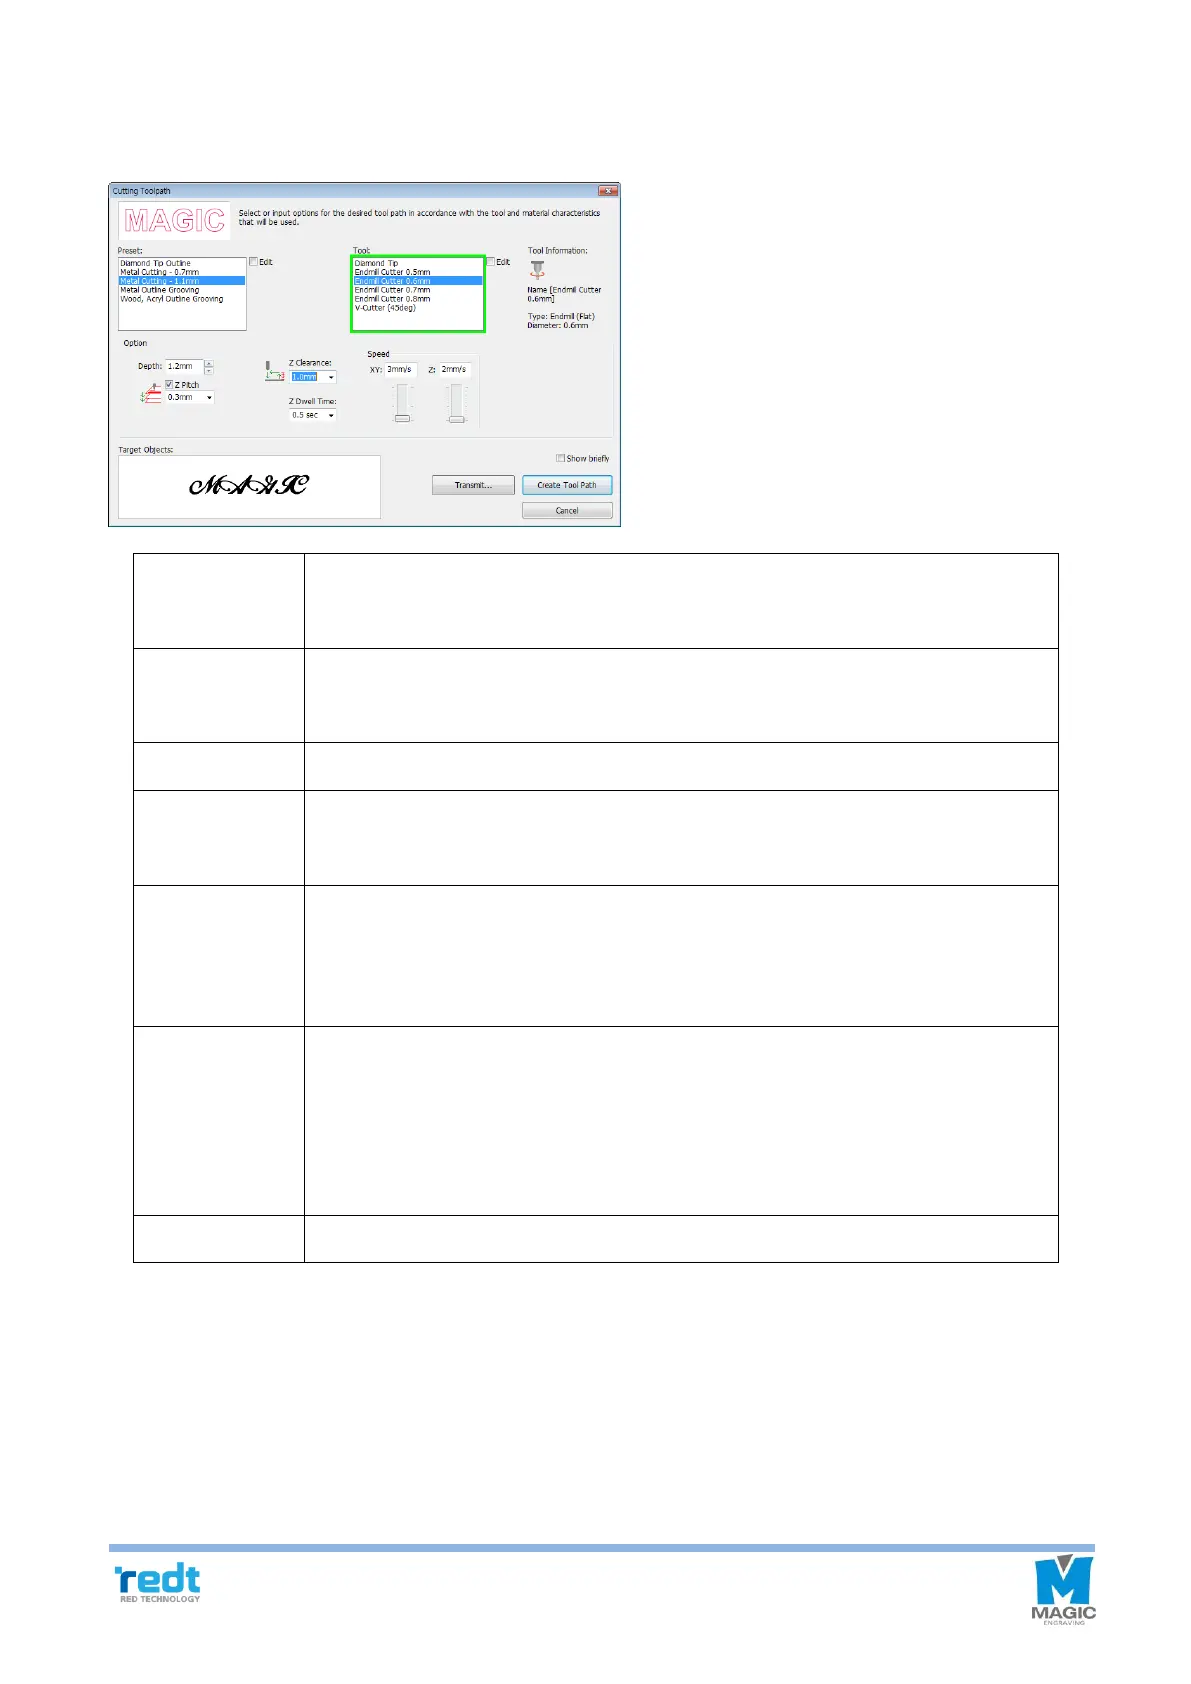
7. Once the “Cutting Tool path” window appears as seen in the figure below, select cutting depth (material thickness
+ 0.1~0.2mm) and tool diameter and click “Create tool path.”
Designate the thickness for cutting. Since material may be bent or slanted, the
depth should be 0.1-0.2 mm deeper than the thickness for perfect cutting.
When cutting the engraving depth little by little, designate the depth. When cutting
thick materials with a thin tool, it is useful.
Designate a cutting speed.
Designate a speed at which the tool punches and penetrates the material and
descends during the engraving.
When moving to another engraving location, it is necessary to lift Z axis to prevent
the tool from contacting with the material surface before moving. To do this,
designate the height to be applied.
If the tool touches materials, the rotation speed will be slower. If moved quickly at
this time, the tool may be damaged. In particular, in case of metal materials, wait
until the spindle rotation speed is restored to prevent damage to the tool. Enter the
delay time.
“Transfer tool path” window is displayed.