1) Toolbar
◈ Alignment tools
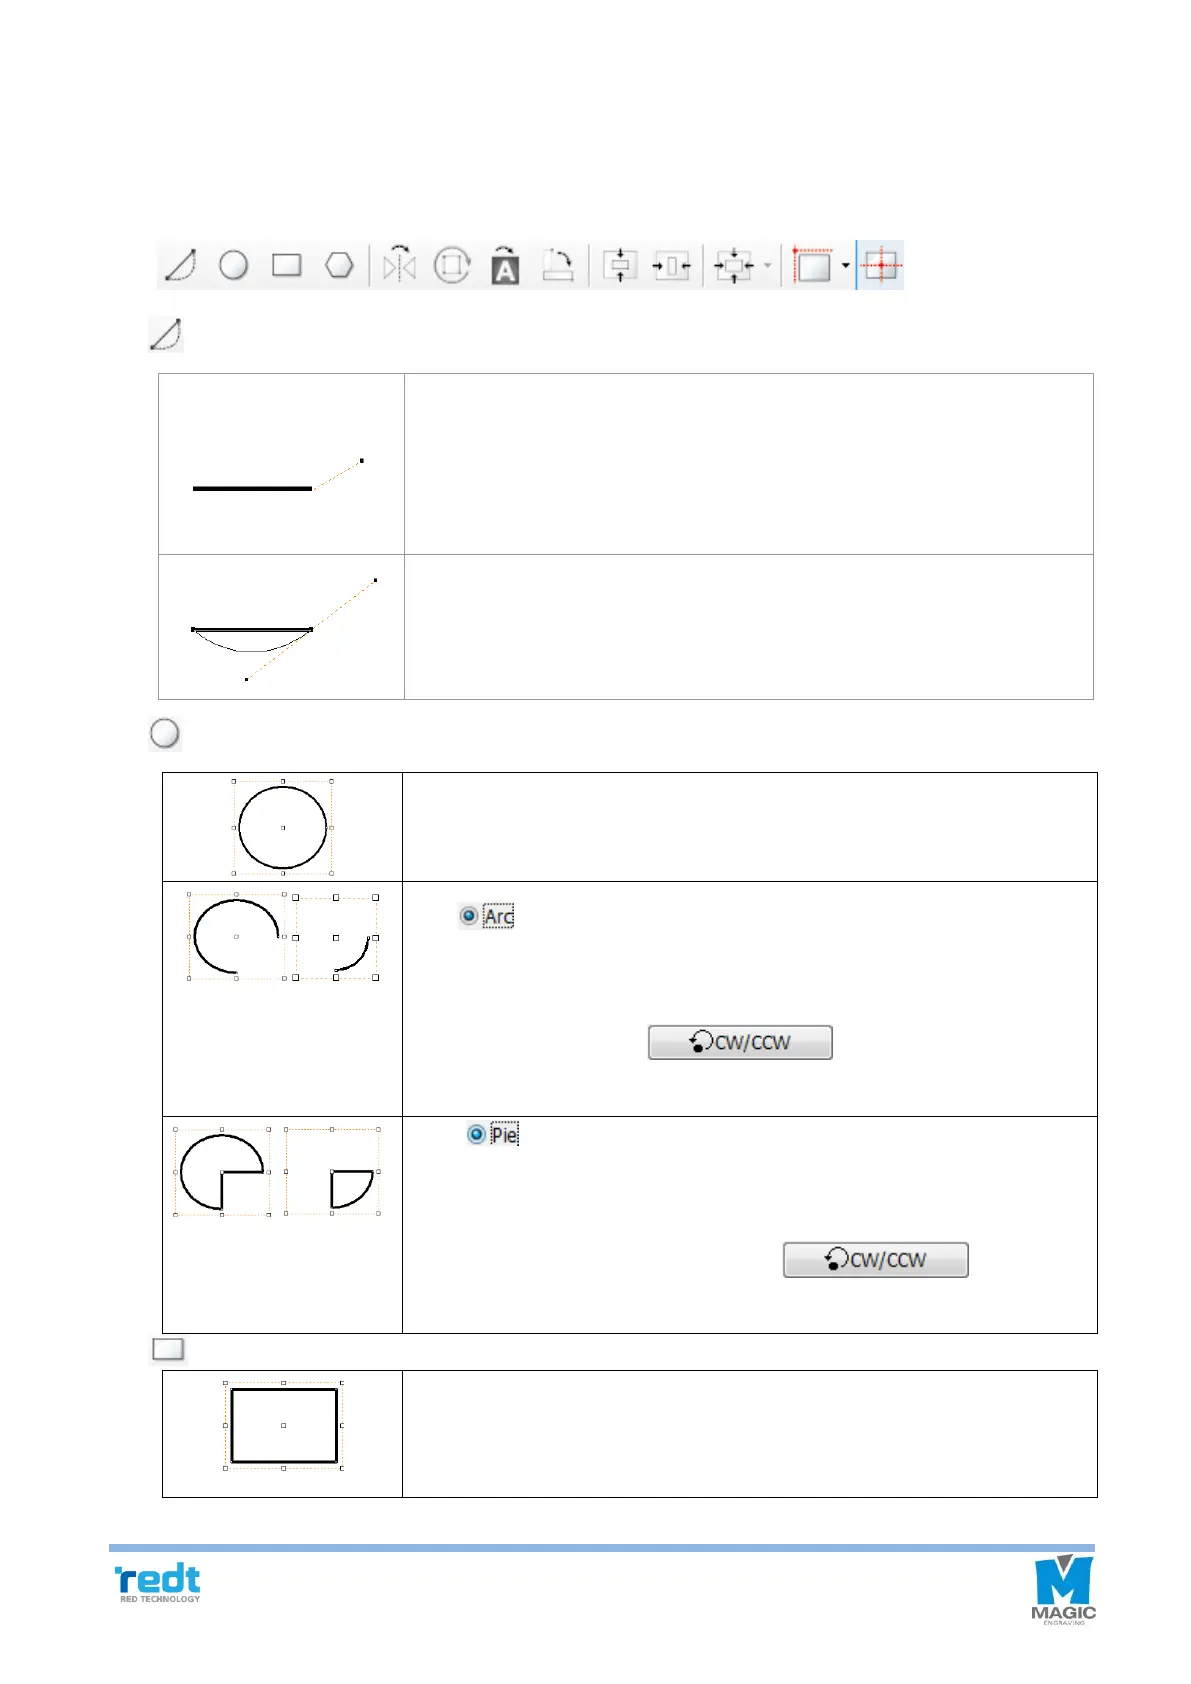
[Line/Curve]
Click a certain point with the mouse and move it to make a dot line appear.
Designate the distance and click with the mouse and then press the right
button on the mouse to create a straight line. At this time, press “Ctrl” key on
the keyboard and move the mouse to create a horizontal line or a vertical
line.
Click on a certain point with the mouse and designate a distance. Drag while
clicking and holding the mouse to make a curve appear. Press the right
button on the mouse to create the curve.
Click and hold the work area with the mouse and drag it to designate the size
of a circle. At this time, press “Shift” key and drag it to create a perfect circle.
Click button on the circle object registration information to transform
into an arc. The starting/ending degree can be designated and those degrees
can be adjusted by dragging The starting/ending degree of the arc with the
mouse. At this time, click button to create a reversed
image.
Click button on the circle object registration information to transform
into a pie (a filled arc). The starting/ending degree can be designated and
those degrees can be adjusted by dragging The starting/ending degree of
the pie with the mouse. At this time, click button to
create a reversed image.
Click and hold the work area with the mouse and drag it to designate the size
of a rectangular.
At this time, press “Shift” key and drag it to create a square.