Installation
D361/D510 12 SM
10. For NA models, attach the ferrite core to the telephone cord. The end of the ferrite
core must be about 5 cm (2.1") [A] from the end of the cable.
11. Connect the telephone cord to the "LINE 1" jack.
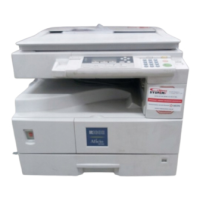
12. Remove the dummy keytop [A] (3rd from the top) and replace it with a facsimile keytop
[B].
13. Attach the G3 decal to the front of the machine.
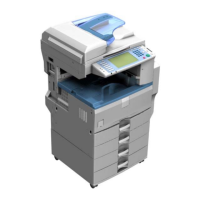
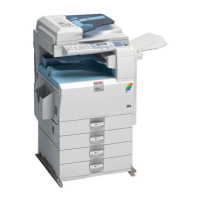
14. Connect the power cord to the machine.
15. Make sure that the plug is grounded properly at the power source.
16. Switch the machine on.
If you see a message that tells you the SRAM has been formatted (due to a
problem with SRAM), cycle the machine off/on to clear the message.
17. Check the clock settings (date and time) with the User Tools.
18. Enter SP Mode and program the serial number into the fax unit with SP3102. You can
find the serial number on the serial number label (attached to the machine in Step).
⇒
Rev. 09/01/2010