EasyManuals Logo

Ricoh MP C407 User Manual

Ricoh MP C407
1241 pages
To Next Page IconTo Next Page
To Previous Page IconTo Previous Page
Page #180 background imageLoading...
Page #180 background image
PM/Yield Parts Settings
174
7. Turn OFF the power and unplug the power cord.
8. Replace the PM parts and turn ON the power.
The machine will reset the PM counters automatically. In the case of the development unit, developer
initialization will also be done automatically.
9. Exit the SP mode.
After Installing the New PM Parts
1. Turn the main power ON, and enter the SP mode.
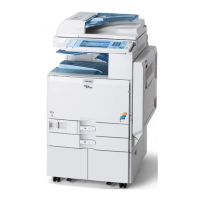
2. Make sure that the PM counters for the replaced units are "0" with SP7-621-002 to 208.
If the PM counter for a unit was not reset, then execute the new unit detect setting with SP3-701 again and
turn the main power OFF/ON.
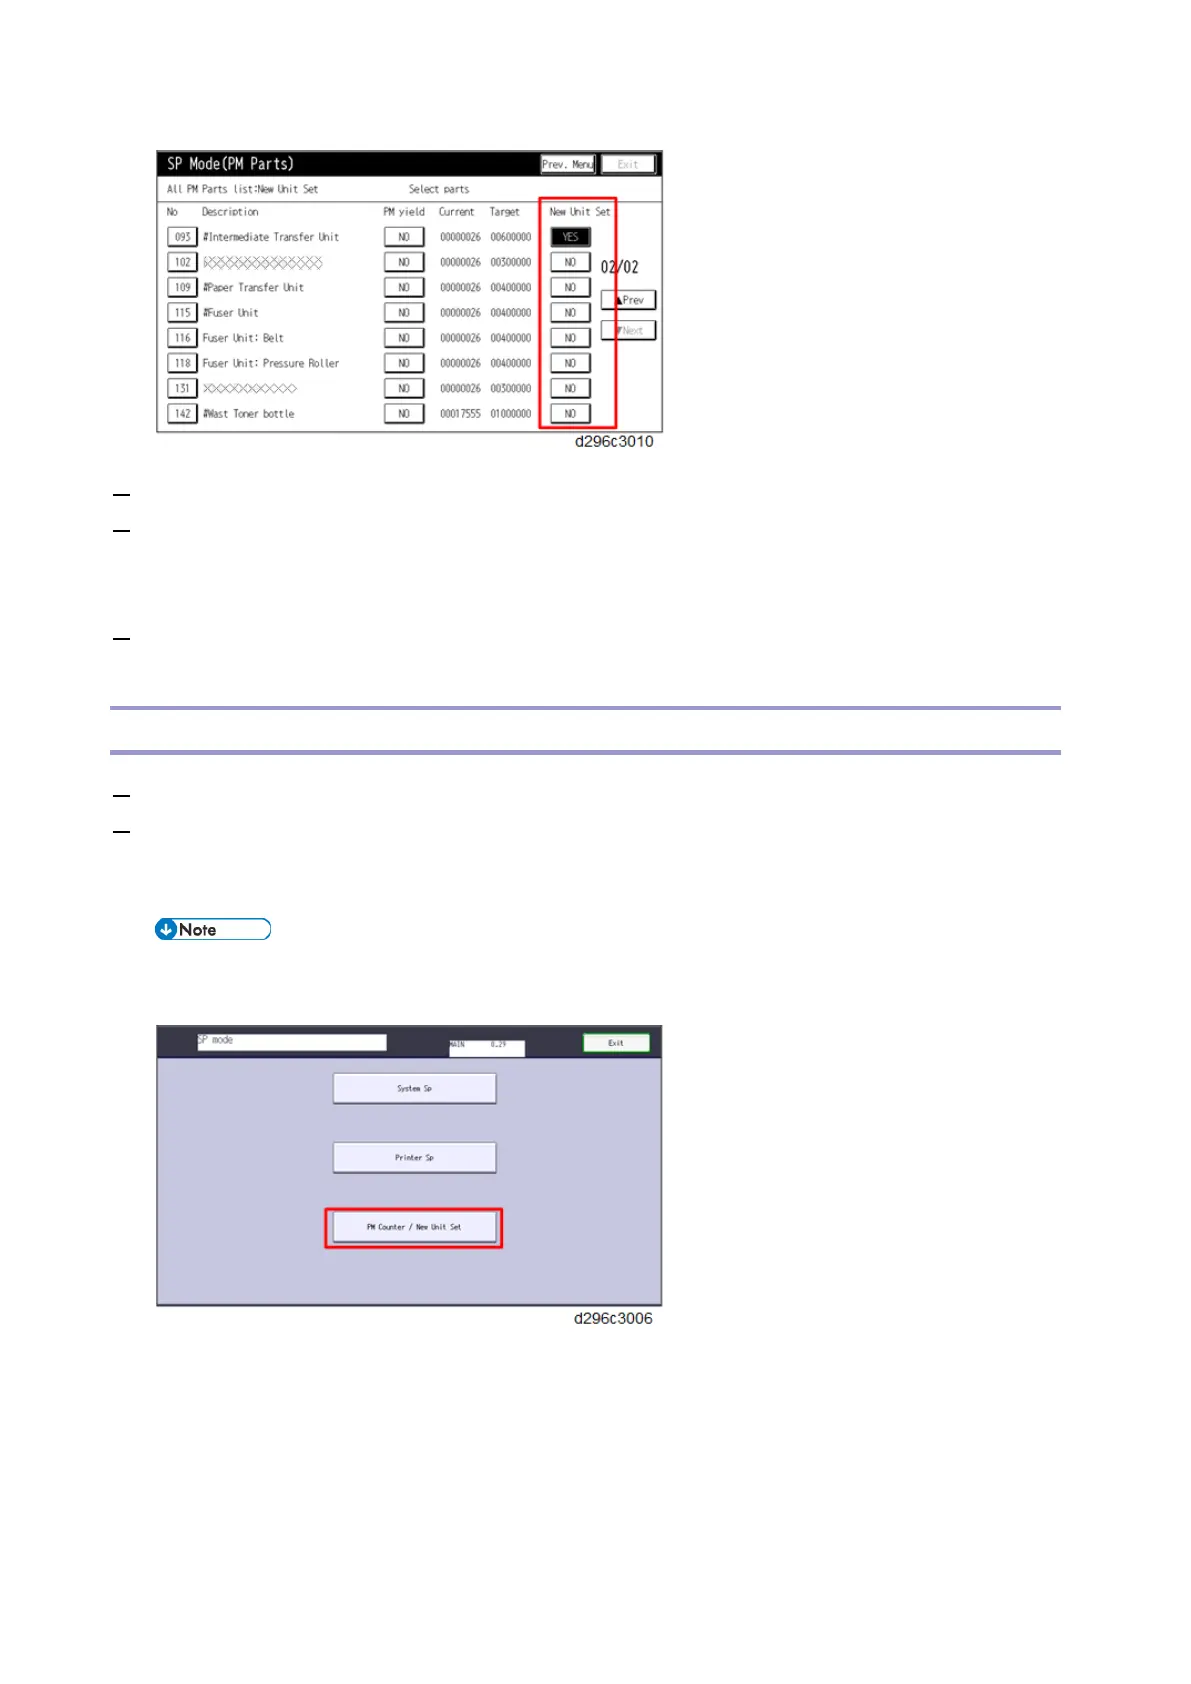
You can print out the PM counter list as follows.
1. Press [PM Counter / New Unit Set].
2. Press [Counterlist print out].

Table of Contents

Questions and Answers:

Question and Answer IconNeed help?

Do you have a question about the Ricoh MP C407 and is the answer not in the manual?

Ricoh MP C407 Specifications

General IconGeneral
Print TechnologyLaser
FunctionsPrint, Copy, Scan, Fax
Print Speed (B/W)42 ppm
Print Speed (Color)42 ppm
Max Print Resolution1200 x 1200 dpi
Duplex PrintingYes
Monthly Duty Cycle150, 000 pages
Paper SizeA4, A5, B5
ConnectivityUSB, Ethernet, Wi-Fi
Mobile PrintingApple AirPrint, Google Cloud Print, Mopria
Operating System CompatibilityWindows, Mac OS, Linux

Related product manuals