Mainframe Installation
36
Checking the Image Quality
Checking Paper Setting
Do the following procedure after installing all the options.
1. Check that all tapes are removed. Then connect the power plug into the wall socket.
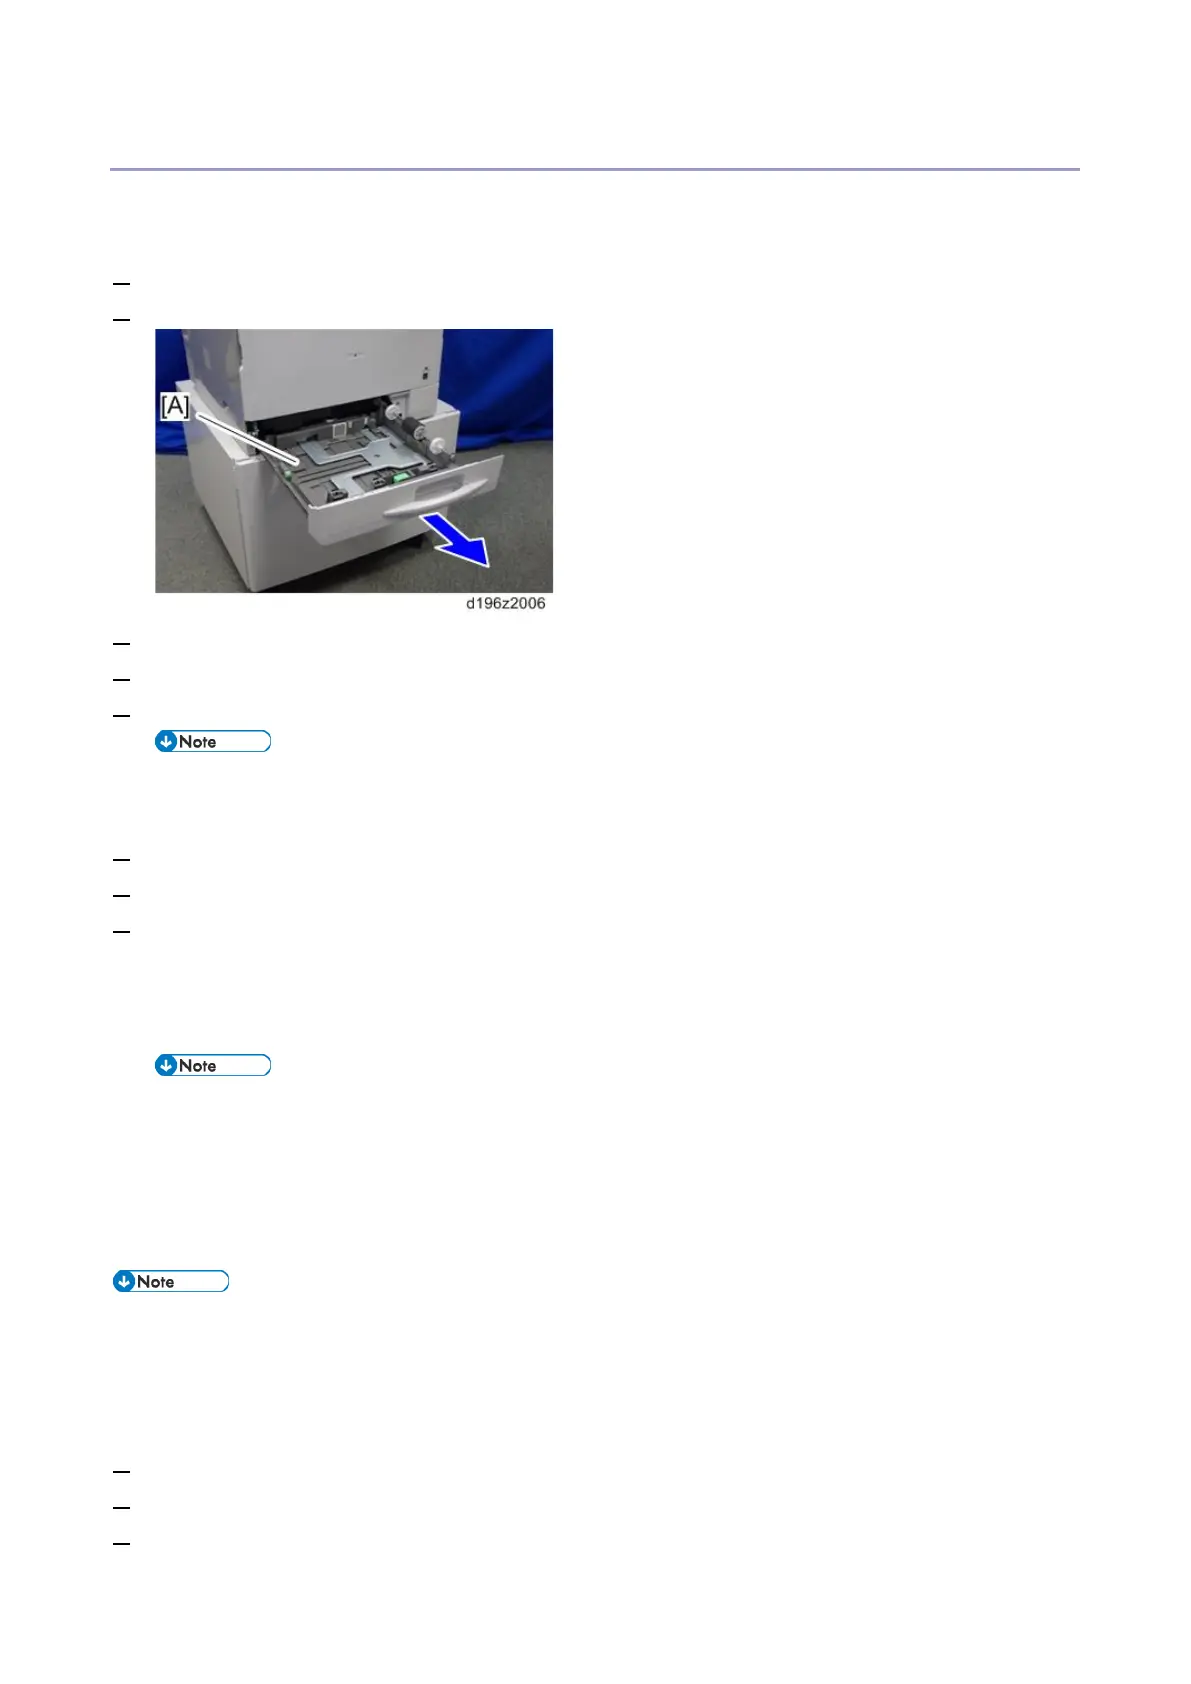
2. Pull out the paper feed tray [A] until it stops.
3. Release the side fence.
4. Load paper into the paper feed tray.
5. Set the side fence according to the paper size while pressing the unlock lever.
• To move the fences, first pull out the tray fully. Then push down the green lock at the front inside
the tray.
6. Set the end fence according to the paper size while pressing the unlock lever.
7. Set SP5-131 to set paper size for the main paper tray.
8. Adjust the registration setting for paper trays.
SP1-002-001 (Side-to-Side Registration By-pass Table)
SP1-002-002 (Side-to-Side Registration Paper Tray 1)
SP1-002-005 (Side-to-Side Registration Duplex)
• Refer to the “Image Adjustment” section in this manual for how to adjust the SP setting.
• If one or more optional paper trays is installed, do the following SPs as well:
SP1-002-003 (Side-to-Side Registration Paper Tray 2)
SP1-002-004 (Side-to-Side Registration Paper Tray 3)
Executing the Automatic Color Calibration (ACC)
• Be sure to do this procedure when installing the mainframe.
• Do not open the ADF while ACC is running.
• Settings must be made before you can login as Administrator. (Refer to "Before You Begin the
Procedure".)
1. Login as Administrator.
2. Press [User Tools] icon on the operation panel.
3. Press [Machine Features].